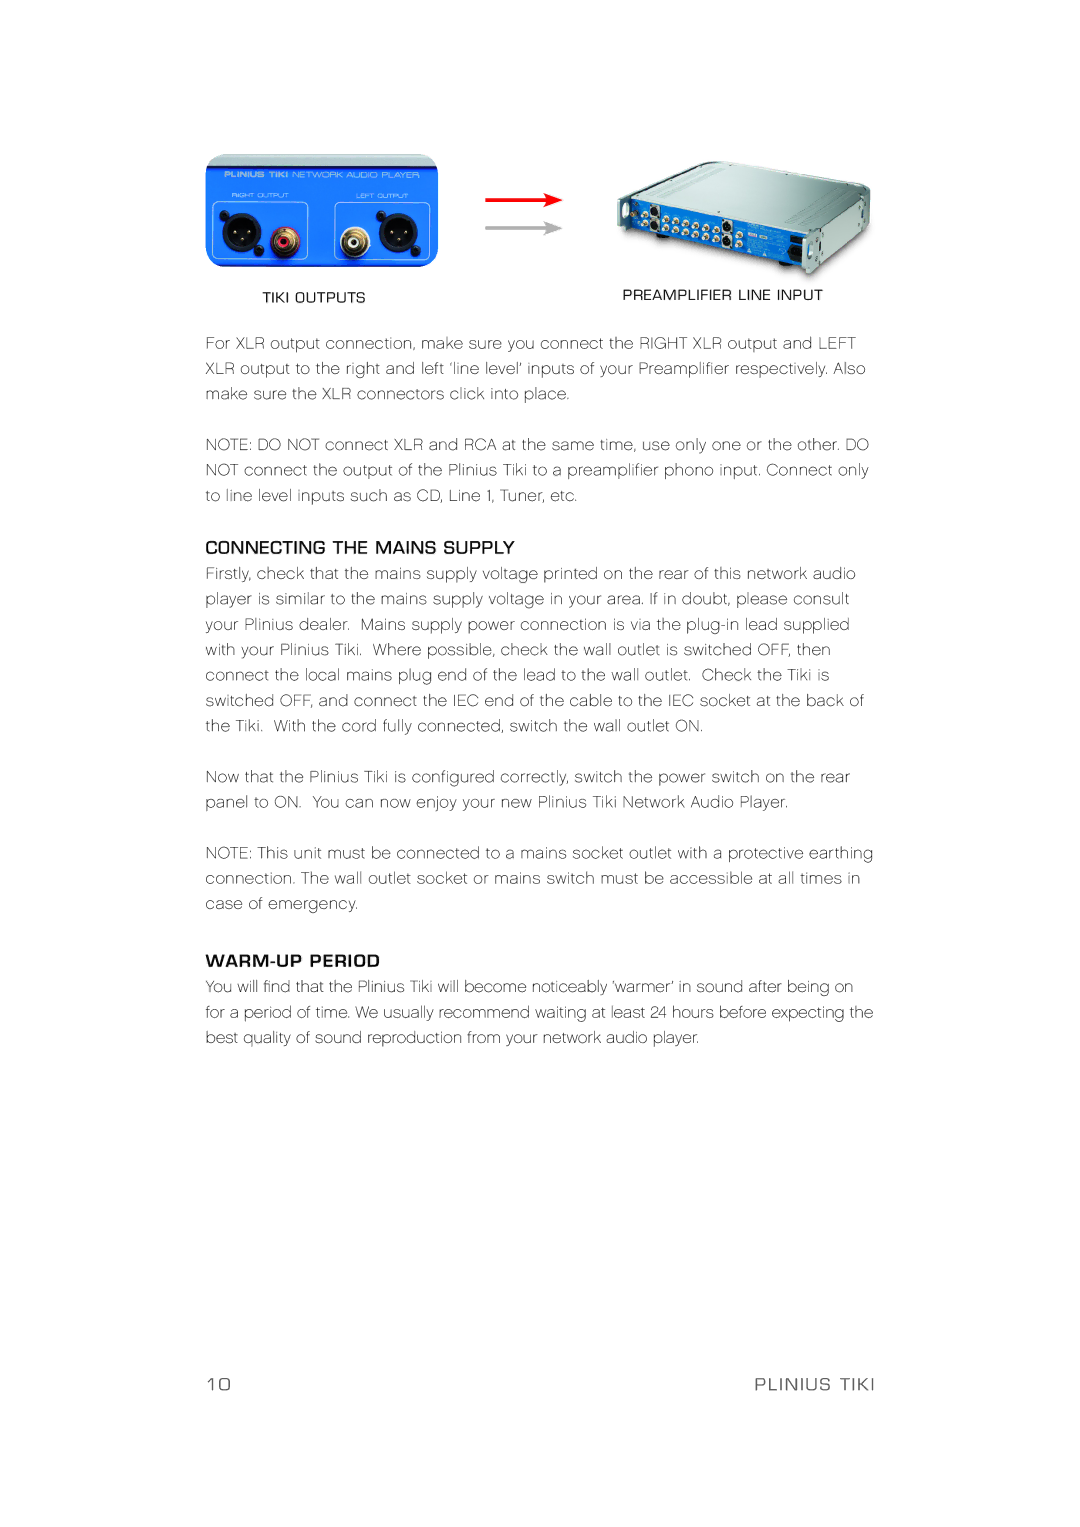
TIKI OUTPUTS | PREAMPLIFIER LINE INPUT |
For XLR output connection, make sure you connect the RIGHT XLR output and LEFT XLR output to the right and lef t ‘line level’ inputs of your Preamplifier respectively. Also make sure the XLR connectors click into place.
NOTE: DO NOT connect XLR and RCA at the same time, use only one or the other. DO NOT connect the output of the Plinius Tiki to a preamplifier phono input. Connect only to line level inputs such as CD, Line 1, Tuner, etc.
CONNECTING THE MAINS SUPPLY
Firstly, check that the mains supply voltage printed on the rear of this net work audio player is similar to the mains supply voltage in your area. If in doubt, please consult
your Plinius dealer. Mains supply power connection is via the
with your Plinius Tiki. Where possible, check the wall outlet is switched OFF, then
connect the local mains plug end of the lead to the wall outlet. Check the Tiki is switched OFF, and connect the IEC end of the cable to the IEC socket at the back of
the Tiki. With the cord fully connected, switch the wall outlet ON.
Now that the Plinius Tiki is configured correctly, switch the power switch on the rear
panel to ON. You can now enjoy your new Plinius Tiki Net work Audio Player.
NOTE: This unit must be connected to a mains socket outlet with a protective ear thing connection. The wall outlet socket or mains switch must be accessible at all times in case of emergency.
WARM-UP PERIOD
You will find that the Plinius Tiki will become noticeably ‘warmer ’ in sound af ter being on for a period of time. We usually recommend waiting at least 24 hours before expecting the best quality of sound reproduction from your network audio player.
10 | PLINIUS TIKI |