Het alarm gaat op het ingestelde tijdstip geduren- de een minuut af, tenzij u het eerder uitzet met één van de vier knoppen.

INSTELLEN VAN DE TIJD

Begin met de tijdweergave op het display.

1. Druk net zo lang op Up of Down totdat de aanduiding OPTIONS wordt weergegeven.

2.Druk op START/STOP/OK om de OPTIONS-functie te starten.

Op het display wordt de aanduiding USER SET

weergegeven.

3. Druk net zo lang op Up of Down totdat de aanduiding WATCH SET wordt weergegeven.

4.Druk op START/STOP/OK om het horloge in te stellen. Op het display wordt de aanduiding ALARM weergegeven.

De instelling ON of OFF knippert.

5.Druk op START/STOP/OK totdat de aanduiding TIME en de tijdweergave op het display verschijnen.

De aanduiding TIME en de tijdweergave ver- schijnen op het display.

De aanduiding 12u of 24u knippert.

6. Druk op Up of Down om de 12-uurs of de 24-uurs instelling te selecteren.

7.Druk op START/STOP/OK om uw keuze vast te leggen. Als u de 12-uurs instelling heeft geselecteerd, verschijnt op het display de aanduiding TIME AM of TIME PM.

8. Druk op Up of Down om AM of PM te selecteren.

9. Druk op START/STOP/OK om uw keuze vast te leggen. De uren beginnen te knipperen.

10. Druk op Up of Down om de uren in te stellen.

11. Druk op START/STOP/OK om uw keuze vast te leggen. De minuten beginnen te knipperen.

12. Druk op Up of Down om de minuten in te stellen.

De seconden springen op nul.

13.Druk op START/STOP/OK om uw keuze vast te leggen. De seconden beginnen te lopen.

Kies één van de volgende twee mogelijkheden om door te gaan:

1.Om de datum in te stellen, lees Instellen van de datum.

2.Om terug te keren naar de tijdweergave houd START/STOP/OK ingedrukt.

INSTELLEN VAN DE DATUM

Begin met de tijdweergave op het display.

1. Druk net zo lang op Up of Down totdat de aanduiding OPTIONS wordt weergegeven.

2.Druk op START/STOP/OK om de OPTIONS-functie te starten.

Op het display wordt de aanduiding USER SET

weergegeven.

3. Druk net zo lang op Up of Down totdat de aanduiding WATCH SET wordt weergegeven.

4.Druk op START/STOP/OK om het horloge in te stellen. Op het display wordt de aanduiding ALARM weergegeven.

De instelling ON of OFF knippert.

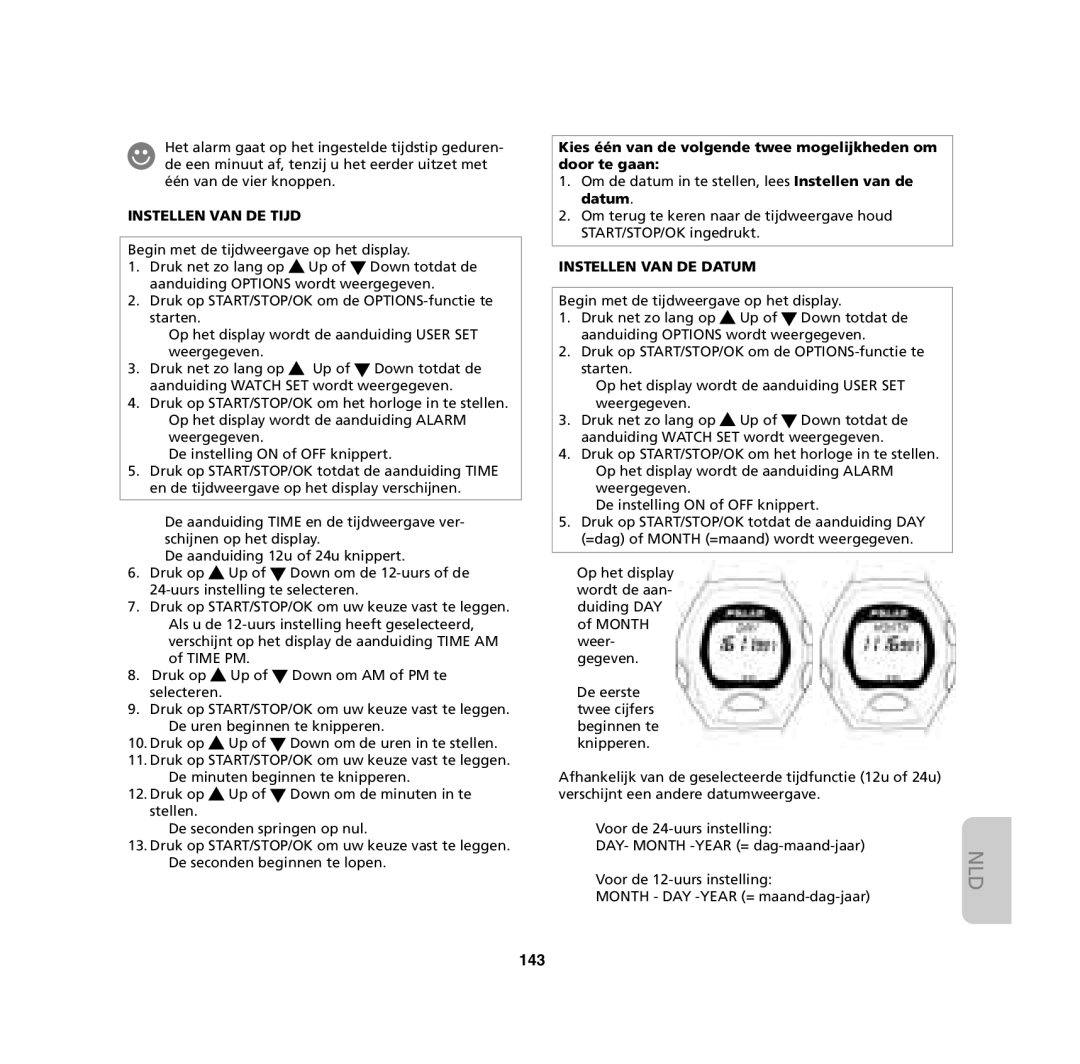
5.Druk op START/STOP/OK totdat de aanduiding DAY (=dag) of MONTH (=maand) wordt weergegeven.

Op het display wordt de aan- duiding DAY of MONTH weer- gegeven.

De eerste twee cijfers beginnen te knipperen.

Afhankelijk van de geselecteerde tijdfunctie (12u of 24u) verschijnt een andere datumweergave.

Voor de 24-uurs instelling:

DAY- MONTH -YEAR (= dag-maand-jaar)

Voor de 12-uurs instelling:

MONTH - DAY -YEAR (= maand-dag-jaar)

NLD

143

Page 13
Image 13
Polar M61, M62, M32, M31 user manual 143, Instellen VAN DE Tijd, Instellen VAN DE Datum

M31, M32, M62, M61 specifications

The Polar M61, M62, M32, and M31 are distinguished models in Polar's range of heart rate monitors and fitness trackers, tailored for fitness enthusiasts and athletes seeking to enhance their training and performance. Each device is designed with specific features, technologies, and characteristics that cater to varying user needs.

Starting with the Polar M61, this model is recognized for its robust heart rate monitoring capabilities. It utilizes advanced optical sensors to provide accurate heart rate readings in real-time. With a focus on user-friendly design, the M61 offers a simple interface and seamless connectivity with various fitness applications. Its battery life is commendable, allowing for extended training sessions without the need for frequent recharging. The M61 also supports multiple sports profiles, making it versatile for various activities, from running to cycling.

The Polar M62 builds on the M61’s strengths, introducing additional features such as improved GPS tracking capabilities. This enables users to map their routes and receive detailed statistics on their performance in real-time. The M62's Smart Coaching technology provides personalized feedback and guidance, helping users optimize their training sessions. Its compatibility with Polar Flow, an online platform for tracking and analyzing workout data, allows users to set goals and monitor progress efficiently.

The Polar M32 is tailored for those who prefer a more compact and lightweight device. It retains essential heart rate monitoring features, making it suitable for everyday fitness activities. The M32 is designed with a focus on simplicity and ease of use, appealing to users new to fitness tracking. Its long battery life and water-resistant design ensure durability during workouts, even in adverse conditions.

Lastly, the Polar M31 offers a budget-friendly alternative without compromising essential functionalities. Ideal for beginners, it provides core heart rate monitoring features and basic training stats. The M31 emphasizes user comfort and accessibility, making it a practical choice for individuals looking to start their fitness journey without the complexities of advanced technology.

In summary, the Polar M61, M62, M32, and M31 present a range of options appealing to diverse fitness levels and preferences. With their innovative technologies, user-friendly designs, and reliable performance, these models empower users to reach their fitness goals while providing valuable insights into their training routines.