8 | Installing the Archive Engine |
Installing the Archive Engine (Generation 1)
The rails are shipped together, with the inner rail located inside the outer rail.You’ll need to separate the two rails and then attach the inner rails and latches to the Archive Engine prior to mounting the device into the rack. The rails are attached with the screws provided in the shipping box.
The rack must be assembled with the left and right chassis components correctly oriented. In this assembly, the “left” and “right” correspond to the left and right sides of a person facing the rack assembly.
The rail assembly is designed to prevent the Archive Engine from being removed completely; however, the rack will allow access to the fan tray. If the device must be completely removed, you must rotate the right side chassis latch up and the left side chassis latch down. You will then be able to remove the device.
Identifying the Rail Kit Hardware
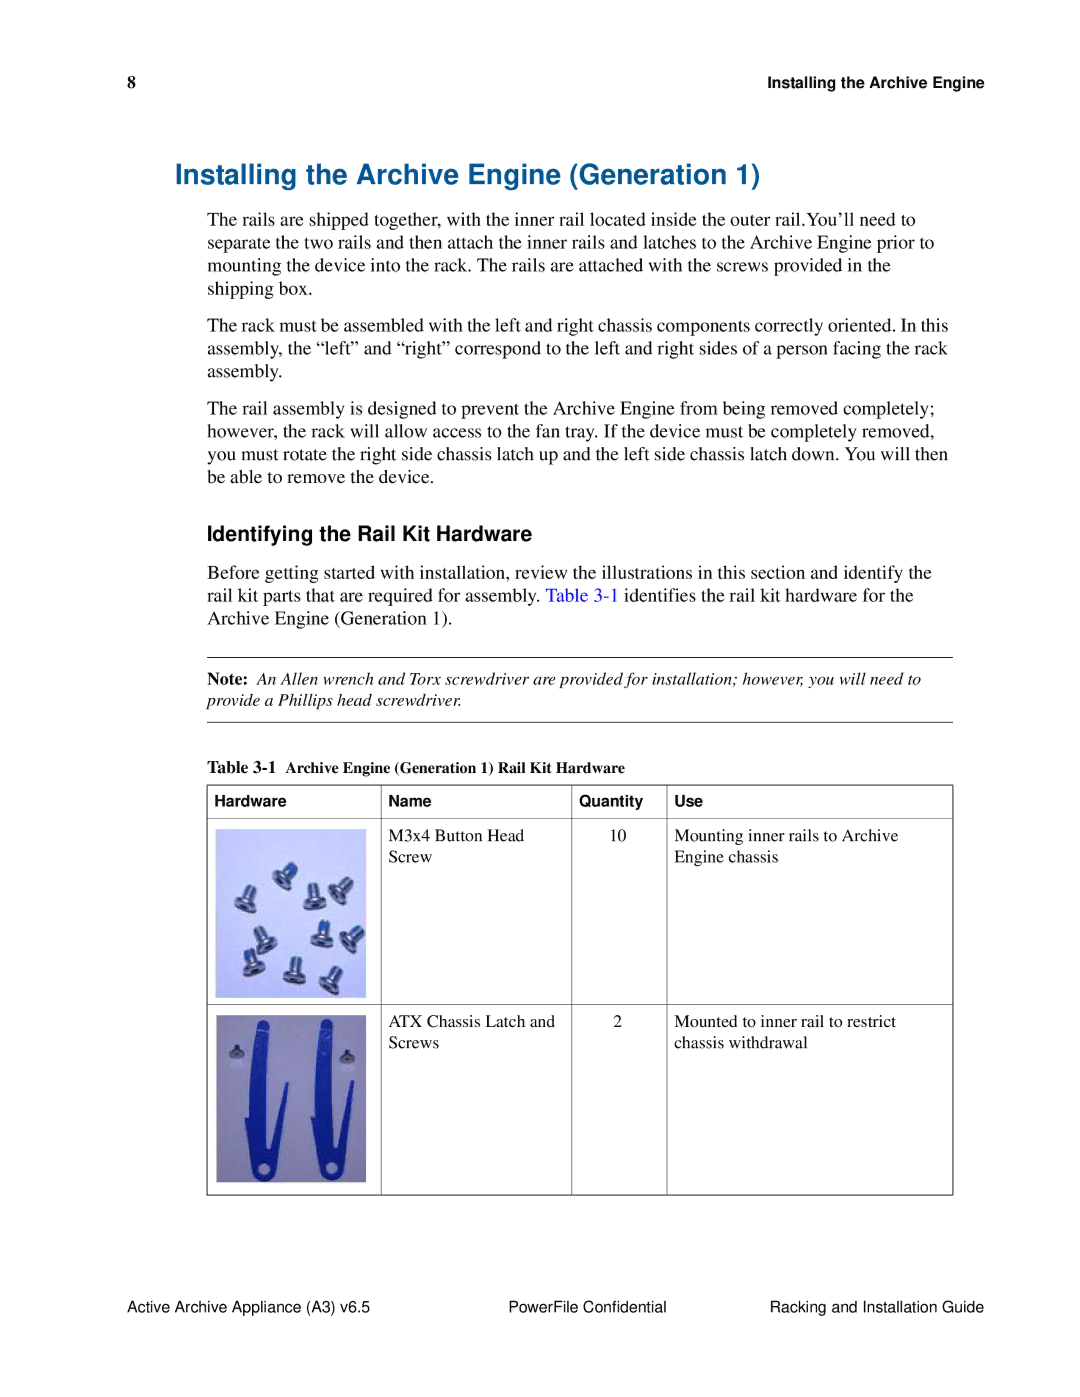
Before getting started with installation, review the illustrations in this section and identify the rail kit parts that are required for assembly. Table
Note: An Allen wrench and Torx screwdriver are provided for installation; however, you will need to provide a Phillips head screwdriver.
Table
Hardware | Name | Quantity | Use |
|
|
|
|
| M3x4 Button Head | 10 | Mounting inner rails to Archive |
| Screw |
| Engine chassis |
|
|
|
|
| ATX Chassis Latch and | 2 | Mounted to inner rail to restrict |
| Screws |
| chassis withdrawal |
|
|
|
|
Active Archive Appliance (A3) v6.5 | PowerFile Confidential | Racking and Installation Guide |
