Planing to Desired Thickness
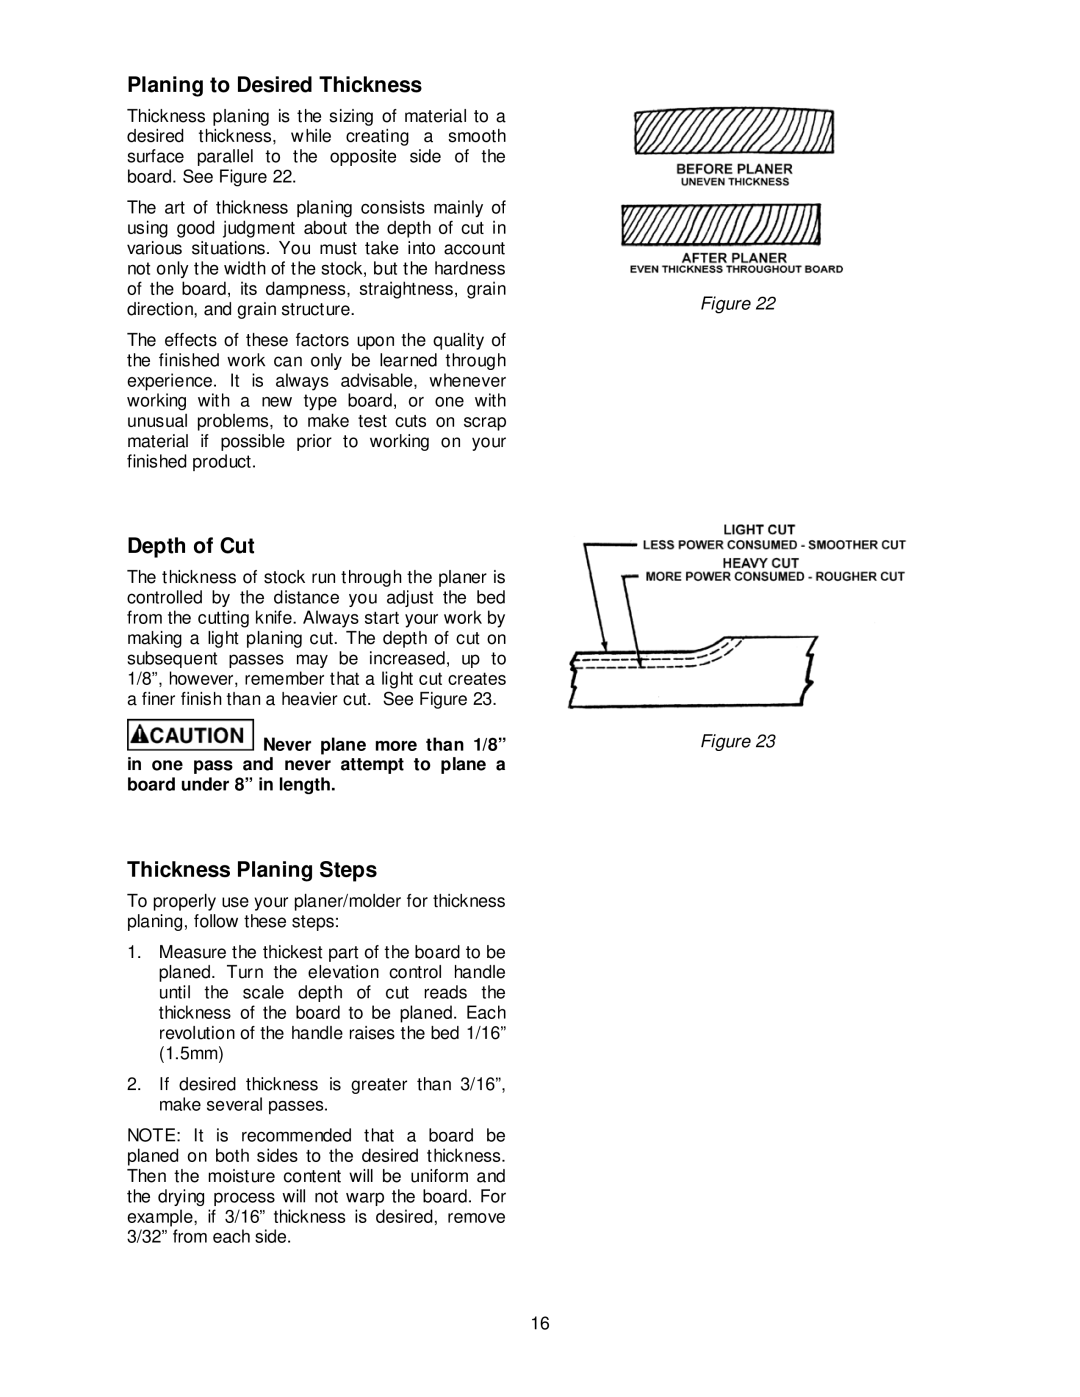
Thickness planing is the sizing of material to a desired thickness, while creating a smooth surface parallel to the opposite side of the board. See Figure 22.
The art of thickness planing consists mainly of using good judgment about the depth of cut in various situations. You must take into account not only the width of the stock, but the hardness of the board, its dampness, straightness, grain direction, and grain structure.
The effects of these factors upon the quality of the finished work can only be learned through experience. It is always advisable, whenever working with a new type board, or one with unusual problems, to make test cuts on scrap material if possible prior to working on your finished product.
Depth of Cut
The thickness of stock run through the planer is controlled by the distance you adjust the bed from the cutting knife. Always start your work by making a light planing cut. The depth of cut on subsequent passes may be increased, up to 1/8”, however, remember that a light cut creates a finer finish than a heavier cut. See Figure 23.
![]() Never plane more than 1/8” in one pass and never attempt to plane a board under 8” in length.
Never plane more than 1/8” in one pass and never attempt to plane a board under 8” in length.
Thickness Planing Steps
To properly use your planer/molder for thickness planing, follow these steps:
1.Measure the thickest part of the board to be planed. Turn the elevation control handle until the scale depth of cut reads the thickness of the board to be planed. Each revolution of the handle raises the bed 1/16” (1.5mm)
2.If desired thickness is greater than 3/16”, make several passes.
NOTE: It is recommended that a board be planed on both sides to the desired thickness. Then the moisture content will be uniform and the drying process will not warp the board. For example, if 3/16” thickness is desired, remove 3/32” from each side.
16
Figure 22
Figure 23