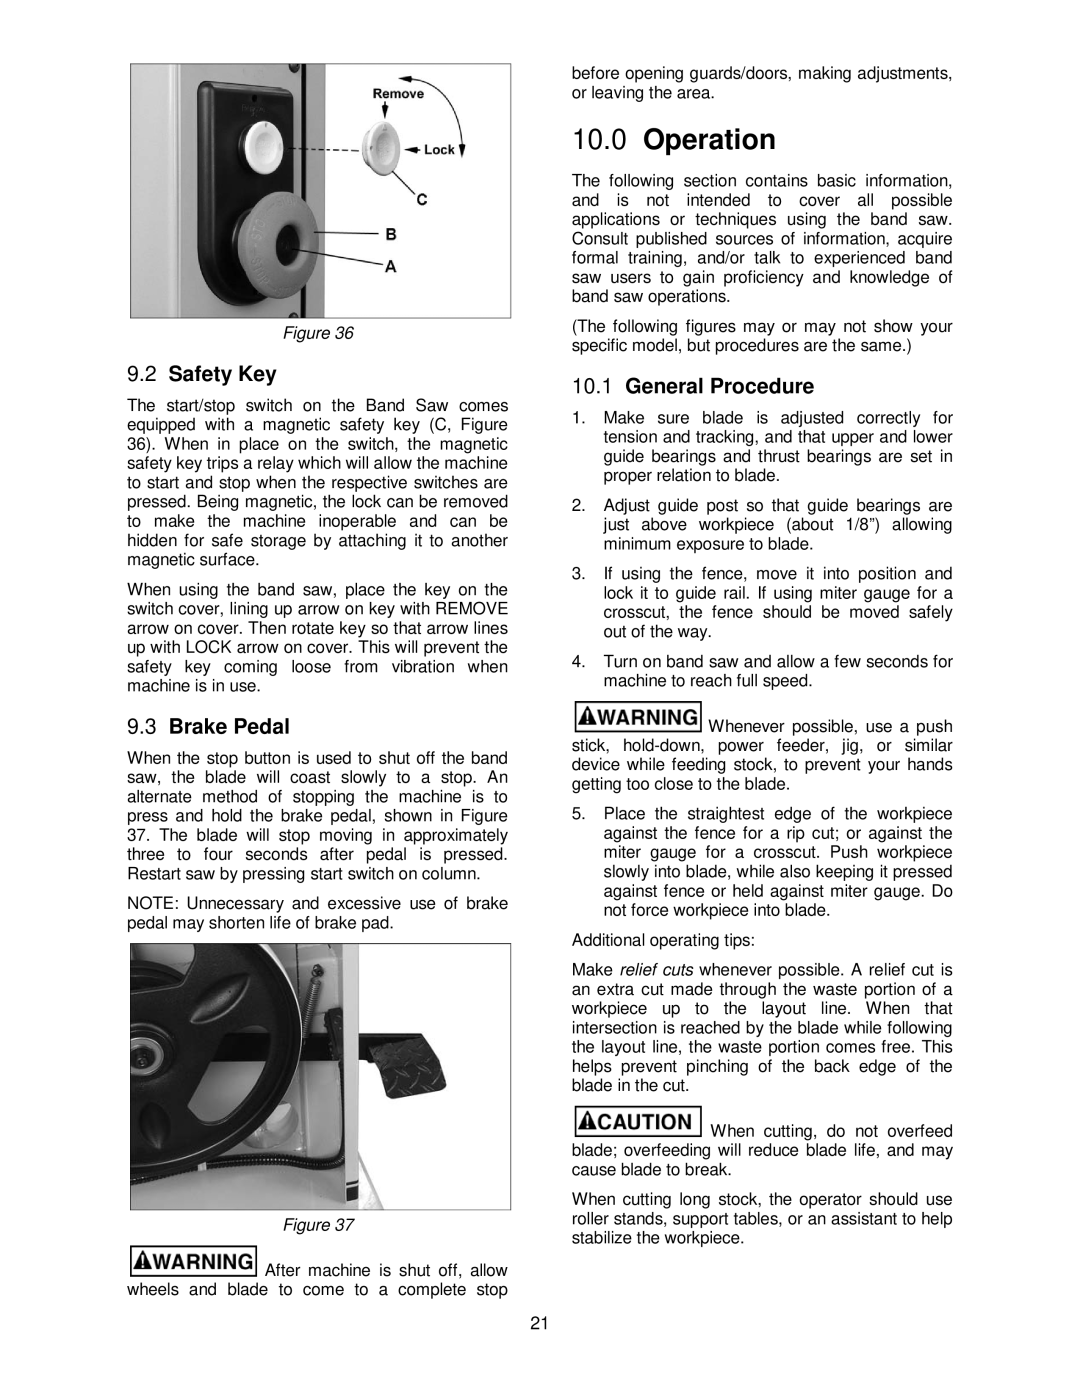
Figure 36
9.2Safety Key
The start/stop switch on the Band Saw comes equipped with a magnetic safety key (C, Figure 36). When in place on the switch, the magnetic safety key trips a relay which will allow the machine to start and stop when the respective switches are pressed. Being magnetic, the lock can be removed to make the machine inoperable and can be hidden for safe storage by attaching it to another magnetic surface.
When using the band saw, place the key on the switch cover, lining up arrow on key with REMOVE arrow on cover. Then rotate key so that arrow lines up with LOCK arrow on cover. This will prevent the safety key coming loose from vibration when machine is in use.
9.3Brake Pedal
When the stop button is used to shut off the band saw, the blade will coast slowly to a stop. An alternate method of stopping the machine is to press and hold the brake pedal, shown in Figure
37.The blade will stop moving in approximately three to four seconds after pedal is pressed. Restart saw by pressing start switch on column.
NOTE: Unnecessary and excessive use of brake pedal may shorten life of brake pad.
Figure 37
![]() After machine is shut off, allow wheels and blade to come to a complete stop
After machine is shut off, allow wheels and blade to come to a complete stop
before opening guards/doors, making adjustments, or leaving the area.
10.0Operation
The following section contains basic information, and is not intended to cover all possible applications or techniques using the band saw. Consult published sources of information, acquire formal training, and/or talk to experienced band saw users to gain proficiency and knowledge of band saw operations.
(The following figures may or may not show your specific model, but procedures are the same.)
10.1General Procedure
1.Make sure blade is adjusted correctly for tension and tracking, and that upper and lower guide bearings and thrust bearings are set in proper relation to blade.
2.Adjust guide post so that guide bearings are just above workpiece (about 1/8”) allowing minimum exposure to blade.
3.If using the fence, move it into position and lock it to guide rail. If using miter gauge for a crosscut, the fence should be moved safely out of the way.
4.Turn on band saw and allow a few seconds for machine to reach full speed.
![]() Whenever possible, use a push stick,
Whenever possible, use a push stick,
5.Place the straightest edge of the workpiece against the fence for a rip cut; or against the miter gauge for a crosscut. Push workpiece slowly into blade, while also keeping it pressed against fence or held against miter gauge. Do not force workpiece into blade.
Additional operating tips:
Make relief cuts whenever possible. A relief cut is an extra cut made through the waste portion of a workpiece up to the layout line. When that intersection is reached by the blade while following the layout line, the waste portion comes free. This helps prevent pinching of the back edge of the blade in the cut.
![]() When cutting, do not overfeed blade; overfeeding will reduce blade life, and may cause blade to break.
When cutting, do not overfeed blade; overfeeding will reduce blade life, and may cause blade to break.
When cutting long stock, the operator should use roller stands, support tables, or an assistant to help stabilize the workpiece.
21