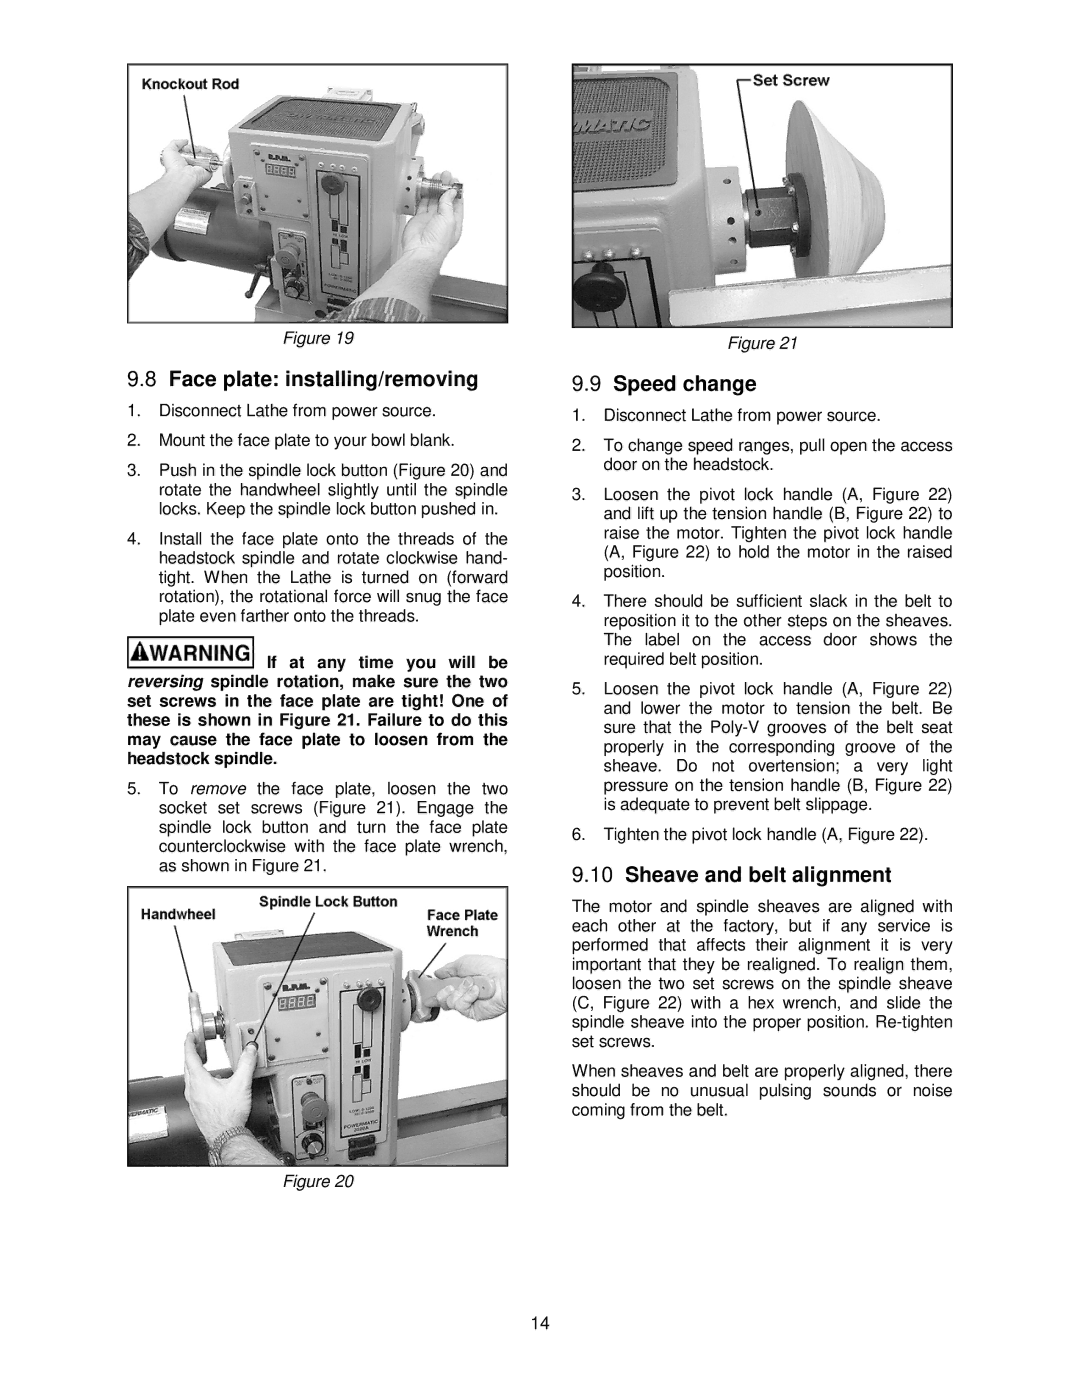
Figure 19
9.8Face plate: installing/removing
1.Disconnect Lathe from power source.
2.Mount the face plate to your bowl blank.
3.Push in the spindle lock button (Figure 20) and rotate the handwheel slightly until the spindle locks. Keep the spindle lock button pushed in.
4.Install the face plate onto the threads of the headstock spindle and rotate clockwise hand- tight. When the Lathe is turned on (forward rotation), the rotational force will snug the face plate even farther onto the threads.
![]() If at any time you will be reversing spindle rotation, make sure the two set screws in the face plate are tight! One of these is shown in Figure 21. Failure to do this may cause the face plate to loosen from the headstock spindle.
If at any time you will be reversing spindle rotation, make sure the two set screws in the face plate are tight! One of these is shown in Figure 21. Failure to do this may cause the face plate to loosen from the headstock spindle.
5.To remove the face plate, loosen the two socket set screws (Figure 21). Engage the spindle lock button and turn the face plate counterclockwise with the face plate wrench, as shown in Figure 21.
Figure 21
9.9Speed change
1.Disconnect Lathe from power source.
2.To change speed ranges, pull open the access door on the headstock.
3.Loosen the pivot lock handle (A, Figure 22) and lift up the tension handle (B, Figure 22) to raise the motor. Tighten the pivot lock handle (A, Figure 22) to hold the motor in the raised position.
4.There should be sufficient slack in the belt to reposition it to the other steps on the sheaves. The label on the access door shows the required belt position.
5.Loosen the pivot lock handle (A, Figure 22) and lower the motor to tension the belt. Be sure that the
6.Tighten the pivot lock handle (A, Figure 22).
9.10Sheave and belt alignment
The motor and spindle sheaves are aligned with each other at the factory, but if any service is performed that affects their alignment it is very important that they be realigned. To realign them, loosen the two set screws on the spindle sheave (C, Figure 22) with a hex wrench, and slide the spindle sheave into the proper position.
When sheaves and belt are properly aligned, there should be no unusual pulsing sounds or noise coming from the belt.
Figure 20
14