For outboard turning, where the headstock is moved to the opposite end of the Lathe to accommodate large bowl blanks, you can (1) mount the 18” bed extension to the three lower holes on the Lathe frame, and (2) mount a vertical extension post [included with the optional bed extension] to the tool rest base. See Figure 9.
For large outboard work, an optional outboard turning stand (# 6294732) is available – see sect. 16.4.1.
Figure 9
(shown with optional accessories)
7.4Shelf assemblies (optional)
The double ledges on the inside of the Lathe legs will provide support for a shelf (not provided), which is convenient for storing larger items while keeping them easily accessible.
Figures 10-11-12 illustrate three methods of creating a shelf, using common lumber and basic tools.
IMPORTANT TIP: It is unlikely that a full-size shelf can be completely built and then inserted between the Lathe legs. Therefore, construct the shelf in pieces and insert screws only after the shelf has been established beneath the Lathe.
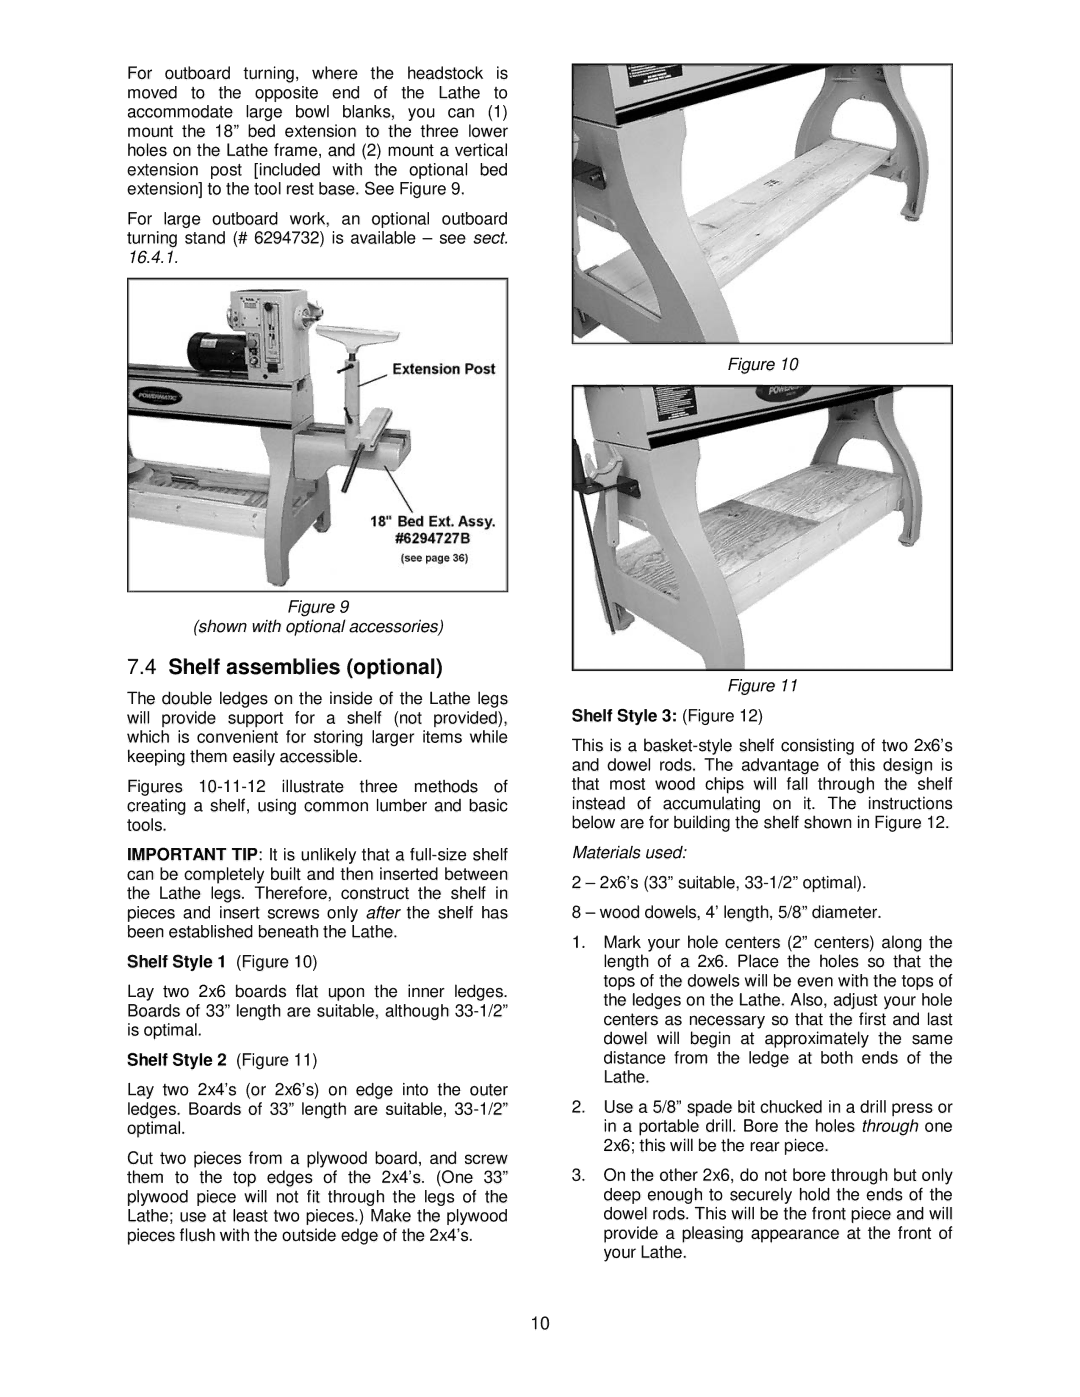
Shelf Style 1 (Figure 10)
Lay two 2x6 boards flat upon the inner ledges. Boards of 33” length are suitable, although
Shelf Style 2 (Figure 11)
Lay two 2x4’s (or 2x6’s) on edge into the outer ledges. Boards of 33” length are suitable,
Cut two pieces from a plywood board, and screw them to the top edges of the 2x4’s. (One 33” plywood piece will not fit through the legs of the Lathe; use at least two pieces.) Make the plywood pieces flush with the outside edge of the 2x4’s.
Figure 10
Figure 11
Shelf Style 3: (Figure 12)
This is a
Materials used:
2 – 2x6’s (33” suitable,
8 – wood dowels, 4’ length, 5/8” diameter.
1.Mark your hole centers (2” centers) along the length of a 2x6. Place the holes so that the tops of the dowels will be even with the tops of the ledges on the Lathe. Also, adjust your hole centers as necessary so that the first and last dowel will begin at approximately the same distance from the ledge at both ends of the Lathe.
2.Use a 5/8” spade bit chucked in a drill press or in a portable drill. Bore the holes through one 2x6; this will be the rear piece.
3.On the other 2x6, do not bore through but only deep enough to securely hold the ends of the dowel rods. This will be the front piece and will provide a pleasing appearance at the front of your Lathe.
10