TOC | INDEX |
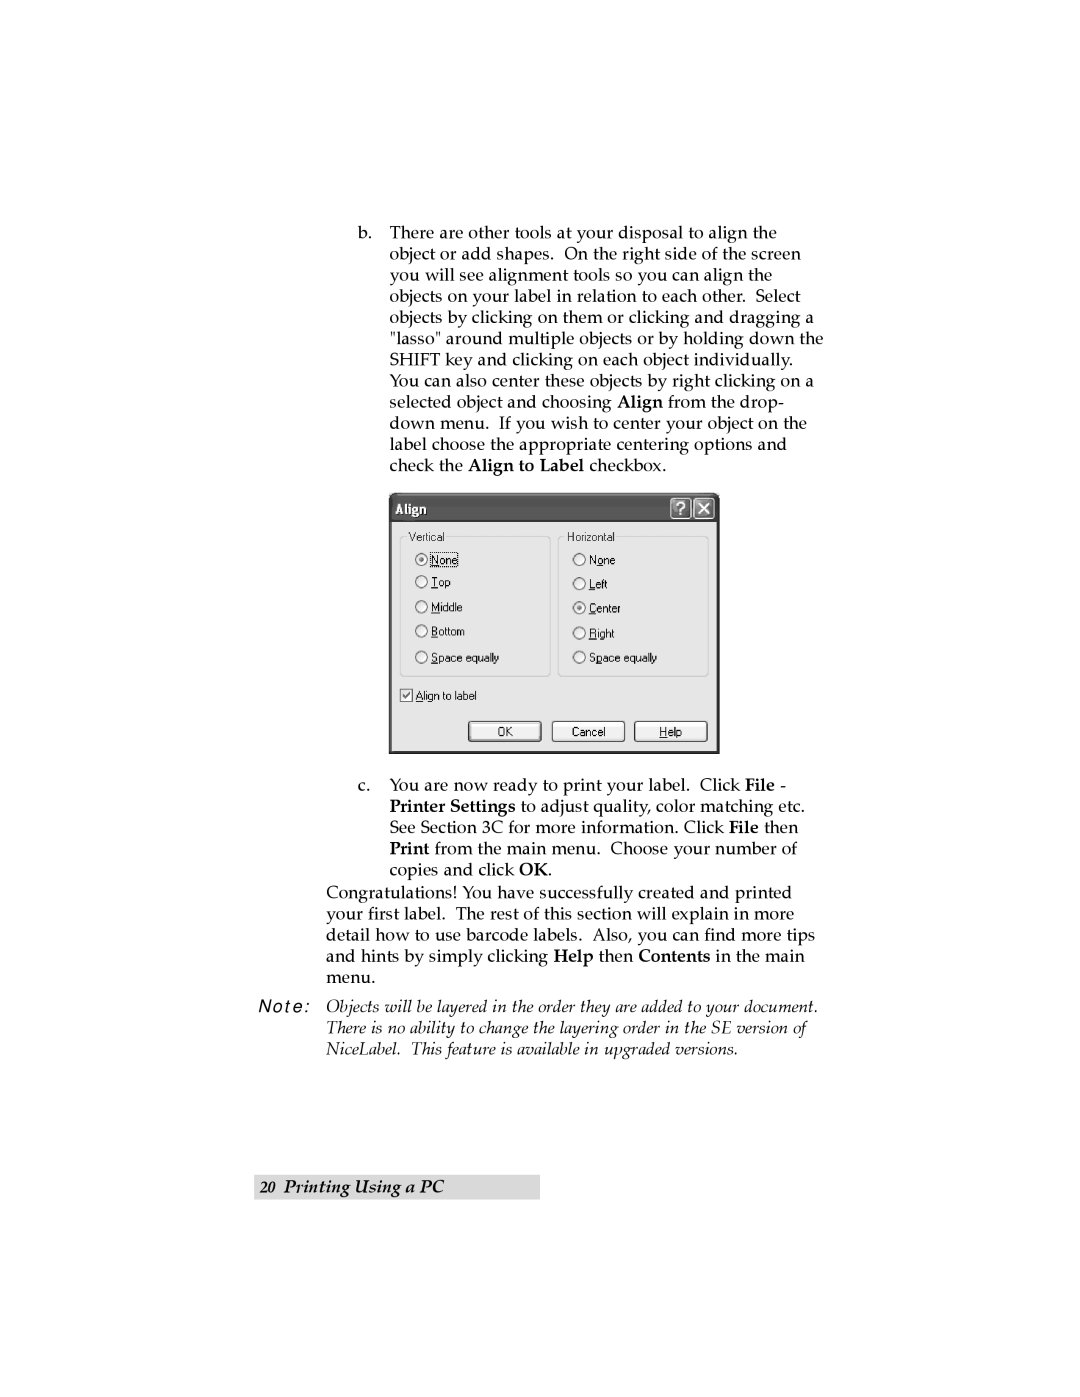
b.There are other tools at your disposal to align the object or add shapes. On the right side of the screen you will see alignment tools so you can align the objects on your label in relation to each other. Select objects by clicking on them or clicking and dragging a "lasso" around multiple objects or by holding down the SHIFT key and clicking on each object individually. You can also center these objects by right clicking on a selected object and choosing Align from the drop- down menu. If you wish to center your object on the label choose the appropriate centering options and check the Align to Label checkbox.
c.You are now ready to print your label. Click File - Printer Settings to adjust quality, color matching etc. See Section 3C for more information. Click File then Print from the main menu. Choose your number of copies and click OK.
Congratulations! You have successfully created and printed your first label. The rest of this section will explain in more detail how to use barcode labels. Also, you can find more tips and hints by simply clicking Help then Contents in the main menu.
Note: Objects will be layered in the order they are added to your document. There is no ability to change the layering order in the SE version of NiceLabel. This feature is available in upgraded versions.
20Printing Using a PC
