TOC | INDEX |
Note: When connecting USB to a Mac it may be necessary to Add the printer via the Printer Setup Utility.
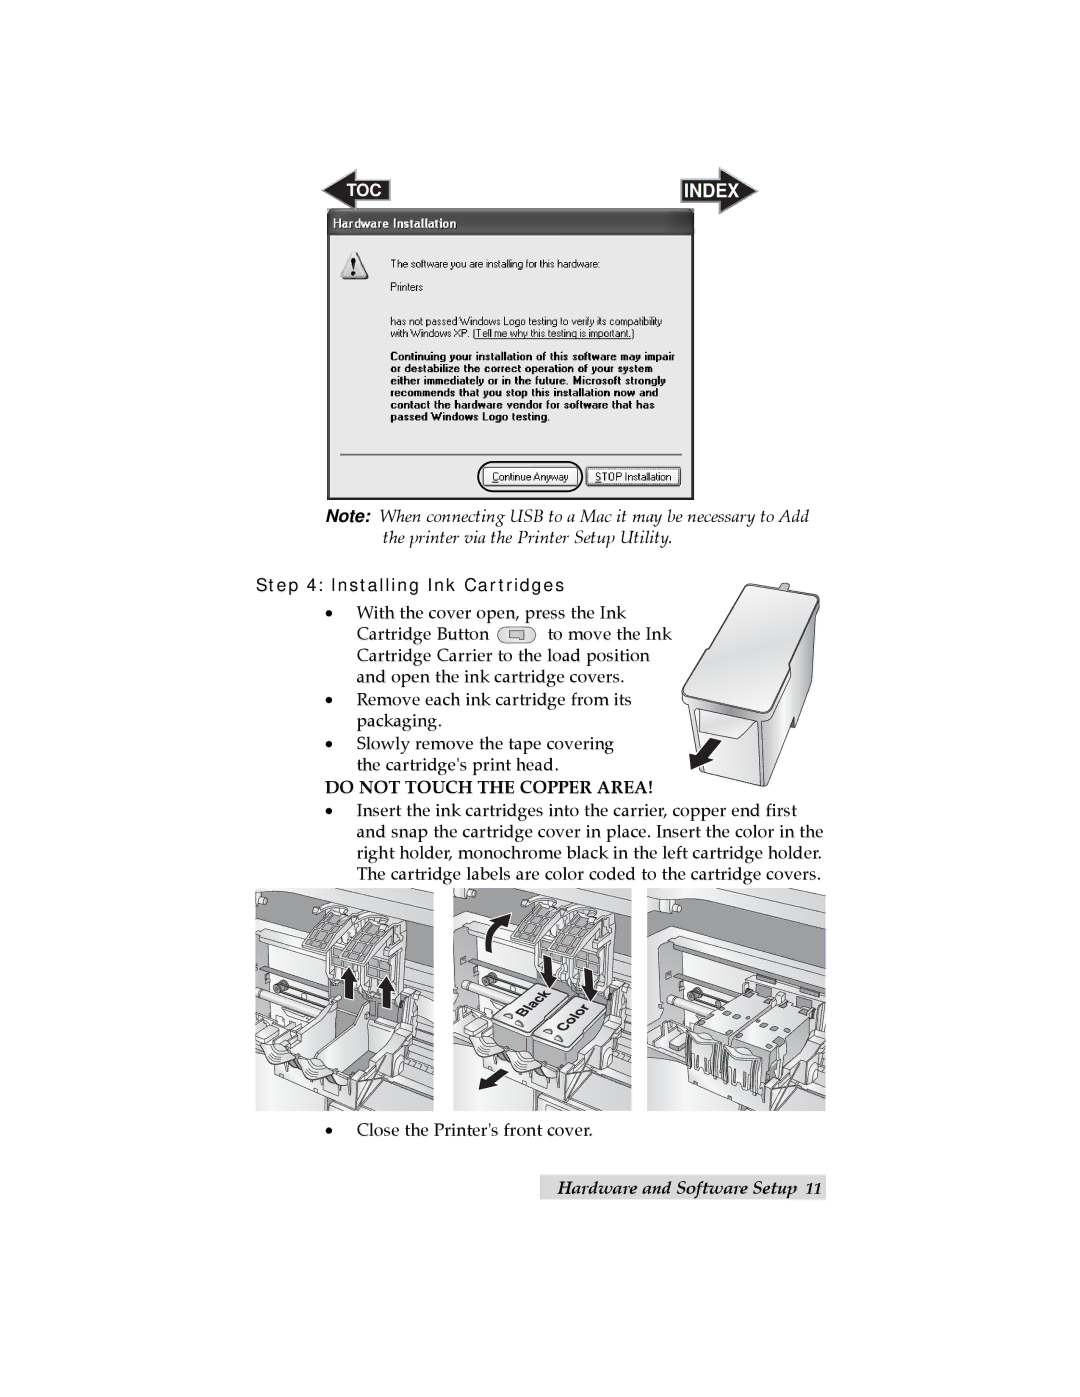
Step 4: Installing Ink Cartridges
•With the cover open, press the Ink
Cartridge Button ![]() to move the Ink Cartridge Carrier to the load position and open the ink cartridge covers.
to move the Ink Cartridge Carrier to the load position and open the ink cartridge covers.
•Remove each ink cartridge from its
packaging.
•Slowly remove the tape covering the cartridge's print head.
DO NOT TOUCH THE COPPER AREA!
•Insert the ink cartridges into the carrier, copper end first and snap the cartridge cover in place. Insert the color in the right holder, monochrome black in the left cartridge holder. The cartridge labels are color coded to the cartridge covers.
•Close the Printer's front cover.
Hardware and Software Setup 11