VTrak M610i, M310i, M210i Quick Start Guide
Read Cache, Read Ahead Cache, and No Cache are available. Read Ahead is the default.
13.Specify a Write (cache) Policy from the dropdown menu.
Write Back and Write Through (Thru) are available. Write Back is the default.
14.Click the Update button.
A new logical drive is displayed under New Logical Drives.
Repeat the above steps to specify additional logical drives as desired.
15.When you are done specifying logical drives, click the Next button.
Step 3 – Summary
The Summary lists the disk array and logical drive information you specified.
16.To proceed with disk array and logical drive creation, click the Submit button.
Logging out of WebPAM PROe
There are two ways to log out of WebPAM PROe:
•Close your browser window
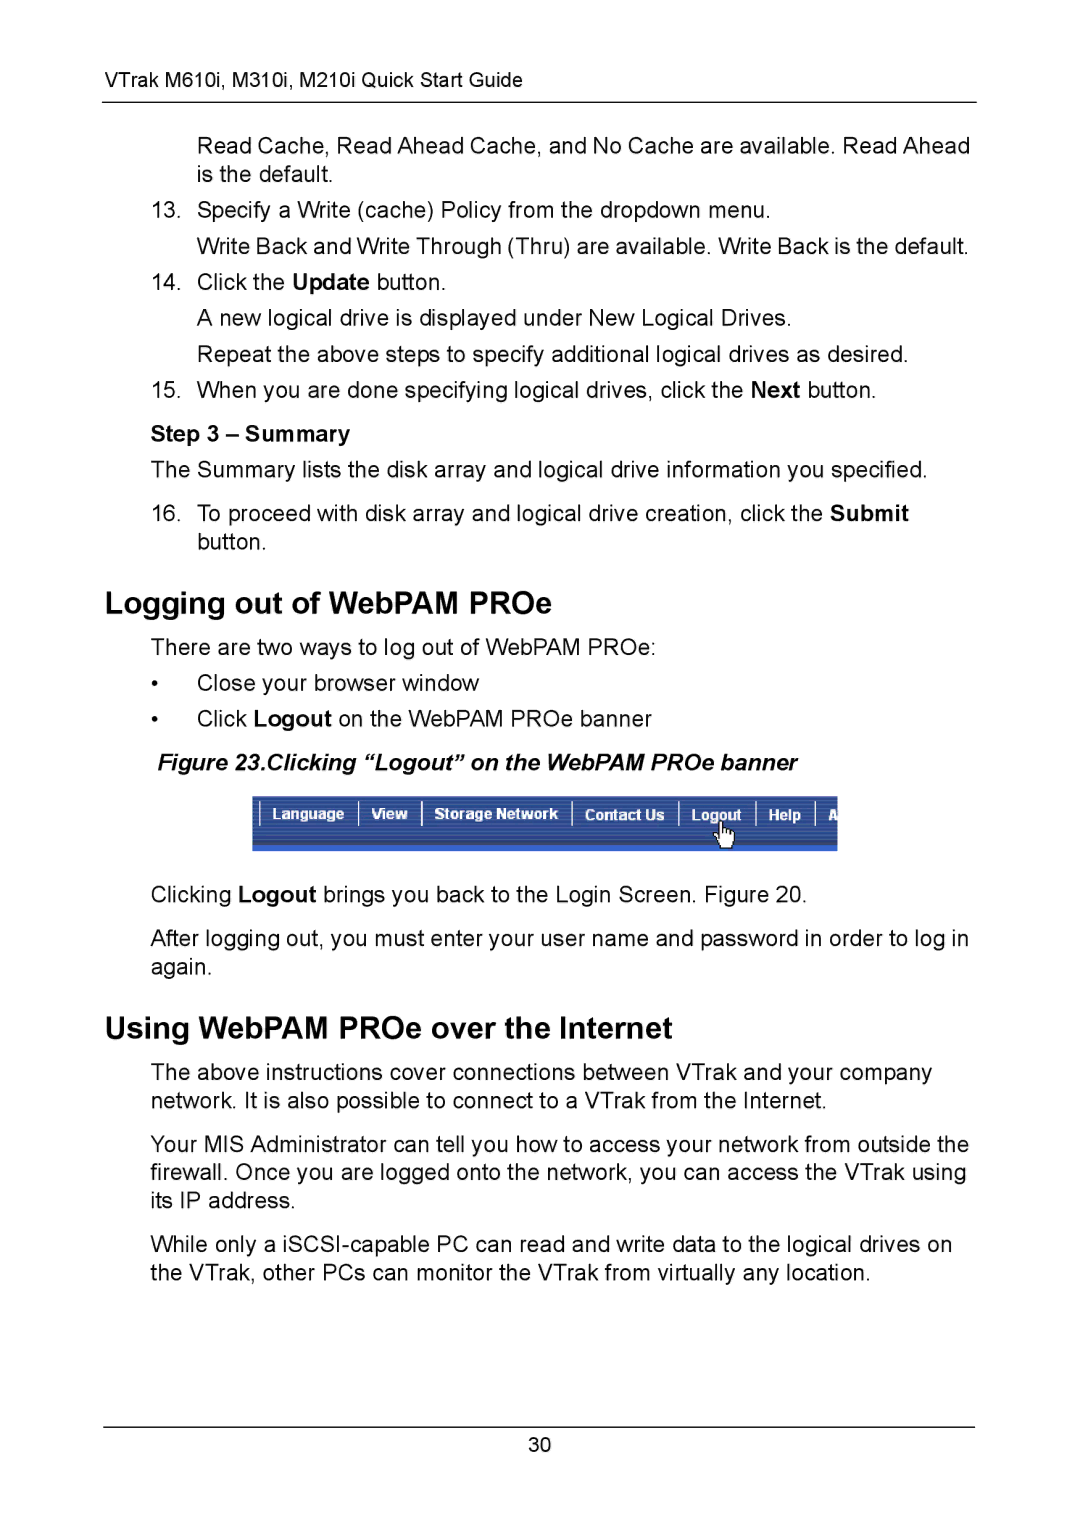
•Click Logout on the WebPAM PROe banner
Figure 23.Clicking “Logout” on the WebPAM PROe banner
Clicking Logout brings you back to the Login Screen. Figure 20.
After logging out, you must enter your user name and password in order to log in again.
Using WebPAM PROe over the Internet
The above instructions cover connections between VTrak and your company network. It is also possible to connect to a VTrak from the Internet.
Your MIS Administrator can tell you how to access your network from outside the firewall. Once you are logged onto the network, you can access the VTrak using its IP address.
While only a
30