
DV400S specifications
The Quadra-Fire DV400S stands as a testament to the evolution of home heating solutions, merging efficiency and innovation in a fireplace insert design. This model is an exemplary choice for homeowners seeking to enhance the comfort of their living spaces while also embracing environmentally conscious heating options.One of the standout features of the DV400S is its impressive heating capacity. Designed to effectively warm spaces ranging from 800 to 2,000 square feet, this unit ensures an inviting atmosphere even in larger areas. Its powerful yet efficient operation is made possible through advanced combustion technology, which maximizes heat output while minimizing emissions. This feature not only adheres to strict environmental standards but also allows users to enjoy clean-burning, sustainable fuel options.
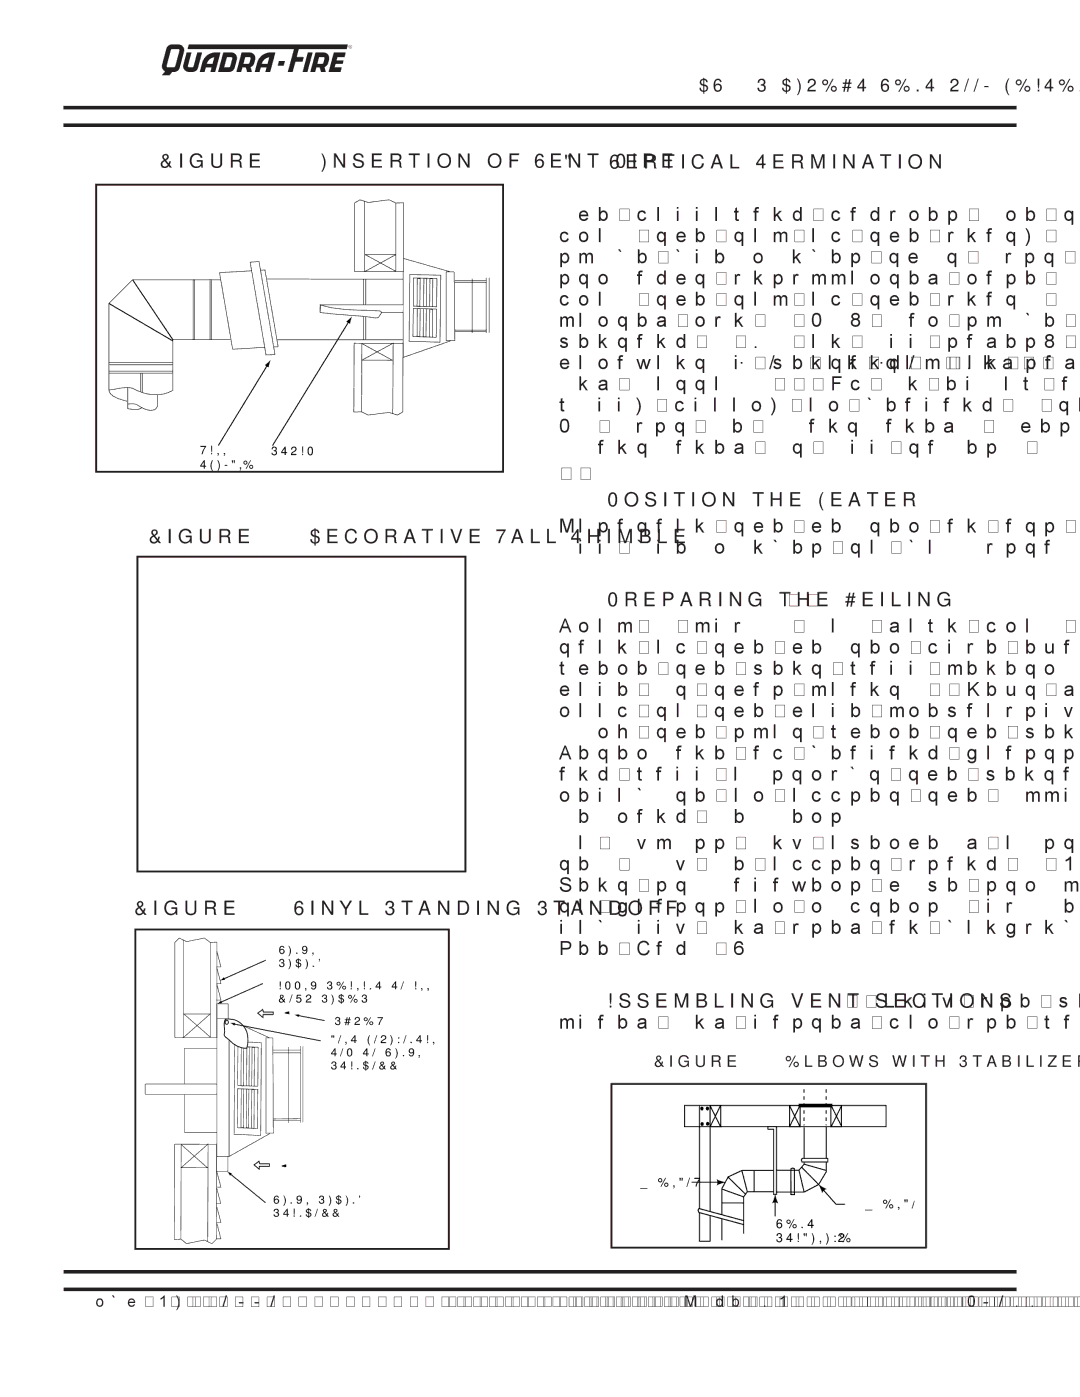
The DV400S is equipped with a direct vent system, enhancing its versatility. This technology allows the fireplace insert to draw air from outside for combustion, while also venting exhaust gases outside. This ensures that the indoor air quality remains untainted by smoke and particulates, making it a safe option for various home configurations. Additionally, the dual venting options provide installation flexibility, accommodating both horizontal and vertical venting setups.
With a sleek and modern design, the Quadra-Fire DV400S adds aesthetic appeal to any room. Its customizable options for finishes and trim allow homeowners to select the perfect look that complements their décor. The large viewing glass provides an unobstructed view of the fire, creating a cozy ambiance while also featuring an air wash system that keeps the glass clean and clear.
The DV400S is user-friendly, featuring easy-to-use controls for adjusting heat output and flame appearance to suit personal preferences. Its durable construction and high-quality materials ensure longevity and reliability, making it a worthwhile investment for years of enjoyment.
Moreover, this fireplace insert is equipped with innovative safety features, including a dual blower system that circulates warm air throughout the room, and a thermodisc switch that ensures safe operational temperatures. The Quadra-Fire DV400S not only delivers warmth but also offers peace of mind, making it a cornerstone of modern home heating.
In summary, the Quadra-Fire DV400S is a remarkable culmination of efficiency, design, and technology. Its powerful heating capabilities, reliable direct vent system, elegant aesthetics, and user-friendly features make it an excellent choice for those looking to enhance their home heating experience. As a leader in the industry, Quadra-Fire continues to set the standard for quality and innovation in fireplace inserts.