3.Plug the supplied AC adapter’s barrel plug into the DC 12V 500mA jack on the back of the base.
4.Plug the adapter into a standard AC outlet.
5.Lift the base’s antenna to a vertical position.
CONNECTING AND CHARGING THE BATTERY PACK
The
To connect the battery pack, line up the slots on the battery pack with the posts on the back of the keypad. Press down and slide the battery pack forward until the latch clicks.
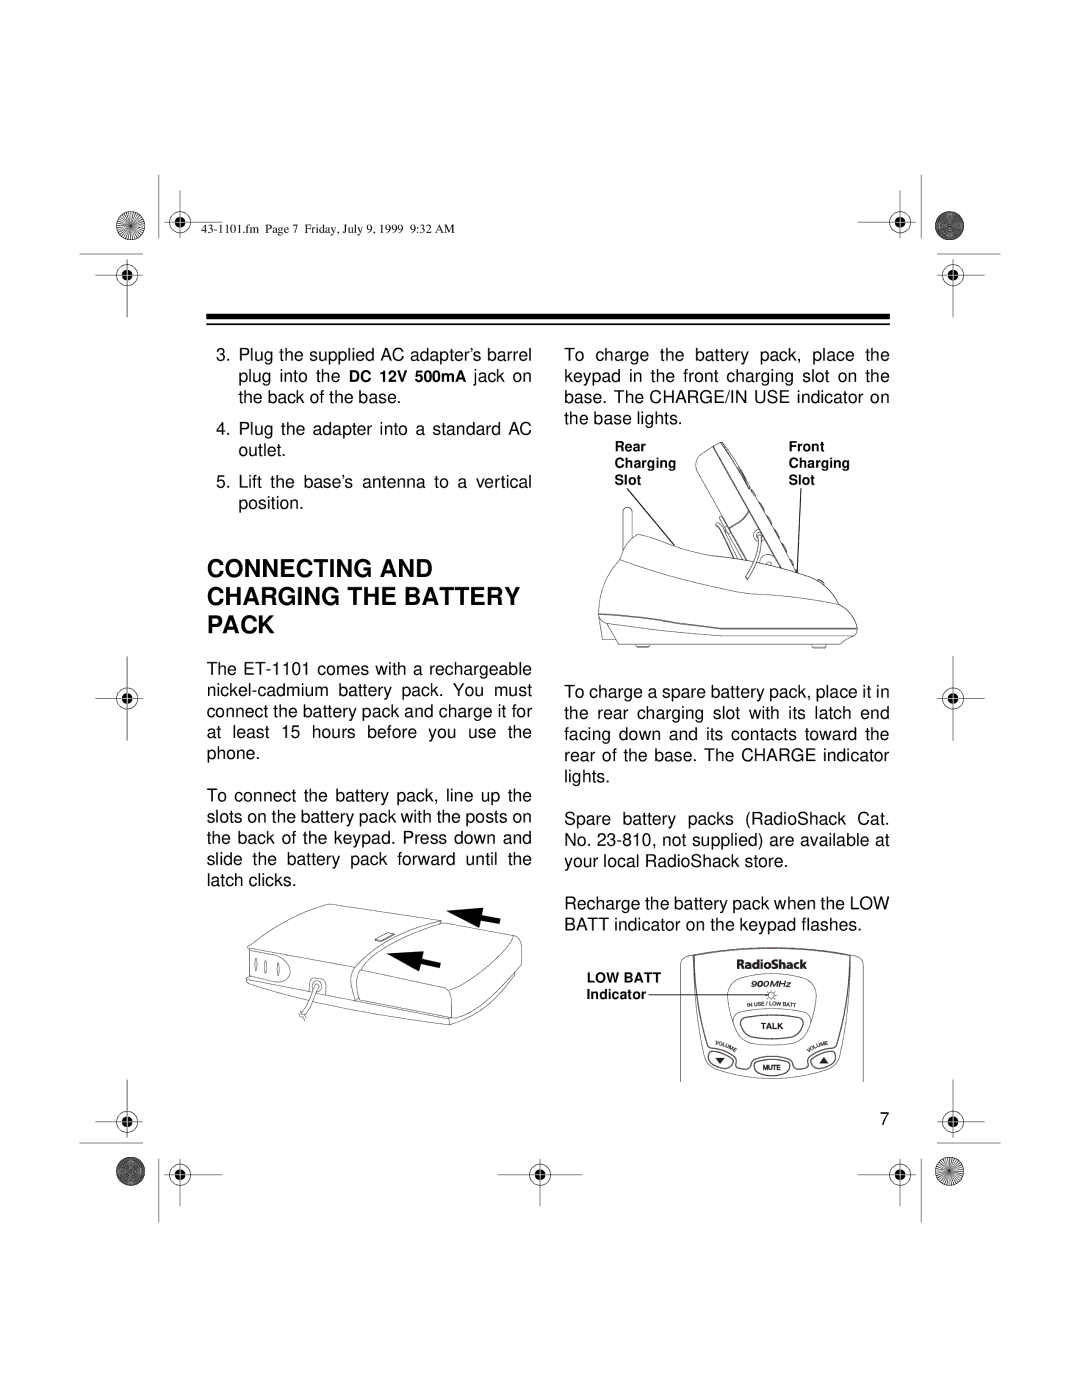
To charge the battery pack, place the keypad in the front charging slot on the base. The CHARGE/IN USE indicator on the base lights.
Rear | Front |
Charging | Charging |
Slot | Slot |
To charge a spare battery pack, place it in the rear charging slot with its latch end facing down and its contacts toward the rear of the base. The CHARGE indicator lights.
Spare battery packs (RadioShack Cat. No.
Recharge the battery pack when the LOW BATT indicator on the keypad flashes.
LOW BATT
Indicator
7