PaperJet 300 user guide ~ Edition 3.2 ~ 25th july ’01 ~ 3693
Connecting to a PC
Your PaperJet 300 is supplied with software to enable you to manage faxes from your PC, to scan documents into your PC and to use it as a mono and colour printer. It also contains a detailed user guide for the faxing and scanning applications.
You are provided with a cable to enable you to connect your PaperJet 300 to the PC parallel printer port.
System requirements
Windows 95, 98, Me
16MB RAM, 486 processor or higher, 20Mb free space on the hard drive.
Windows 3.1
8MB RAM, 486 processor or higher, 20Mb free space on the hard drive.
Windows for Workgroups 3.11
10MB RAM (10Mb required by some applications), 486 processor or higher, 20Mb free space on the hard drive.
Loading the software
The procedures described here are written for Windows 9x and Windows Me. If you are running Windows 3.1x, there may be some differences.
Switch off your PC and PaperJet 300.
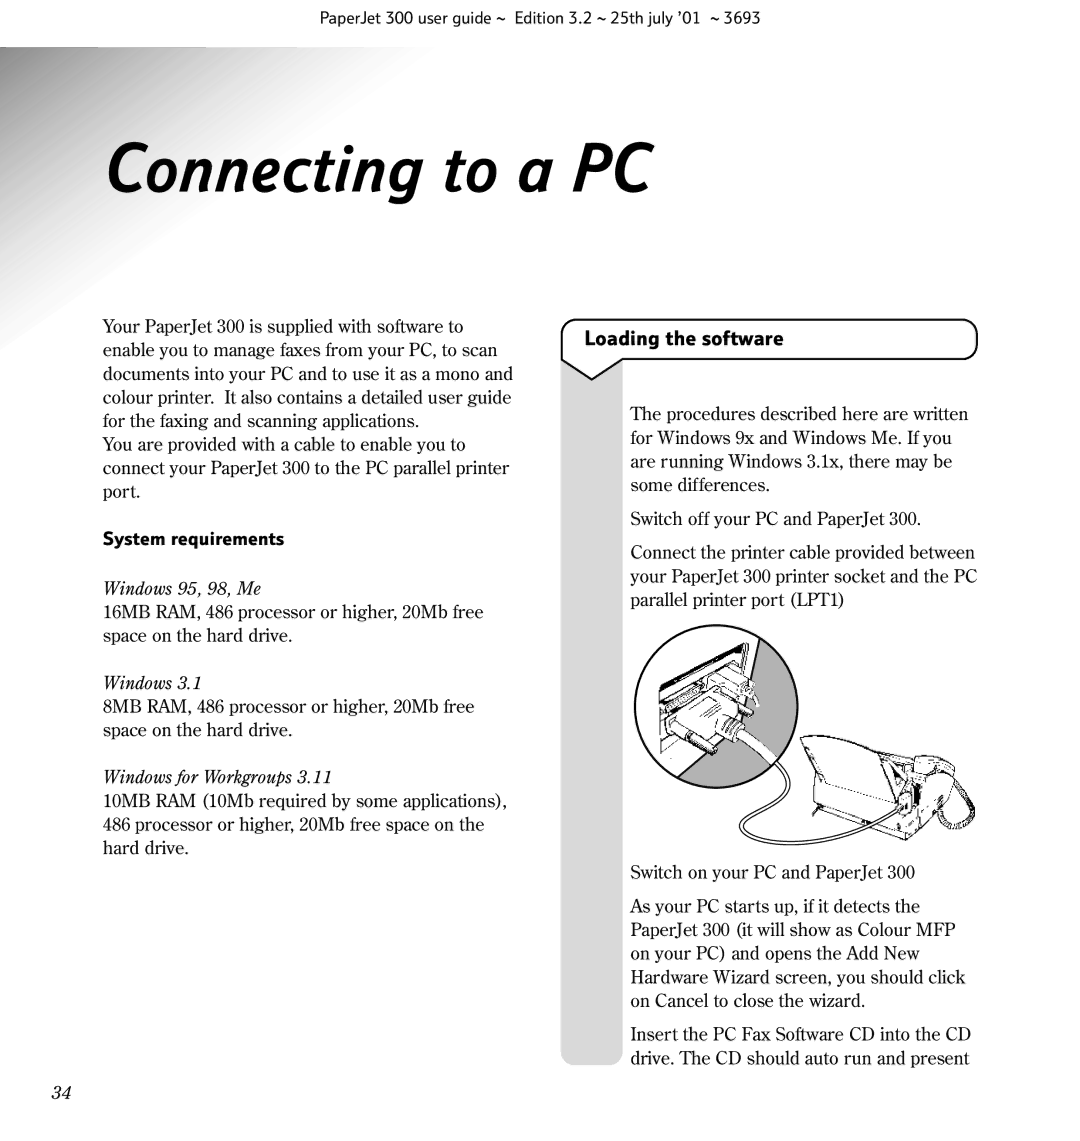
Connect the printer cable provided between your PaperJet 300 printer socket and the PC parallel printer port (LPT1)
Switch on your PC and PaperJet 300
As your PC starts up, if it detects the PaperJet 300 (it will show as Colour MFP on your PC) and opens the Add New Hardware Wizard screen, you should click on Cancel to close the wizard.
Insert the PC Fax Software CD into the CD drive. The CD should auto run and present
34
