Recording
Titler (continued)
To Create a Title
1.Attach a power source to the camcorder. Press and hold the small button on the CAMERA/OFF/VCR switch while you set it to CAMERA.
2.Press TITLER to display the titler graphics in the viewfinder. A flashing cursor appears.
3.Press
4.Select the first character for your title by pressing the + or – button until the character you want appears in the viewfinder.
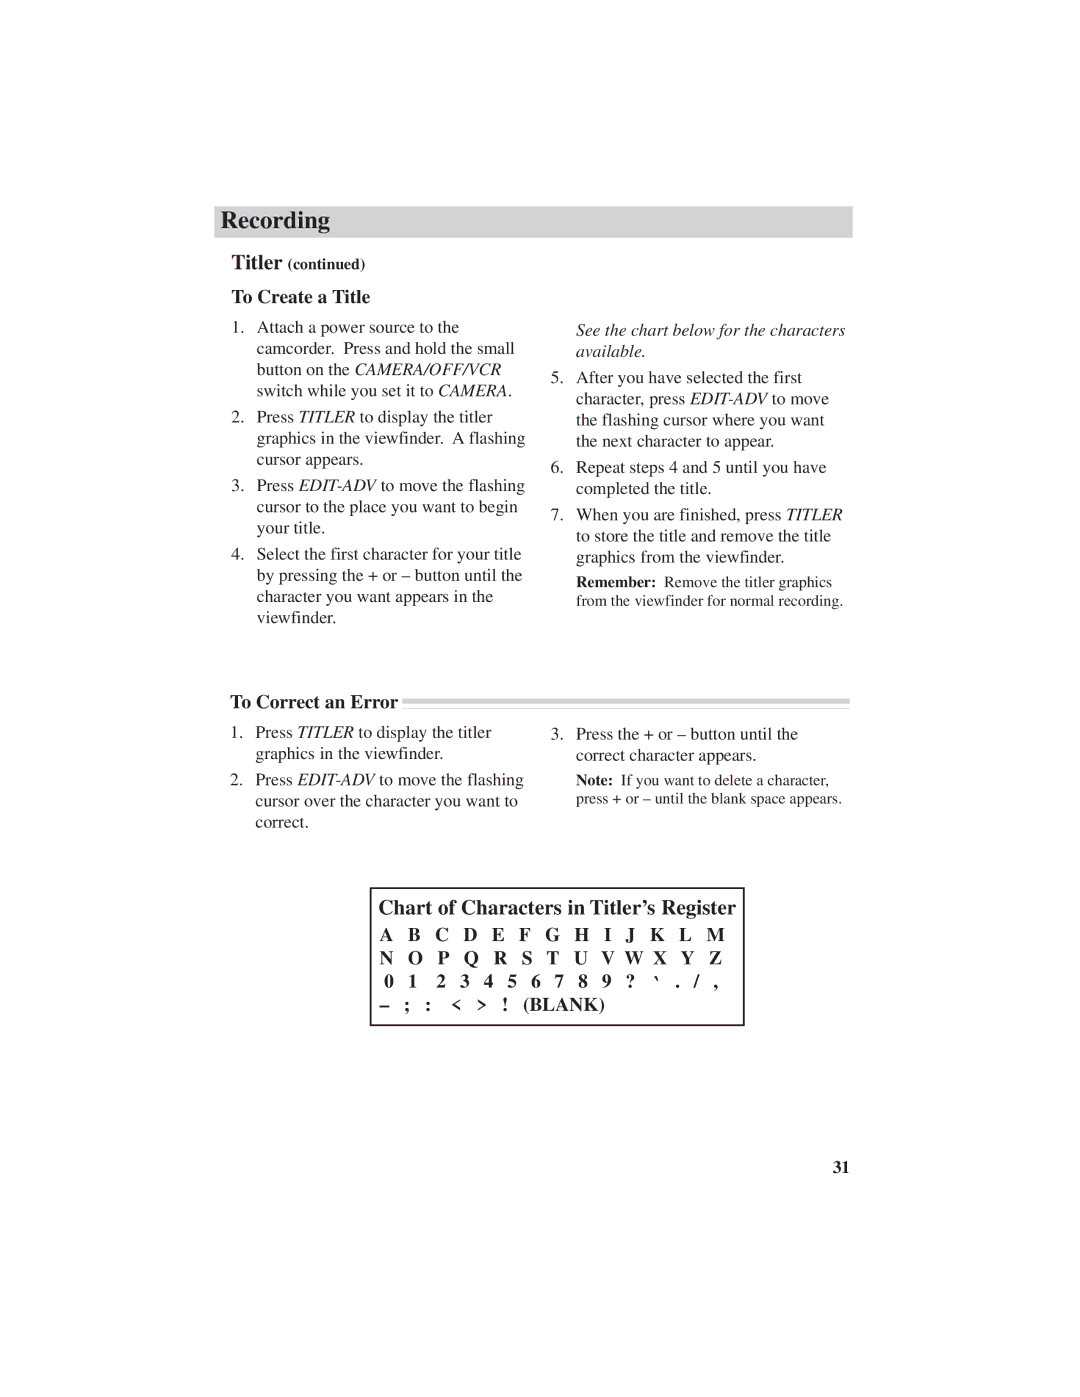
See the chart below for the characters available.
5.After you have selected the first character, press
6.Repeat steps 4 and 5 until you have completed the title.
7.When you are finished, press TITLER to store the title and remove the title graphics from the viewfinder.
Remember: Remove the titler graphics from the viewfinder for normal recording.
To Correct an Error
1.Press TITLER to display the titler graphics in the viewfinder.
2.Press
3.Press the + or – button until the correct character appears.
Note: If you want to delete a character, press + or – until the blank space appears.
Chart of Characters in Titler’s Register
A B C D E F G H I J K L M N O P Q R S T U V W X Y Z 0 1 2 3 4 5 6 7 8 9 ? ‘ . / ,
– ; : < > ! (BLANK)
31