Connections and Setup
Plug in the Monitor
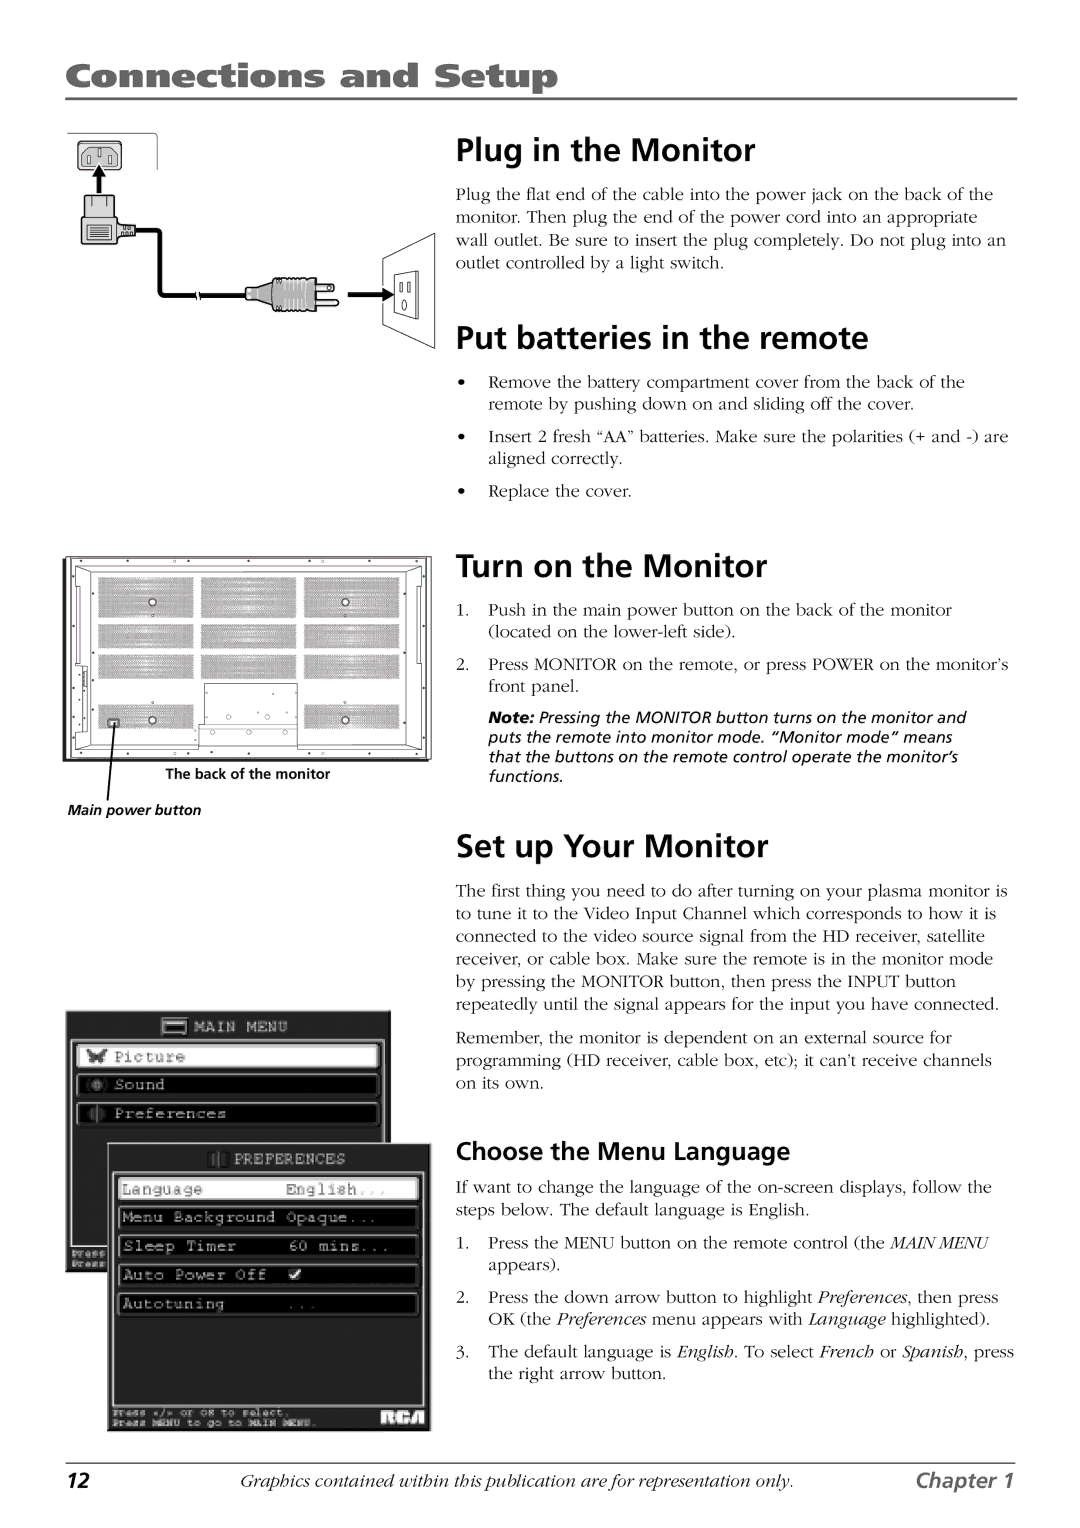
Plug the flat end of the cable into the power jack on the back of the monitor. Then plug the end of the power cord into an appropriate wall outlet. Be sure to insert the plug completely. Do not plug into an outlet controlled by a light switch.
Put batteries in the remote
•Remove the battery compartment cover from the back of the remote by pushing down on and sliding off the cover.
•Insert 2 fresh “AA” batteries. Make sure the polarities (+ and
•Replace the cover.
The back of the monitor
Main power button
Turn on the Monitor
1.Push in the main power button on the back of the monitor (located on the
2.Press MONITOR on the remote, or press POWER on the monitor’s front panel.
Note: Pressing the MONITOR button turns on the monitor and puts the remote into monitor mode. “Monitor mode” means that the buttons on the remote control operate the monitor’s functions.
Set up Your Monitor
The first thing you need to do after turning on your plasma monitor is to tune it to the Video Input Channel which corresponds to how it is connected to the video source signal from the HD receiver, satellite receiver, or cable box. Make sure the remote is in the monitor mode by pressing the MONITOR button, then press the INPUT button repeatedly until the signal appears for the input you have connected.
Remember, the monitor is dependent on an external source for programming (HD receiver, cable box, etc); it can’t receive channels on its own.
Choose the Menu Language
If want to change the language of the
1.Press the MENU button on the remote control (the MAIN MENU appears).
2.Press the down arrow button to highlight Preferences, then press OK (the Preferences menu appears with Language highlighted).
3.The default language is English. To select French or Spanish, press the right arrow button.
12 | Graphics contained within this publication are for representation only. | Chapter 1 |
