Chapter 3: Using the Setup Menu
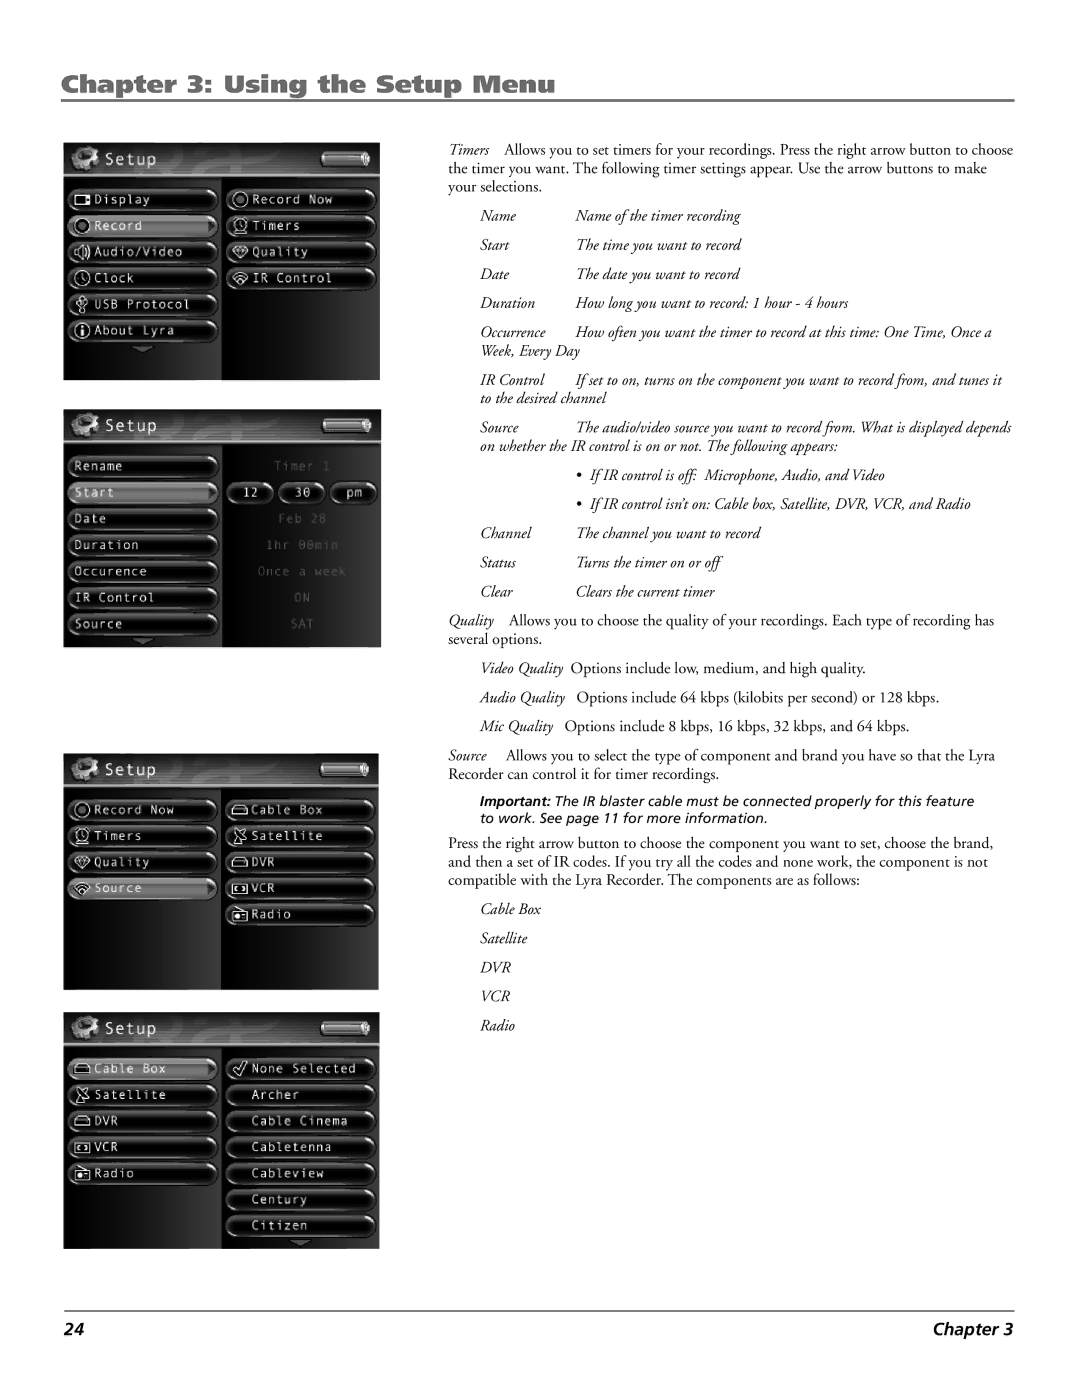
Timers Allows you to set timers for your recordings. Press the right arrow button to choose the timer you want. The following timer settings appear. Use the arrow buttons to make your selections.
Name | Name of the timer recording |
Start | The time you want to record |
Date | The date you want to record |
Duration | How long you want to record: 1 hour - 4 hours |
Occurrence | How often you want the timer to record at this time: One Time, Once a |
Week, Every Day | |
IR Control | If set to on, turns on the component you want to record from, and tunes it |
to the desired channel | |
Source | The audio/video source you want to record from. What is displayed depends |
on whether the IR control is on or not. The following appears:
| • | If IR control is off: Microphone, Audio, and Video |
| • | If IR control isn’t on: Cable box, Satellite, DVR, VCR, and Radio |
Channel | The channel you want to record | |
Status | Turns the timer on or off | |
Clear | Clears the current timer | |
Quality Allows you to choose the quality of your recordings. Each type of recording has several options.
Video Quality Options include low, medium, and high quality.
Audio Quality Options include 64 kbps (kilobits per second) or 128 kbps.
Mic Quality Options include 8 kbps, 16 kbps, 32 kbps, and 64 kbps.
Source Allows you to select the type of component and brand you have so that the Lyra Recorder can control it for timer recordings.
Important: The IR blaster cable must be connected properly for this feature to work. See page 11 for more information.
Press the right arrow button to choose the component you want to set, choose the brand, and then a set of IR codes. If you try all the codes and none work, the component is not compatible with the Lyra Recorder. The components are as follows:
Cable Box
Satellite
DVR
VCR
Radio
24 | Chapter 3 |