Chapter 4: Playing Files
Recording Audio to Your Lyra Recorder
Recording from Your Audio Receiver
You can record audio from an audio/video component, such as an audio receiver, using the supplied Line In cable if the component has audio output jacks.
Notes: You might want to change the Audio Record Quality setting in the Setup menu (go to Chapter 3) if you want to record at a lower quality to take up less space, or to record at a higher quality for better sound. The default record quality is 128 k (high quality- mp3 audio).
The file size limit when recording is 2GB, so if your file is larger than that, it will be split into multiple files.
1.Make sure your Lyra Recorder is off.
2.Connect the 3.5mm
3.Connect the red (audio right) and white (audio left) cables to the corresponding right and left audio out jacks on your audio receiver. (The yellow plug will not be used for this connection).
4.Turn on the power to your audio system, and select the mode you’re recording from (for example, if you want to record a CD, make sure the stereo is in CD mode).
5.Turn on your Lyra Recorder.
Tip: You can also use the remote to control many of the record options.
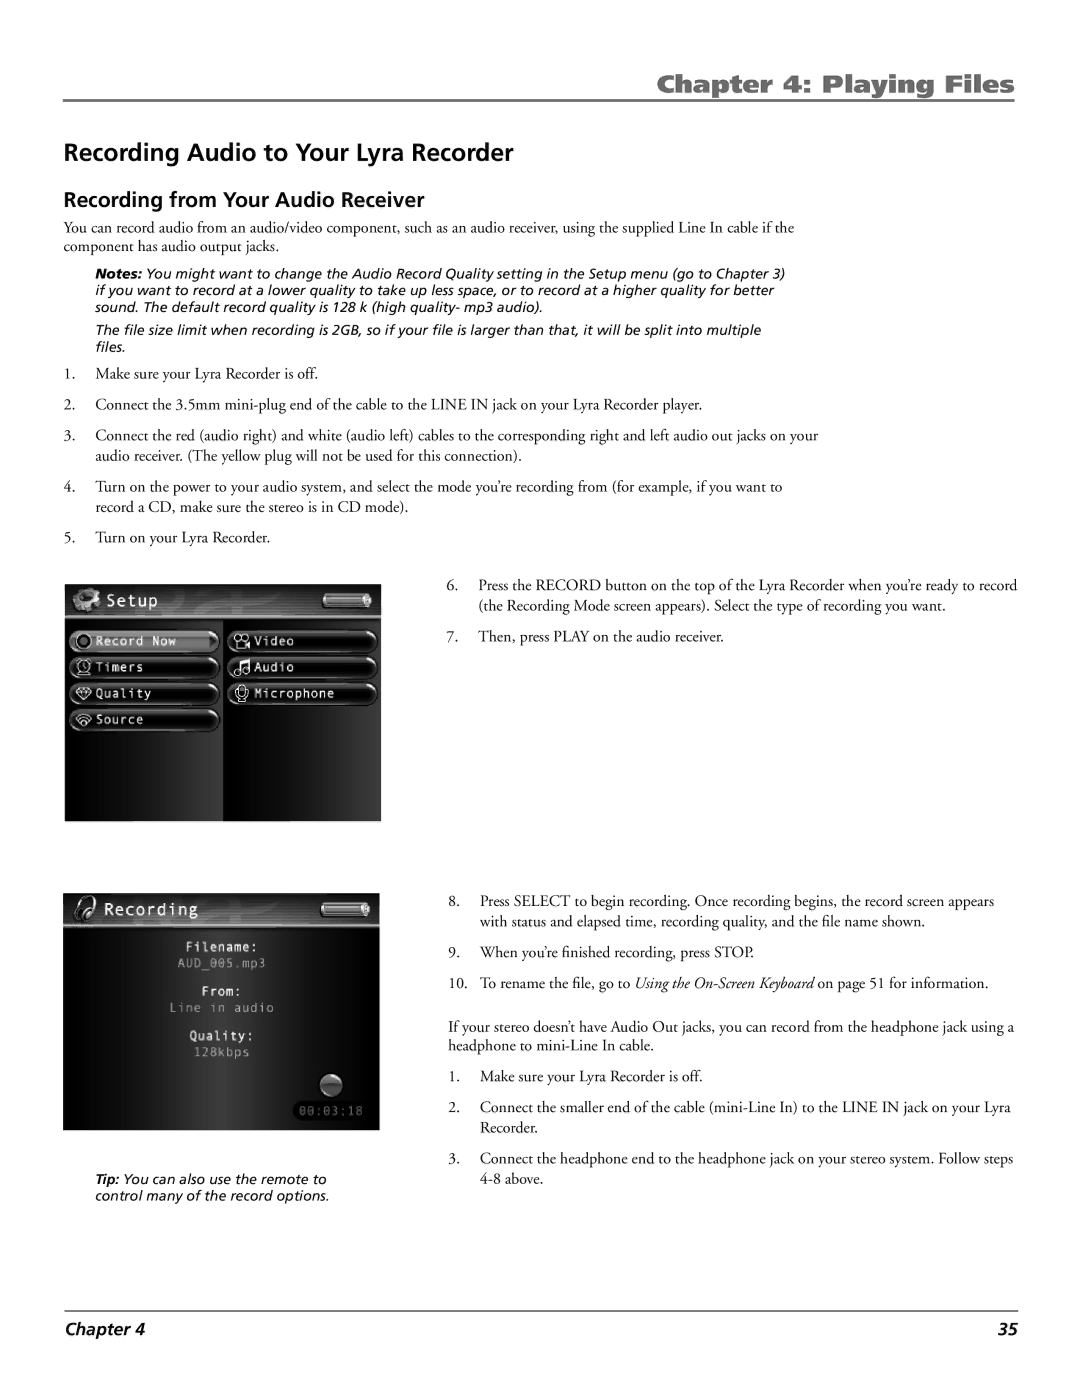
6.Press the RECORD button on the top of the Lyra Recorder when you’re ready to record (the Recording Mode screen appears). Select the type of recording you want.
7.Then, press PLAY on the audio receiver.
8.Press SELECT to begin recording. Once recording begins, the record screen appears with status and elapsed time, recording quality, and the file name shown.
9.When you’re finished recording, press STOP.
10.To rename the file, go to Using the
If your stereo doesn’t have Audio Out jacks, you can record from the headphone jack using a headphone to
1.Make sure your Lyra Recorder is off.
2.Connect the smaller end of the cable
3.Connect the headphone end to the headphone jack on your stereo system. Follow steps
Chapter 4 | 35 |
