Assembling the VPAP Adapt SV System
Complete the following steps to assemble the VPAP Adapt SV system. Make sure the area around the unit is clean (dust free) and clear of bedding, clothes and any other potential blockages.
To add a humidifier see page 11.
!
1
WARNING
Use only the air tubing system supplied with the VPAP Adapt SV system.
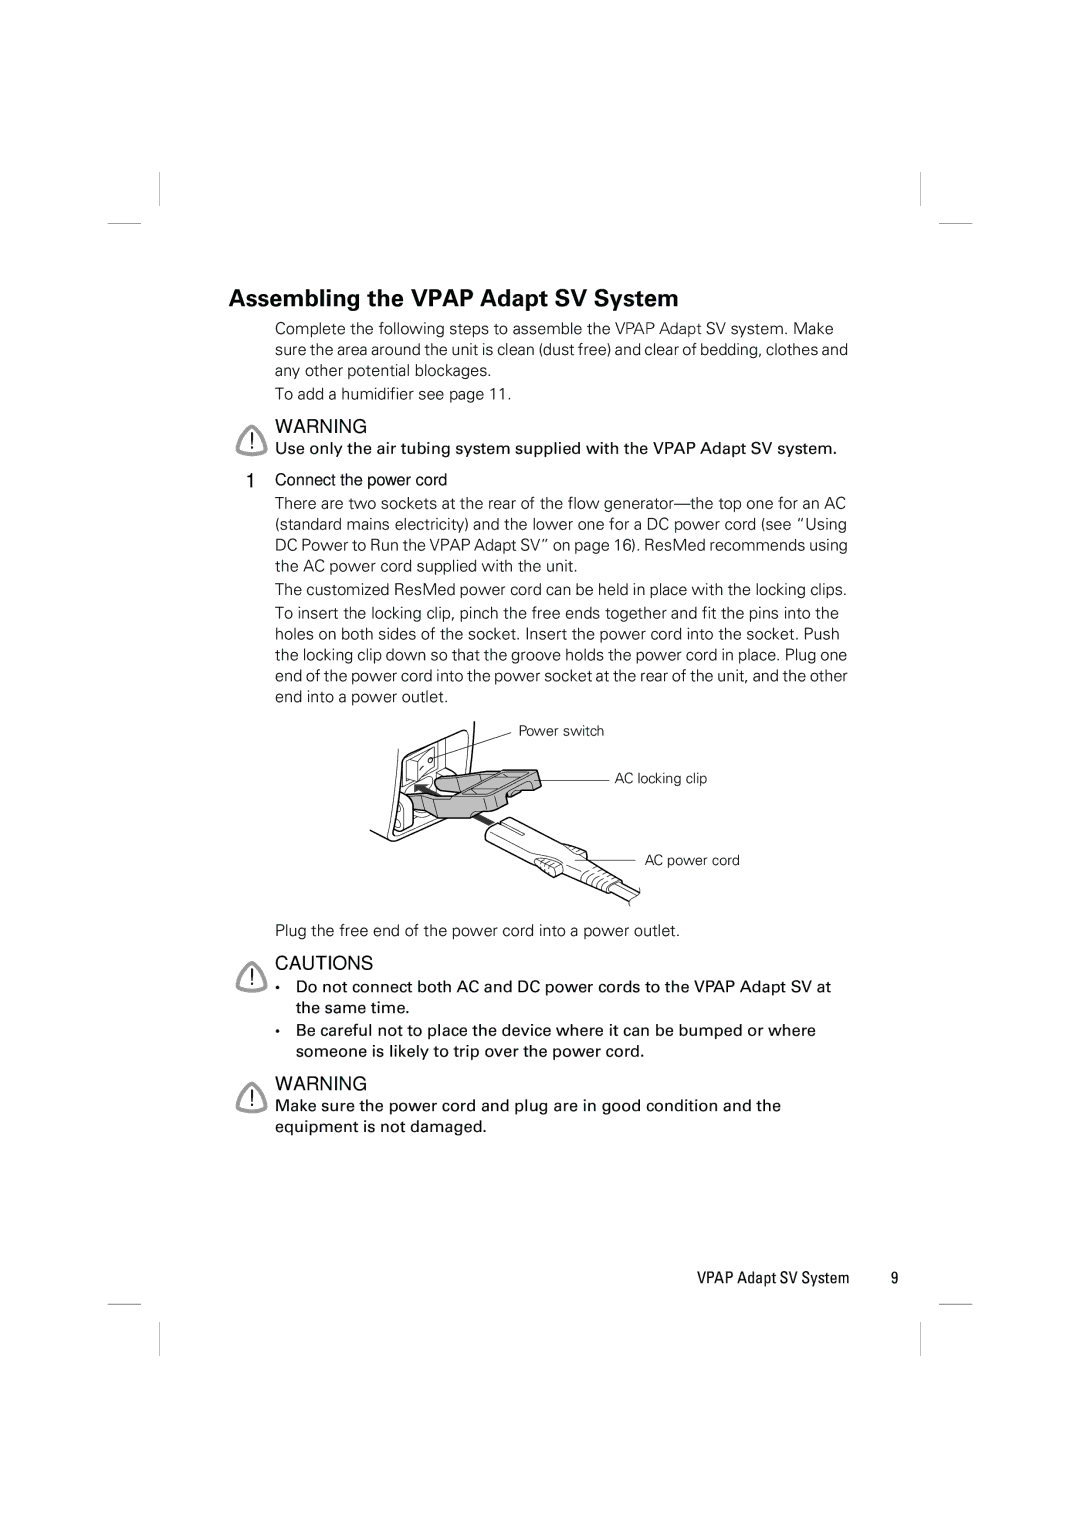
Connect the power cord
There are two sockets at the rear of the flow
The customized ResMed power cord can be held in place with the locking clips. To insert the locking clip, pinch the free ends together and fit the pins into the holes on both sides of the socket. Insert the power cord into the socket. Push the locking clip down so that the groove holds the power cord in place. Plug one end of the power cord into the power socket at the rear of the unit, and the other end into a power outlet.
Power switch
![]() AC locking clip
AC locking clip
AC power cord
Plug the free end of the power cord into a power outlet.
CAUTIONS
! • Do not connect both AC and DC power cords to the VPAP Adapt SV at the same time.
• Be careful not to place the device where it can be bumped or where someone is likely to trip over the power cord.
WARNING
! Make sure the power cord and plug are in good condition and the equipment is not damaged.
VPAP Adapt SV System | 9 |