•Tint
•Sharpness
•Gamma
•Color temperature selection (5400, 6500, 8500 or Custom)
To save image settings to a preset, select Save Settings from the Picture Adjust menu and select “Custom,“ “ISF Day” or “ISF Night.”
Restore Settings: To recall a preset, choose Restore Settings from the Picture Adjust menu and select “Custom,” “ISF Day” or “ISF Night.” Or, use the corresponding buttons on the remote control.
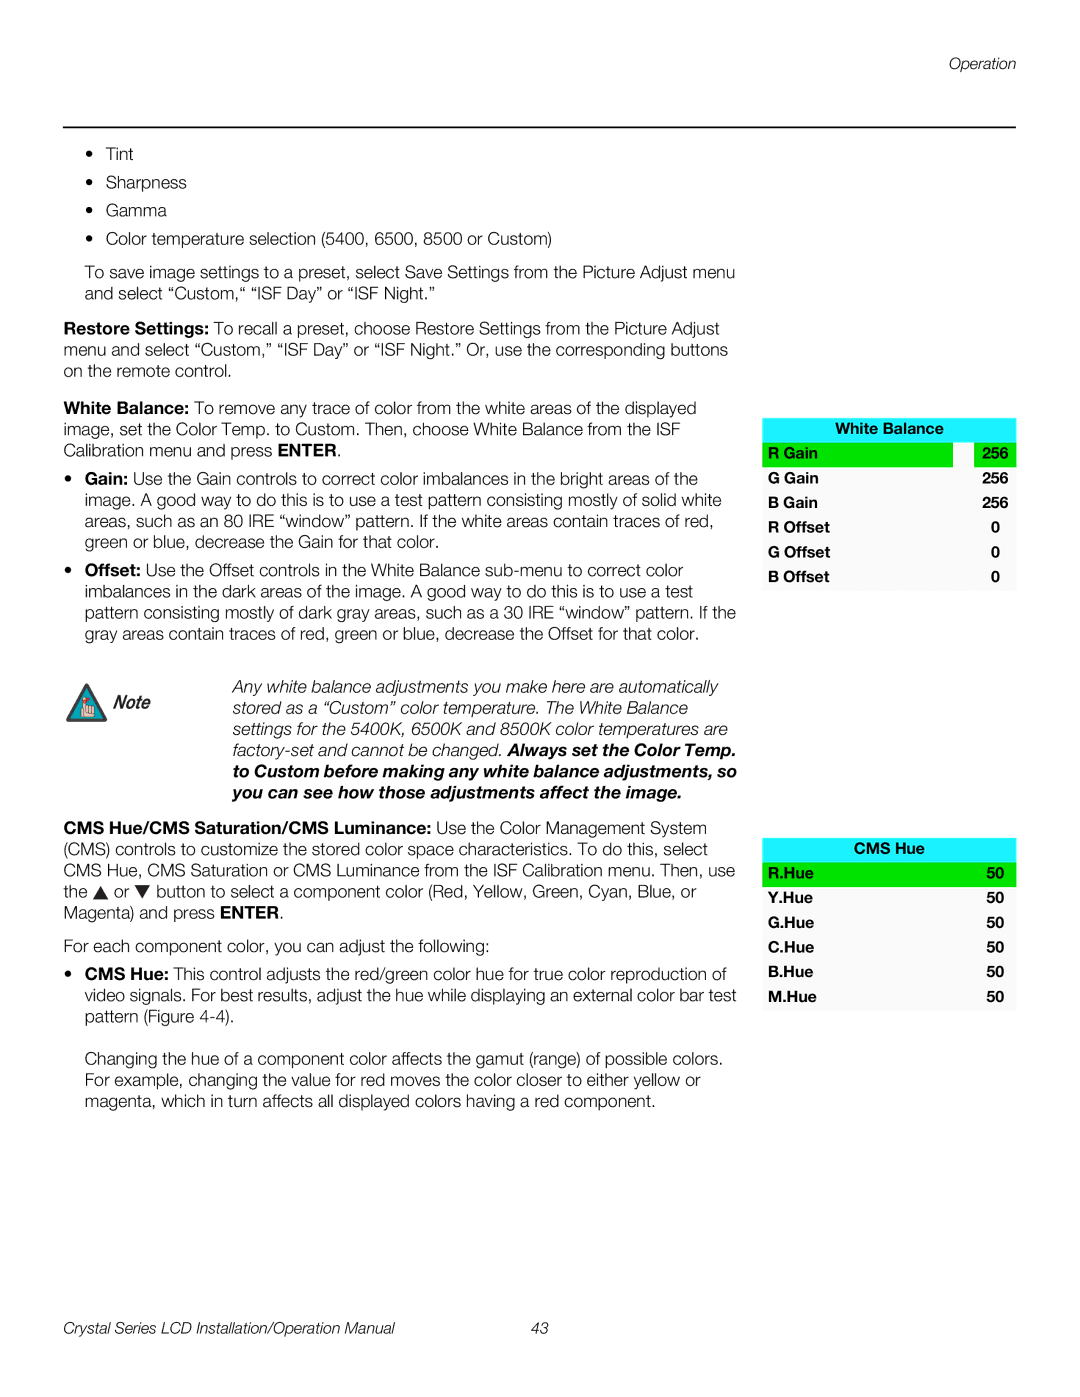
White Balance: To remove any trace of color from the white areas of the displayed image, set the Color Temp. to Custom. Then, choose White Balance from the ISF Calibration menu and press ENTER.
•Gain: Use the Gain controls to correct color imbalances in the bright areas of the image. A good way to do this is to use a test pattern consisting mostly of solid white areas, such as an 80 IRE “window” pattern. If the white areas contain traces of red, green or blue, decrease the Gain for that color.
•Offset: Use the Offset controls in the White Balance
| White Balance | ||
R Gain |
|
| 256 |
|
|
|
|
G Gain |
| 256 | |
B Gain |
| 256 | |
R Offset |
| 0 | |
G Offset |
| 0 | |
B Offset |
| 0 | |
|
|
|
|
Any white balance adjustments you make here are automatically
Note stored as a “Custom” color temperature. The White Balance settings for the 5400K, 6500K and 8500K color temperatures are
CMS Hue/CMS Saturation/CMS Luminance: Use the Color Management System (CMS) controls to customize the stored color space characteristics. To do this, select CMS Hue, CMS Saturation or CMS Luminance from the ISF Calibration menu. Then, use the ![]() or
or ![]() button to select a component color (Red, Yellow, Green, Cyan, Blue, or Magenta) and press ENTER.
button to select a component color (Red, Yellow, Green, Cyan, Blue, or Magenta) and press ENTER.
For each component color, you can adjust the following:
•CMS Hue: This control adjusts the red/green color hue for true color reproduction of video signals. For best results, adjust the hue while displaying an external color bar test pattern (Figure
Changing the hue of a component color affects the gamut (range) of possible colors. For example, changing the value for red moves the color closer to either yellow or magenta, which in turn affects all displayed colors having a red component.
| CMS Hue |
R.Hue | 50 |
|
|
Y.Hue | 50 |
G.Hue | 50 |
C.Hue | 50 |
B.Hue | 50 |
M.Hue | 50 |
|
|
Crystal Series LCD Installation/Operation Manual | 43 |
