Operation
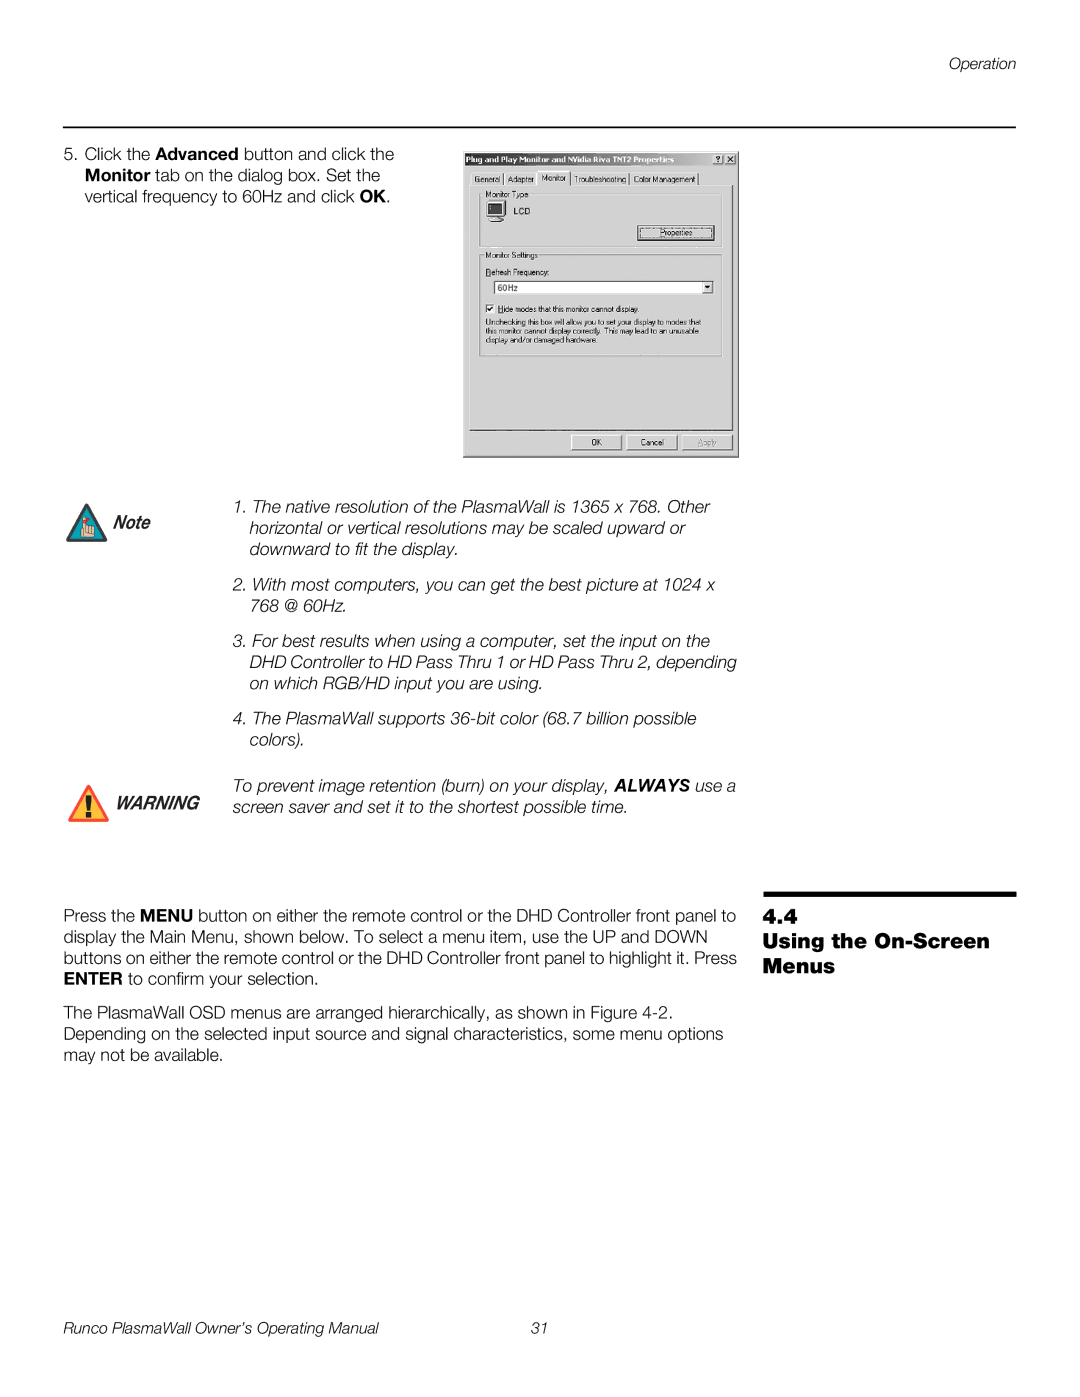
5.Click the Advanced button and click the Monitor tab on the dialog box. Set the vertical frequency to 60Hz and click OK.
![]() Note
Note
![]() WARNING
WARNING
1.The native resolution of the PlasmaWall is 1365 x 768. Other horizontal or vertical resolutions may be scaled upward or downward to fit the display.
2.With most computers, you can get the best picture at 1024 x 768 @ 60Hz.
3.For best results when using a computer, set the input on the DHD Controller to HD Pass Thru 1 or HD Pass Thru 2, depending on which RGB/HD input you are using.
4.The PlasmaWall supports
To prevent image retention (burn) on your display, ALWAYS use a screen saver and set it to the shortest possible time.
Press the MENU button on either the remote control or the DHD Controller front panel to display the Main Menu, shown below. To select a menu item, use the UP and DOWN buttons on either the remote control or the DHD Controller front panel to highlight it. Press ENTER to confirm your selection.
The PlasmaWall OSD menus are arranged hierarchically, as shown in Figure
4.4
Using the On-Screen Menus
Runco PlasmaWall Owner’s Operating Manual | 31 |
