Adjusting the Picture Settings (PC or DVI Mode)
ENG
TV |
|
|
| Picture |
|
|
| ||||
Mode |
|
|
| : High |
|
| √ | ||||
Custom |
|
|
|
|
|
|
|
|
|
| √ |
Colour Tone | : Custom |
|
| √ | |||||||
Colour Control |
|
|
|
|
|
|
| √ | |||
Film Mode | : Off |
|
| √ | |||||||
Size |
|
|
| : 16 : 9 |
|
|
| √ | |||
DNIe |
|
|
| : On |
|
| √ | ||||
PIP |
|
|
|
|
|
|
|
|
|
| √ |
Move | Enter | Return | |||||||||
|
|
|
|
|
|
|
|
|
|
|
|
|
|
|
|
|
|
|
|
|
|
|
|
TV |
|
|
| Custom |
|
|
| ||||
Contrast |
|
|
|
|
|
|
|
|
| 70 | |
Brightness |
|
|
|
|
|
|
| 50 | |||
|
|
|
|
|
|
| |||||
Sharpness |
|
|
|
|
|
|
| 70 | |||
Colour |
|
|
|
|
|
|
|
|
|
| 50 |
|
|
|
|
|
|
|
|
|
| ||
Tint | G50 |
|
|
|
|
|
|
|
|
| R50 |
|
|
|
|
|
|
|
|
| |||
Move | Enter | Return | |||||||||
|
|
|
|
|
|
|
|
|
|
|
|
|
|
|
|
|
|
|
| ||||
TV |
|
|
| Picture |
|
|
| ||||
Mode |
|
|
| : High |
|
|
| ||||
Custom |
|
|
|
|
|
|
|
|
|
|
|
Colour Tone | : NormalCustom |
|
|
| |||||||
Colour Control |
|
| Colour1 |
|
|
| |||||
Film Mode | : Off |
|
|
| |||||||
Size |
|
|
|
|
| Colour2 |
|
|
| ||
|
|
| : 16 : 9 |
|
|
|
| ||||
DNIe |
|
|
| : OnColour3 |
|
|
| ||||
PIP |
|
|
|
|
|
|
|
|
|
|
|
Move | Enter | Return | |||||||||
|
|
|
|
| |||||||
|
|
|
|
| |||||||
TV | Colour Control |
|
|
| |||||||
R |
|
|
|
|
|
|
|
|
| 70 | |
G |
|
|
|
|
|
|
|
|
| 50 | |
B |
|
|
|
|
|
|
|
|
| 70 | |
|
|
|
|
|
|
|
|
|
|
|
|
Move | Enter | Return |
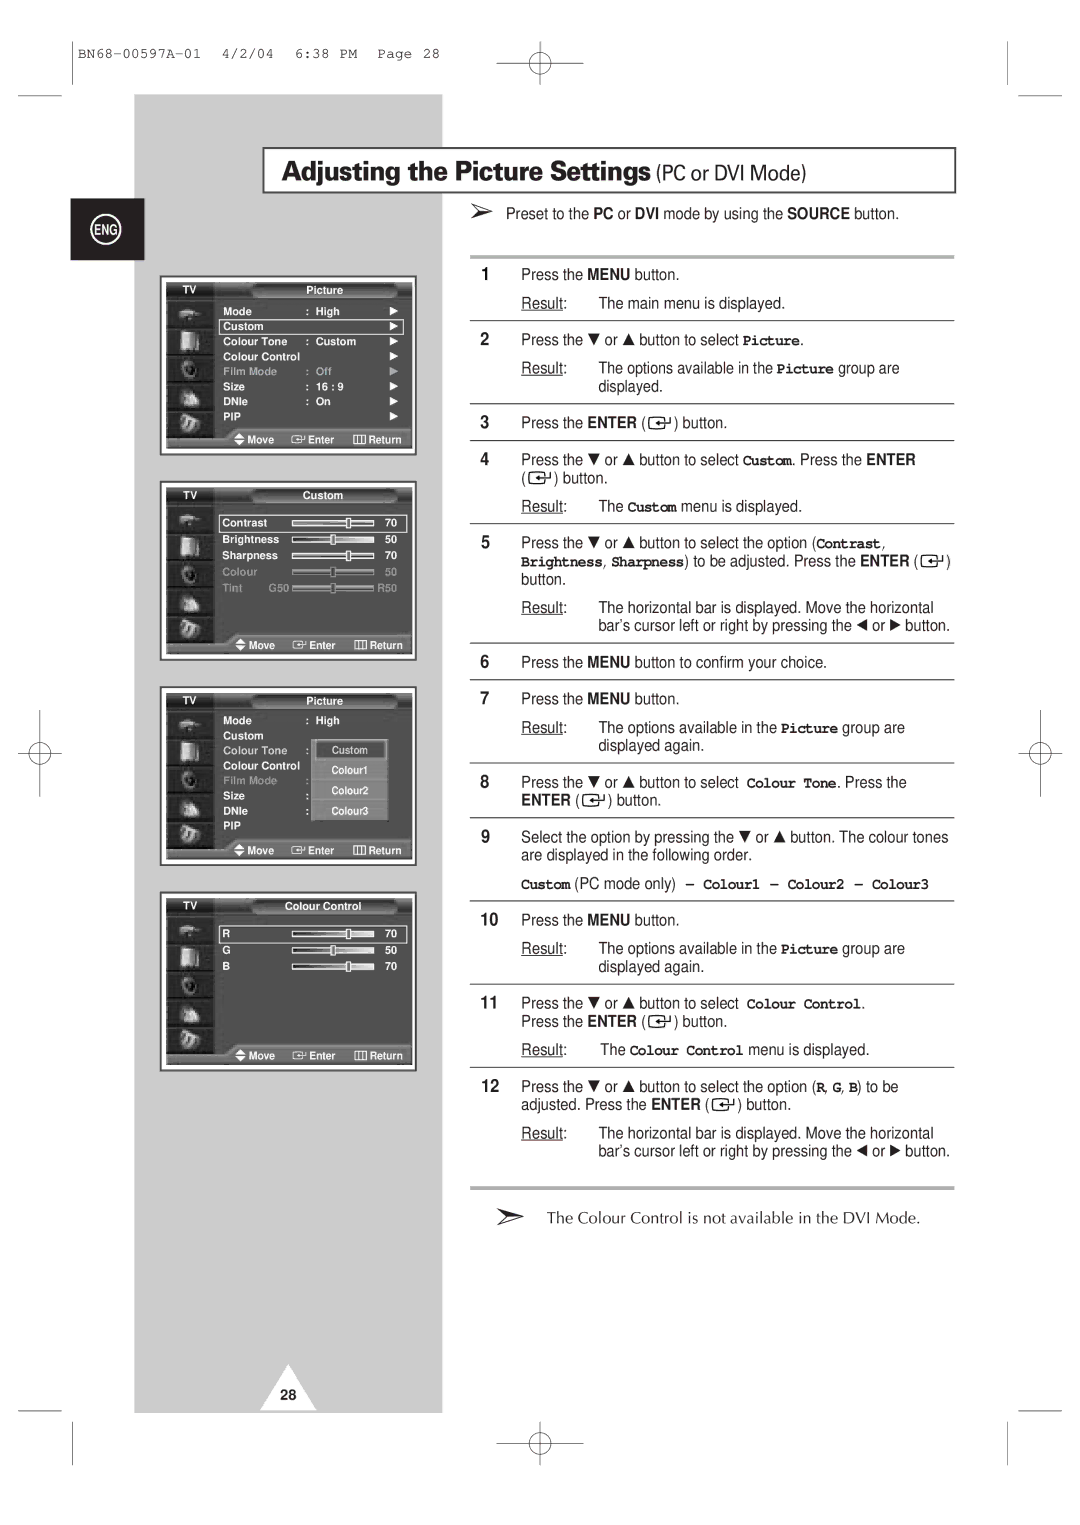
➢Preset to the PC or DVI mode by using the SOURCE button.
1Press the MENU button.
Result: The main menu is displayed.
2Press the † or … button to select Picture.
Result: The options available in the Picture group are displayed.
3Press the ENTER ( ![]()
![]() ) button.
) button.
4Press the † or … button to select Custom. Press the ENTER ( ![]()
![]() ) button.
) button.
Result: The Custom menu is displayed.
5Press the † or … button to select the option (Contrast, Brightness, Sharpness) to be adjusted. Press the ENTER ( ![]()
![]() ) button.
) button.
Result: The horizontal bar is displayed. Move the horizontal bar’s cursor left or right by pressing the œ or √ button.
6Press the MENU button to confirm your choice.
7Press the MENU button.
Result: The options available in the Picture group are displayed again.
8Press the † or … button to select Colour Tone. Press the ENTER ( ![]()
![]() ) button.
) button.
9Select the option by pressing the † or … button. The colour tones are displayed in the following order.
Custom (PC mode only) - Colour1 - Colour2 - Colour3
10Press the MENU button.
Result: The options available in the Picture group are displayed again.
11Press the † or … button to select Colour Control. Press the ENTER ( ![]()
![]() ) button.
) button.
Result: The Colour Control menu is displayed.
12Press the † or … button to select the option (R, G, B) to be adjusted. Press the ENTER ( ![]()
![]() ) button.
) button.
Result: The horizontal bar is displayed. Move the horizontal bar’s cursor left or right by pressing the œ or √ button.
➣The Colour Control is not available in the DVI Mode.
28