Using the LCD monitor to adjust the camera
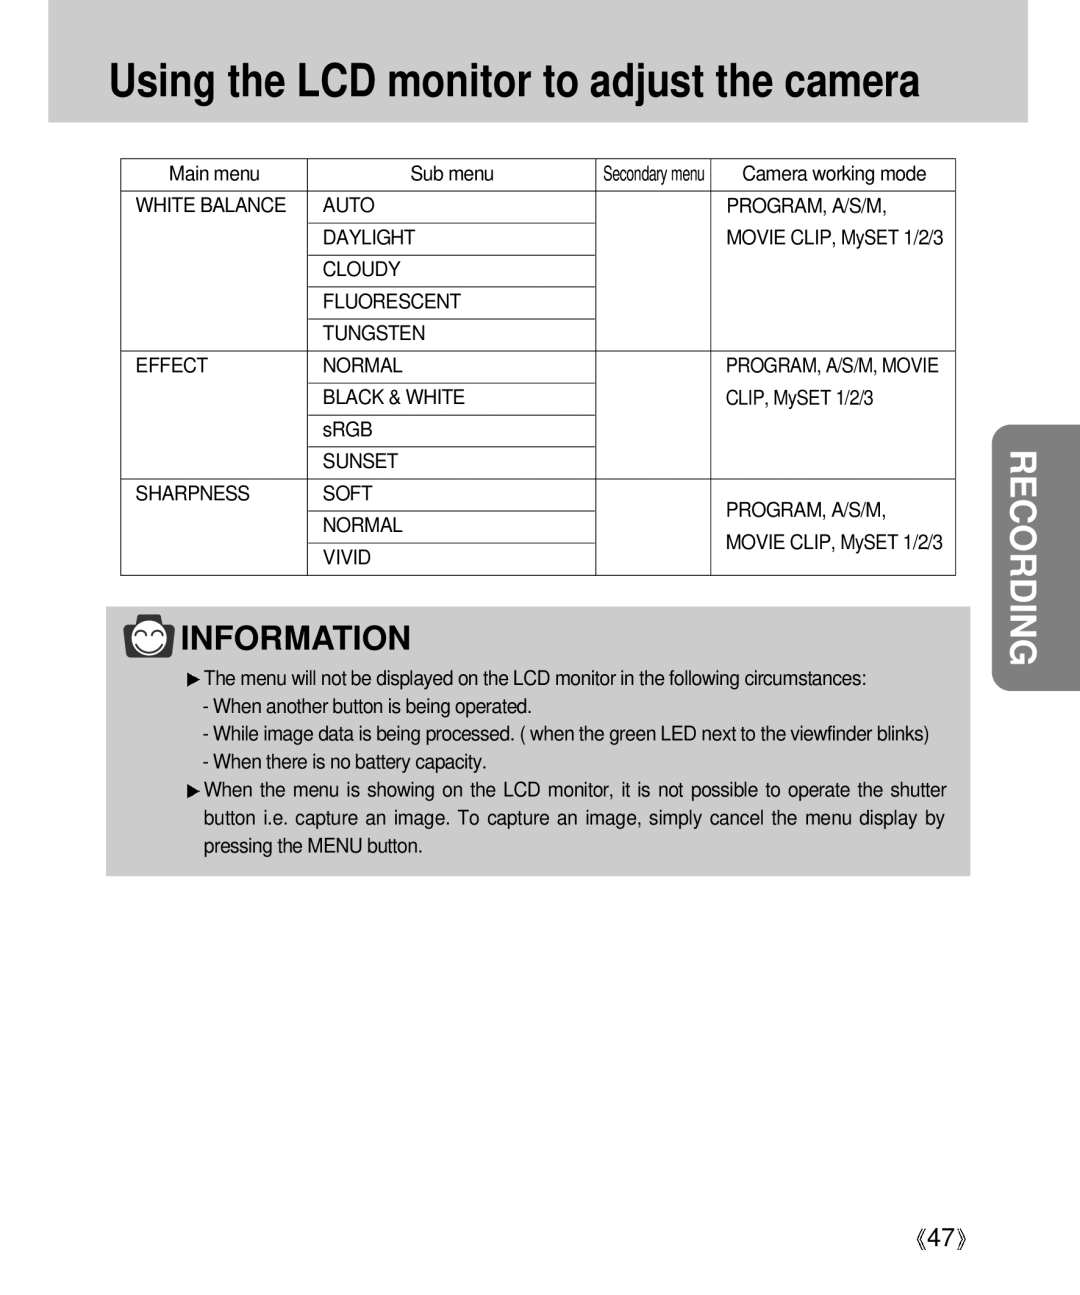
Main menu | Sub menu | Secondary menu | Camera working mode |
|
|
|
|
WHITE BALANCE | AUTO |
| PROGRAM, A/S/M, |
|
|
|
|
| DAYLIGHT |
| MOVIE CLIP, MySET 1/2/3 |
|
|
|
|
| CLOUDY |
|
|
|
|
|
|
| FLUORESCENT |
|
|
|
|
|
|
| TUNGSTEN |
|
|
|
|
|
|
EFFECT | NORMAL |
| PROGRAM, A/S/M, MOVIE |
|
|
|
|
| BLACK & WHITE |
| CLIP, MySET 1/2/3 |
|
|
|
|
| sRGB |
|
|
|
|
|
|
| SUNSET |
|
|
|
|
|
|
SHARPNESS | SOFT |
| PROGRAM, A/S/M, |
|
|
| |
| NORMAL | ||
|
| MOVIE CLIP, MySET 1/2/3 | |
|
|
| |
| VIVID | ||
|
|
| |
|
|
|
|
 INFORMATION
The menu will not be displayed on the LCD monitor in the following circumstances:
-When another button is being operated.
-While image data is being processed. ( when the green LED next to the viewfinder blinks)
-When there is no battery capacity.
![]() When the menu is showing on the LCD monitor, it is not possible to operate the shutter button i.e. capture an image. To capture an image, simply cancel the menu display by pressing the MENU button.
When the menu is showing on the LCD monitor, it is not possible to operate the shutter button i.e. capture an image. To capture an image, simply cancel the menu display by pressing the MENU button.
RECORDING
![]() 47
47![]()
