00090A
How to Set a Timer Recording
Using the KARAOKE Function (VCR)
|
| MAIN MENU | |
| Set Timer Recording | ||
| RETURN | ENTER | |
|
|
| |
|
|
| |
|
| ||
| CH START END DATE SPD |
| |
_ _ _ : | _ _ _ : _ _ _ _ _ _ _ |
| |
_ _ _ : | _ _ _ : _ _ _ _ _ _ _ |
| |
_ _ _ : | _ _ _ : _ _ _ _ _ _ _ |
| |
_ _ _ : | _ _ _ : _ _ _ _ _ _ _ |
| |
_ _ _ : | _ _ _ : _ _ _ _ _ _ _ |
| |
_ _ _ : | _ _ _ : _ _ _ _ _ _ _ |
| |
_ _ | _ : _ _ _ : _ _ | _ _ _ | _ _ |
_ _ | _ : _ _ _ : _ _ | _ _ _ | _ _ |
![]() RETURN
RETURN
Insert a blank tape with a Record Safety Tab into the VCR deck. The Timer Recording Feature allows you to program up to 8 events at a time to record up to a month in advance.
Set the TV to channel 3 or 4.
Before You Begin...
| • Power on the |
| • Power on the TV |
1 | Open “SETUP MENU” |
| With the DVD in stop mode, press the SETUP button or press the |
| TIMER button. |
2 | Select “Program” |
| Using the up/down and left/right buttons, move the selection cursor |
| to “Set Timer Recording,” then press ENTERto select. |
3 | Select Channel Number |
| Press rightand up/down buttonsto set the channel. Press the right |
| button to move to the next setting. |
4 | Set “Time/Date/Speed” |
| Repeat step 3 to set start time, end time, date and record speed. |
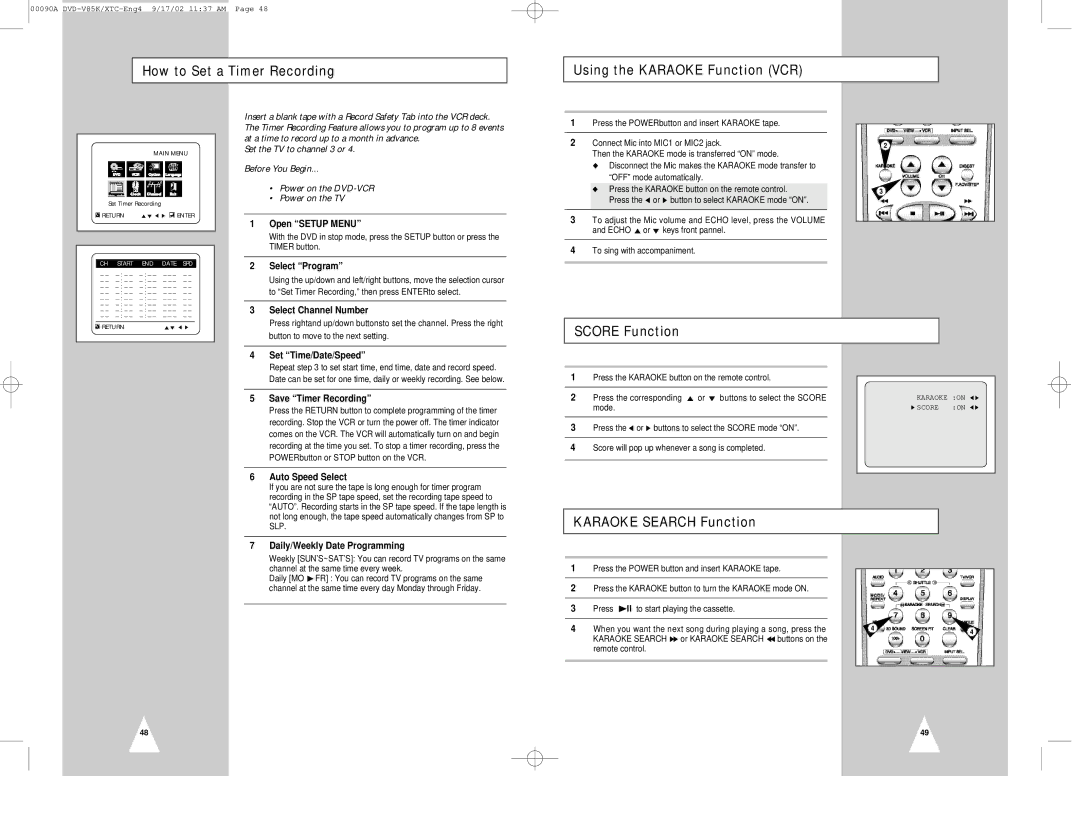
1Press the POWERbutton and insert KARAOKE tape.
2 | Connect Mic into MIC1 or MIC2 jack. | 2 |
| Then the KARAOKE mode is transferred “ON” mode. |
|
◆Disconnect the Mic makes the KARAOKE mode transfer to
“OFF” mode automatically.
◆ Press the KARAOKE button on the remote control. | 3 |
Press the or button to select KARAOKE mode “ON”. |
|
|
|
3To adjust the Mic volume and ECHO level, press the VOLUME and ECHO ![]() or
or ![]() keys front pannel.
keys front pannel.
4To sing with accompaniment.
SCORE Function
| Date can be set for one time, daily or weekly recording. See below. |
5 | Save “Timer Recording” |
| Press the RETURN button to complete programming of the timer |
| recording. Stop the VCR or turn the power off. The timer indicator |
| comes on the VCR. The VCR will automatically turn on and begin |
| recording at the time you set. To stop a timer recording, press the |
| POWERbutton or STOP button on the VCR. |
6 | Auto Speed Select |
| If you are not sure the tape is long enough for timer program |
| recording in the SP tape speed, set the recording tape speed to |
| “AUTO”. Recording starts in the SP tape speed. If the tape length is |
1Press the KARAOKE button on the remote control.
2Press the corresponding ![]() or
or ![]() buttons to select the SCORE mode.
buttons to select the SCORE mode.
3Press the ![]() or
or ![]() buttons to select the SCORE mode “ON”.
buttons to select the SCORE mode “ON”.
4Score will pop up whenever a song is completed.
KARAOKE :ON | |
SCORE | :ON |
not long enough, the tape speed automatically changes from SP to |
SLP. |
7 Daily/Weekly Date Programming |
Weekly [SUN’S~SAT’S]: You can record TV programs on the same |
KARAOKE SEARCH Function
channel at the same time every week. |
Daily [MO FR] : You can record TV programs on the same |
channel at the same time every day Monday through Friday. |
1Press the POWER button and insert KARAOKE tape.
2Press the KARAOKE button to turn the KARAOKE mode ON.
3Press ![]() ll to start playing the cassette.
ll to start playing the cassette.
4When you want the next song during playing a song, press the KARAOKE SEARCH ![]() or KARAOKE SEARCH
or KARAOKE SEARCH ![]() buttons on the remote control.
buttons on the remote control.
4 | 4 |
|
48
49