Other settings
LCD Brightness
This camcorder’s LCD brightness is optimized at the factory. However, you can adjust the LCD brightness according to the ambient environment.
1Press the Home ( ![]() ) button p touch “Settings” p “Display” p
) button p touch “Settings” p “Display” p
“LCD Brightness”.
2Touch the decrease ( ![]() ) or increase (
) or increase ( ![]() ) tab to adjust the setting values as you want.
) tab to adjust the setting values as you want.
• You can set values for LCD brightness between 0 and 10.
LCD Brightness
5
3Touch the ( ![]() ) tab to complete the setting.
) tab to complete the setting.
4To exit the menu, touch the Return (  ) tab.
• If the surroundings are too bright, adjust the brightness of the LCD screen.
•Adjusting the LCD screen does not affect the image you are recording.
•A brighter LCD screen consumes more power.
Guideline
Guideline displays straight line patterns on the LCD screen that can help you set the image composition when recording images. The camcorder provides 3 types of guidelines.
1Press the Home ( ![]() ) button p touch “Settings” p “Display” p
) button p touch “Settings” p “Display” p
“Guideline”.
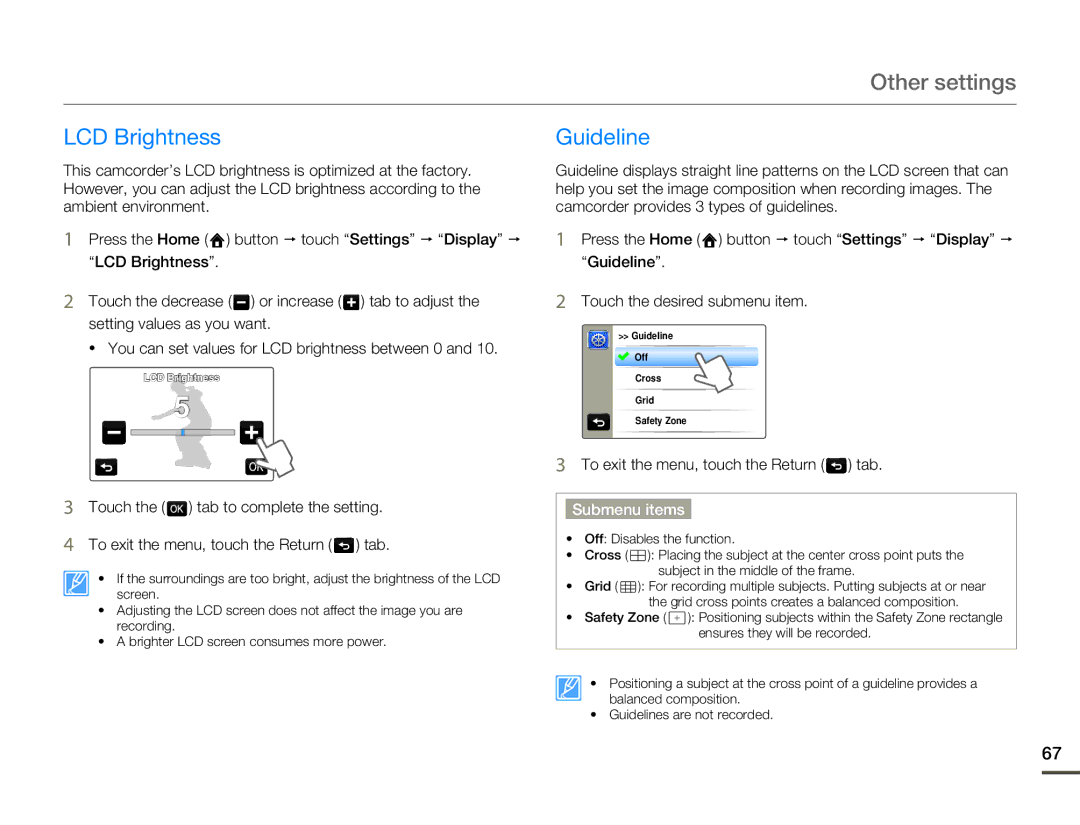
2Touch the desired submenu item.
>> Guideline
![]() Off
Off
Cross
Grid
Safety Zone
3To exit the menu, touch the Return (  ) tab.
Submenu items
•Off: Disables the function.
•Cross ( ![]() ): Placing the subject at the center cross point puts the subject in the middle of the frame.
): Placing the subject at the center cross point puts the subject in the middle of the frame.
•Grid ( ![]() ): For recording multiple subjects. Putting subjects at or near the grid cross points creates a balanced composition.
): For recording multiple subjects. Putting subjects at or near the grid cross points creates a balanced composition.
•Safety Zone ( ![]() ): Positioning subjects within the Safety Zone rectangle ensures they will be recorded.
): Positioning subjects within the Safety Zone rectangle ensures they will be recorded.
• Positioning a subject at the cross point of a guideline provides a balanced composition.
• Guidelines are not recorded.
67