HMX-R10SP/XER, HMX-R10SP/EDC, HMX-R10BP/COL, HMX-R10BP/AAW, HMX-R10SP/NWT specifications
The Samsung HMX-R10 series, which includes models such as HMX-R10BP/NWT, HMX-R10BP/XEB, HMX-R10SP/XEB, HMX-R10BP/XER, and HMX-R10SP/NWT, has garnered attention for its innovative features and functionality in the compact camcorder market. These models are known for their sleek design, lightweight build, and user-friendly interface, making them a popular choice for both amateur and semi-professional videography.At the heart of these camcorders is a 10-megapixel CMOS image sensor that allows for high-quality video recording in Full HD (1920x1080) resolution. This feature is complemented by a 20x optical zoom lens, which provides excellent flexibility for capturing distant subjects without compromising on quality. Additionally, the camcorders support 1080p at 30 frames per second, ensuring smooth playback and vibrant image quality.
One of the standout characteristics of the Samsung HMX-R10 series is its unique form factor. The design is remarkably compact, making it easy to carry around for travel or casual filming. The camcorders feature a side-mounted lens, which allows for an intuitive grip and enhances stability during handheld shooting. This ergonomic design, coupled with the built-in optical image stabilization, helps reduce blur caused by shaky hands, making it ideal for capturing dynamic scenes.
Users will appreciate the inclusion of a 2.7-inch LCD screen that provides a clear view while recording or reviewing footage. The interface is designed to be straightforward, with intuitive menus that make navigating through settings and functions a breeze. Furthermore, the camcorders offer a range of creative options, including various scene modes, allowing users to tailor their shooting experience based on different environments.
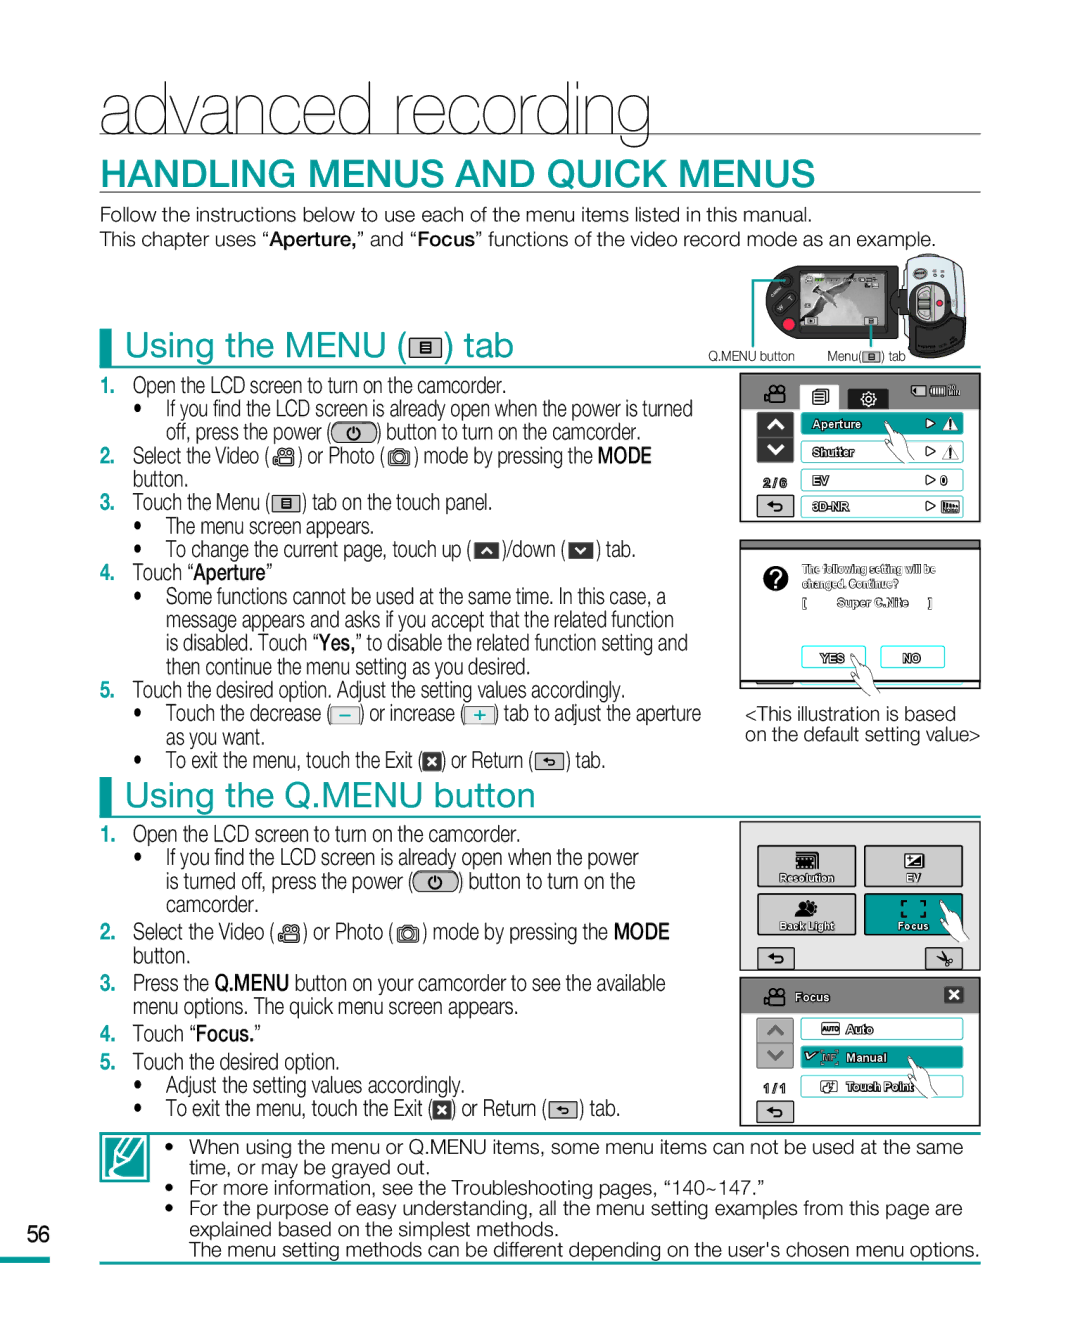
The HMX-R10 series also includes advanced technologies such as Smart Auto, which automatically adjusts settings based on the shooting conditions. Another notable feature is the ability to easily upload videos to social media platforms directly from the camcorder, making it a modern tool for content creators.
In terms of connectivity, these models often come with USB and HDMI outputs, allowing for easy transfer of files to computers or playback on larger screens. The compatibility with SD/SDHC memory cards further enhances their usability, offering additional storage options for high-definition recordings.
Overall, the Samsung HMX-R10BP/NWT, HMX-R10BP/XEB, HMX-R10SP/XEB, HMX-R10BP/XER, and HMX-R10SP/NWT camcorders deliver a robust set of features that cater to diverse videography needs. With their combination of high-resolution recording, user-friendly design, and advanced technology integration, these models stand out as reliable tools for anyone looking to capture high-quality video content.

