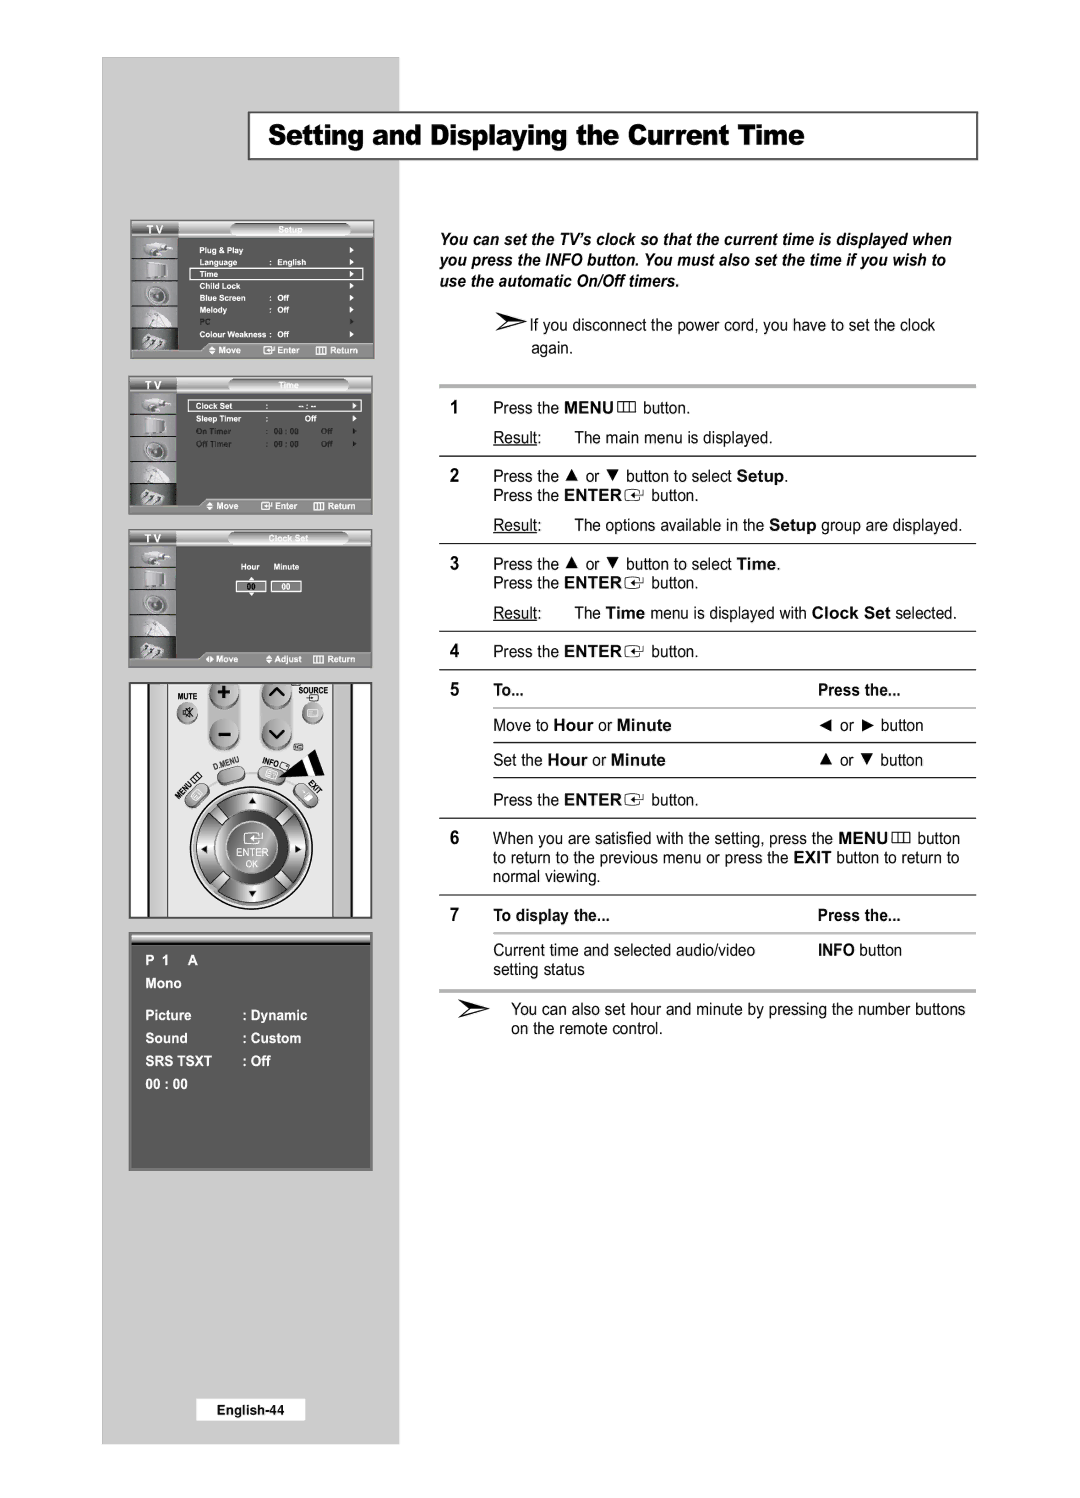
Setting and Displaying the Current Time
You can set the TV’s clock so that the current time is displayed when you press the INFO button. You must also set the time if you wish to use the automatic On/Off timers.
![]() If you disconnect the power cord, you have to set the clock again.
If you disconnect the power cord, you have to set the clock again.
1 Press the MENU![]() button.
button.
Result: The main menu is displayed.
2Press the ![]() or
or ![]() button to select Setup. Press the ENTER
button to select Setup. Press the ENTER![]() button.
button.
Result: The options available in the Setup group are displayed.
3 Press the ![]() or
or ![]() button to select Time. Press the ENTER
button to select Time. Press the ENTER![]() button.
button.
Result: The Time menu is displayed with Clock Set selected.
4 |
| Press the ENTER | button. |
|
|
|
|
|
|
|
|
|
|
|
|
|
|
| |
5 |
| To... |
| Press the... |
|
| |||
|
|
|
|
|
|
|
| ||
|
| Move to Hour or Minute | or | button | |||||
|
|
|
|
|
|
|
| ||
|
| Set the Hour or Minute | or | button | |||||
|
|
|
|
|
|
|
|
|
|
|
| Press the ENTER | button. |
|
|
|
|
|
|
|
|
|
|
|
| ||||
6 | When you are satisfied with the setting, press the MENU |
|
|
| button | ||||
|
| ||||||||
|
| ||||||||
| to return to the previous menu or press the EXIT button to return to | ||||||||
| normal viewing. |
|
|
|
|
|
|
| |
|
|
|
|
|
|
|
|
| |
7 |
| To display the... |
| Press the... |
|
| |||
|
|
|
|
|
|
|
| ||
|
| Current time and selected audio/video | INFO button |
|
| ||||
|
| setting status |
|
|
|
|
|
|
|
You can also set hour and minute by pressing the number buttons on the remote control.