Operating the DTV Menu
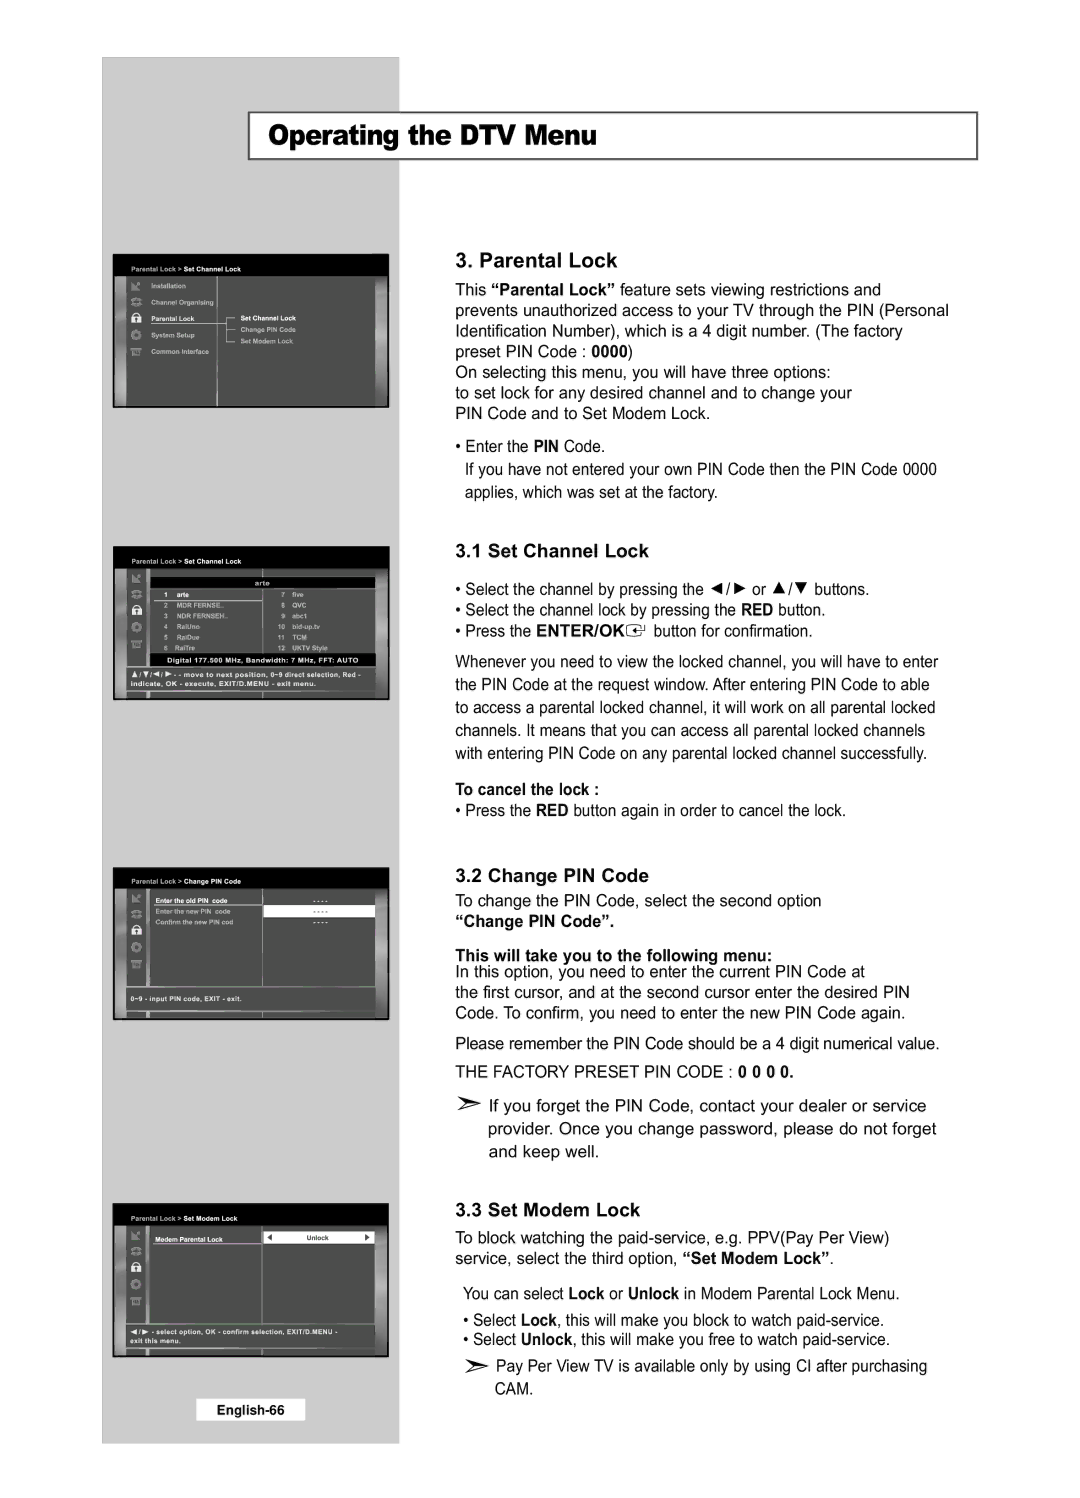
3. Parental Lock
This “Parental Lock” feature sets viewing restrictions and prevents unauthorized access to your TV through the PIN (Personal Identification Number), which is a 4 digit number. (The factory preset PIN Code : 0000)
On selecting this menu, you will have three options: to set lock for any desired channel and to change your PIN Code and to Set Modem Lock.
•Enter the PIN Code.
If you have not entered your own PIN Code then the PIN Code 0000 applies, which was set at the factory.
3.1 Set Channel Lock
• Select the channel by pressing the ![]() /
/ ![]() or
or ![]() /
/ ![]() buttons.
buttons.
• Select the channel lock by pressing the RED button.
• Press the ENTER/OK![]() button for confirmation.
button for confirmation.
Whenever you need to view the locked channel, you will have to enter the PIN Code at the request window. After entering PIN Code to able to access a parental locked channel, it will work on all parental locked channels. It means that you can access all parental locked channels with entering PIN Code on any parental locked channel successfully.
To cancel the lock :
• Press the RED button again in order to cancel the lock.
3.2 Change PIN Code
To change the PIN Code, select the second option
“Change PIN Code”.
This will take you to the following menu:
In this option, you need to enter the current PIN Code at
the first cursor, and at the second cursor enter the desired PIN Code. To confirm, you need to enter the new PIN Code again.
Please remember the PIN Code should be a 4 digit numerical value.
THE FACTORY PRESET PIN CODE : 0 0 0 0.
![]() If you forget the PIN Code, contact your dealer or service provider. Once you change password, please do not forget and keep well.
If you forget the PIN Code, contact your dealer or service provider. Once you change password, please do not forget and keep well.
3.3 Set Modem Lock
To block watching the
You can select Lock or Unlock in Modem Parental Lock Menu.
•Select Lock, this will make you block to watch
•Select Unlock, this will make you free to watch
![]() Pay Per View TV is available only by using CI after purchasing
Pay Per View TV is available only by using CI after purchasing
CAM.