•Remove Printer: Removes the selected machine.
•Set as Default: Sets the current selected machine as a default machine.
•Stop/Start: Stops/starts the machine.
•Test: Allows you to print a test page to ensure the machine is working properly.
•Properties: Allows you to view and change the printer properties.
Classes tab
The Classes tab shows a list of available machine classes.
1 | Shows all of the machine classes. | |
|
| |
2 | Shows the status of the class and the number of machines in the | |
class. | ||
| ||
|
|
• Refresh: Renews the classes list.
• Add Class: Allows you to add a new machine class.
• Remove Class: Removes the selected machine class.
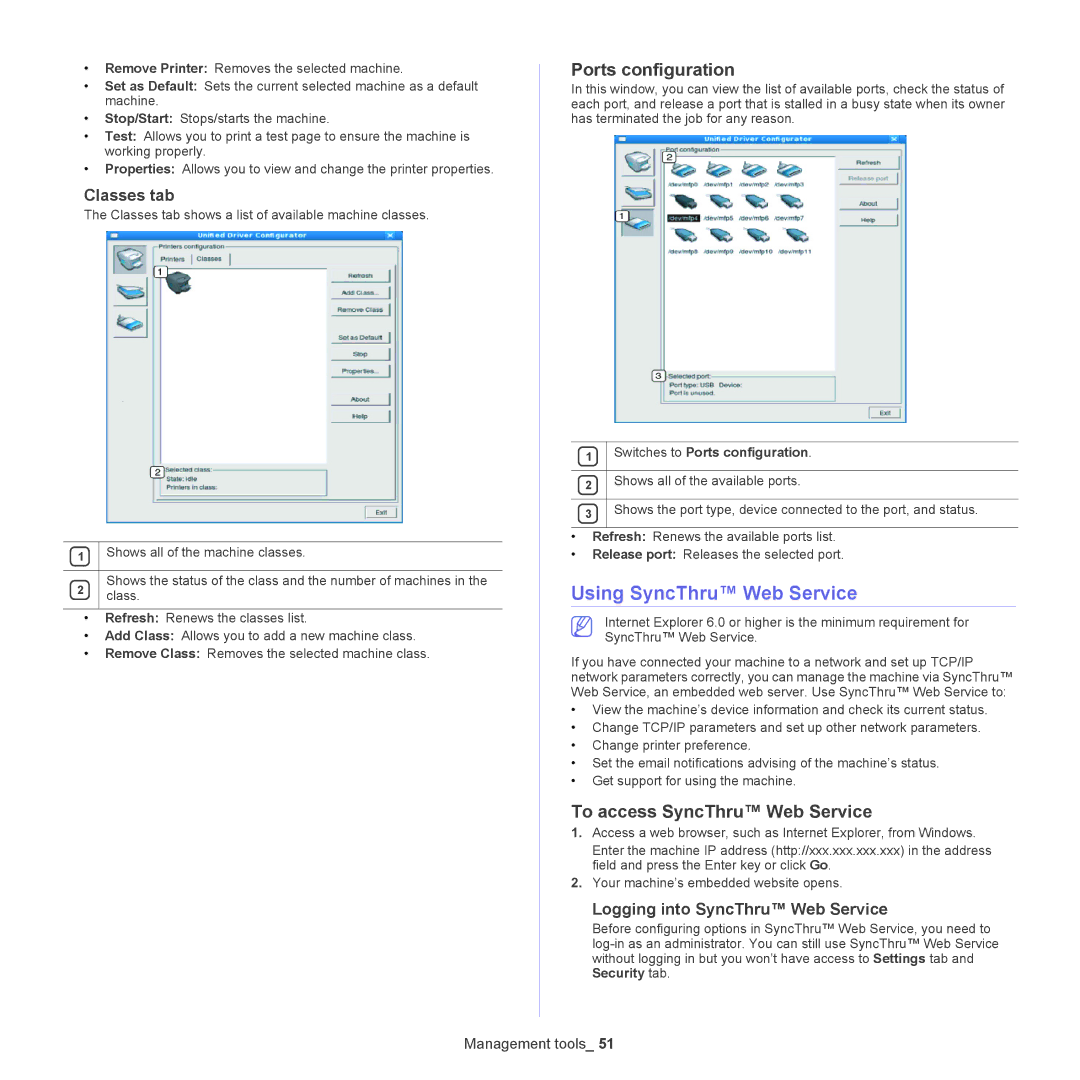
Ports configuration
In this window, you can view the list of available ports, check the status of each port, and release a port that is stalled in a busy state when its owner has terminated the job for any reason.
1 | Switches to Ports configuration. |
|
|
2 | Shows all of the available ports. |
|
|
3 | Shows the port type, device connected to the port, and status. |
|
|
•Refresh: Renews the available ports list.
•Release port: Releases the selected port.
Using SyncThru™ Web Service
Internet Explorer 6.0 or higher is the minimum requirement for SyncThru™ Web Service.
If you have connected your machine to a network and set up TCP/IP network parameters correctly, you can manage the machine via SyncThru™ Web Service, an embedded web server. Use SyncThru™ Web Service to:
•View the machine’s device information and check its current status.
•Change TCP/IP parameters and set up other network parameters.
•Change printer preference.
•Set the email notifications advising of the machine’s status.
•Get support for using the machine.
To access SyncThru™ Web Service
1.Access a web browser, such as Internet Explorer, from Windows.
Enter the machine IP address (http://xxx.xxx.xxx.xxx) in the address field and press the Enter key or click Go.
2.Your machine’s embedded website opens.
Logging into SyncThru™ Web Service
Before configuring options in SyncThru™ Web Service, you need to
