3. CAMERA SETUP
You can change the Camera ID, LOSS DETECT, MOTION DETECT and Camera Preset values.
Select “3. CAMERA SETUP ”from the MAIN MENU using the Rotary Wheel and press ENTER to display the following screen.
[CAMERA SETUP]
SETUP CAMERA 1...
SETUP CAMERA 2...
SETUP CAMERA 3...
SETUP CAMERA 4...![]()
SETUP CAMERA 5...
SETUP CAMERA 6...
SETUP CAMERA 7...
SETUP CAMERA 8...
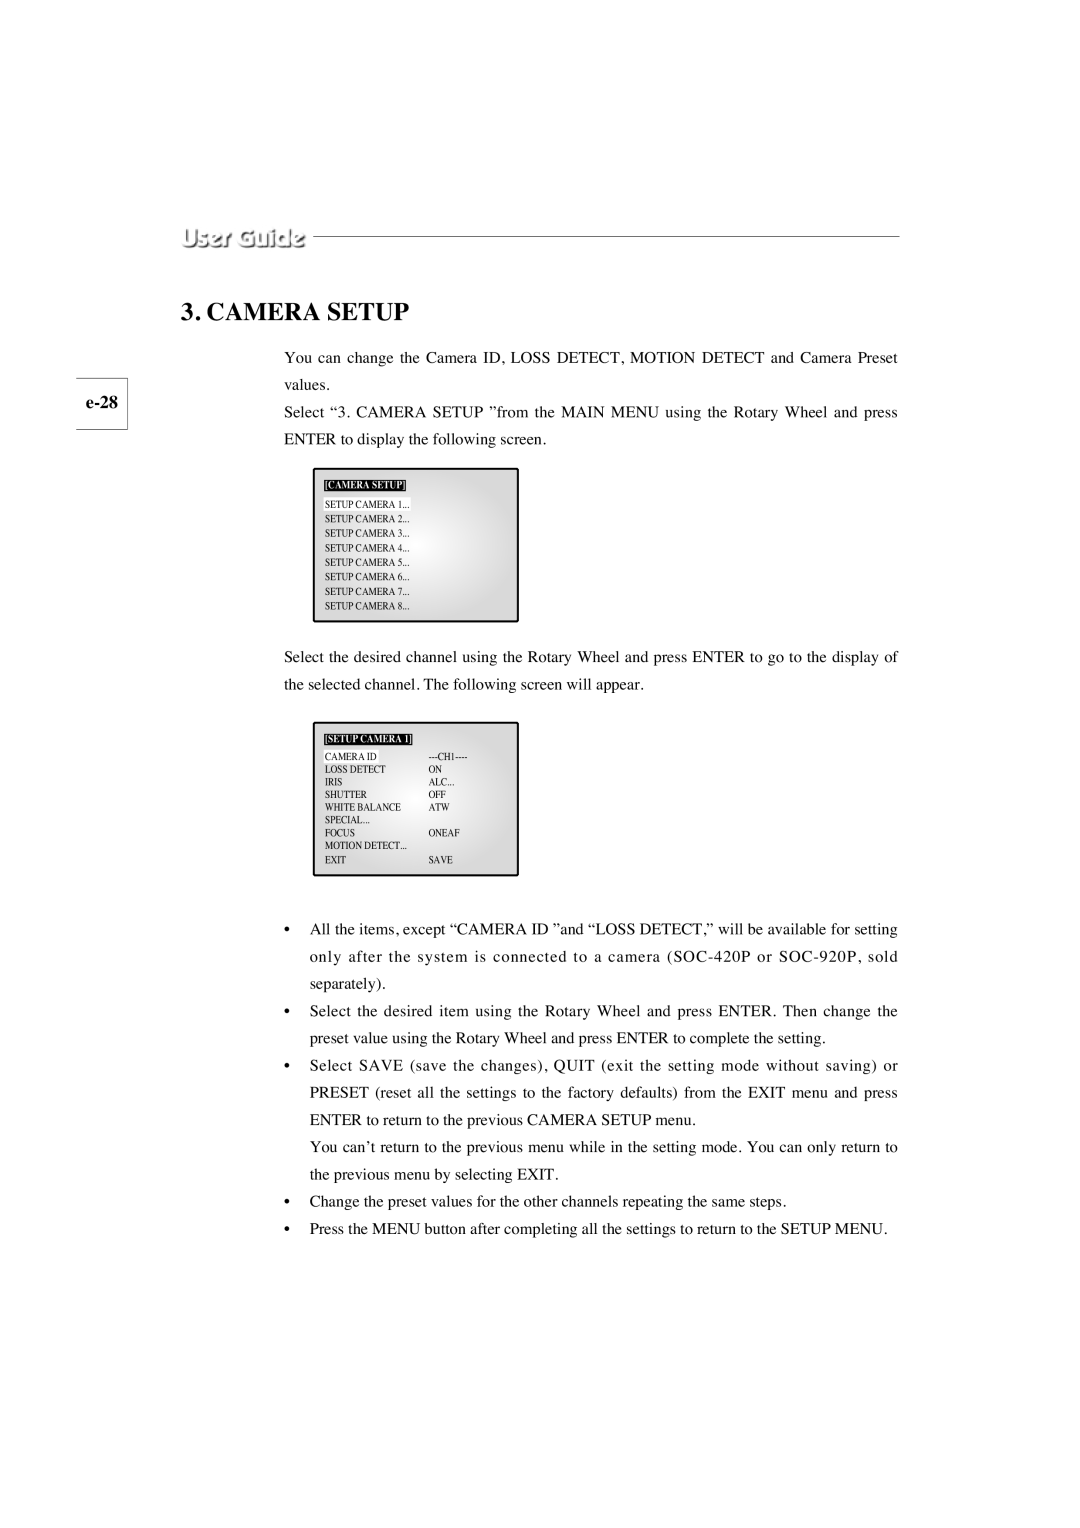
Select the desired channel using the Rotary Wheel and press ENTER to go to the display of the selected channel. The following screen will appear.
|
|
|
|
| [SETUP CAMERA 1] |
| |
| CAMERA ID |
| |
| LOSS DETECT |
| ON |
| IRIS | ALC... | |
| SHUTTER | OFF | |
| WHITE BALANCE | ATW | |
| SPECIAL... |
| |
| FOCUS | ONEAF | |
| MOTION DETECT... |
| |
| EXIT | SAVE | |
|
|
|
|
•All the items, except “CAMERA ID ”and “LOSS DETECT,” will be available for setting only after the system is connected to a camera
•Select the desired item using the Rotary Wheel and press ENTER. Then change the preset value using the Rotary Wheel and press ENTER to complete the setting.
•Select SAVE (save the changes), QUIT (exit the setting mode without saving) or PRESET (reset all the settings to the factory defaults) from the EXIT menu and press ENTER to return to the previous CAMERA SETUP menu.
You can’t return to the previous menu while in the setting mode. You can only return to the previous menu by selecting EXIT.
•Change the preset values for the other channels repeating the same steps.
•Press the MENU button after completing all the settings to return to the SETUP MENU.