How to set to
Voice Recorder
mode
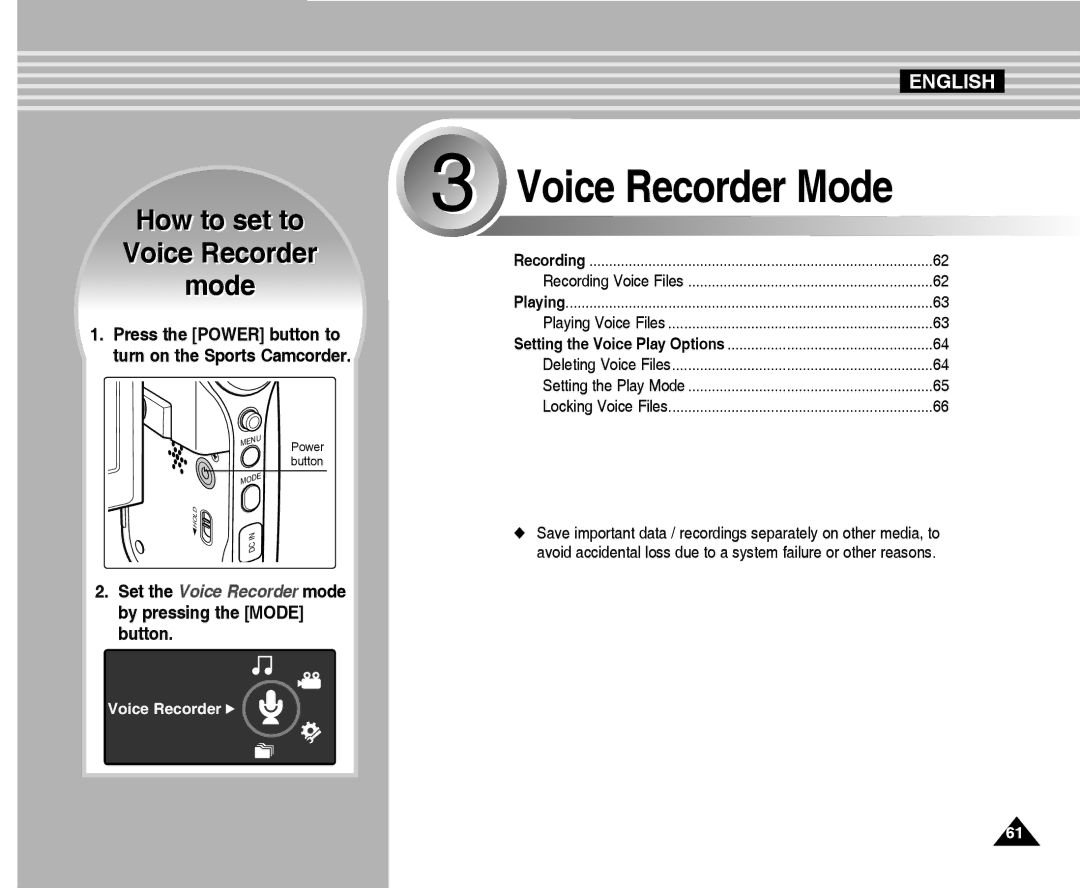
1.Press the [POWER] button to turn on the Sports Camcorder.
MENU | Power |
| |
| button |
MODE
HOLD
INDC
2.Set the Voice Recorder mode by pressing the [MODE] button.
Voice Recorder ![]()
ENGLISH
3 Voice Recorder Mode |
|
Recording | 62 |
Recording Voice Files | 62 |
Playing | 63 |
Playing Voice Files | 63 |
Setting the Voice Play Options | 64 |
Deleting Voice Files | 64 |
Setting the Play Mode | 65 |
Locking Voice Files | 66 |
◆Save important data / recordings separately on other media, to avoid accidental loss due to a system failure or other reasons.
61