CD-RW880 specifications
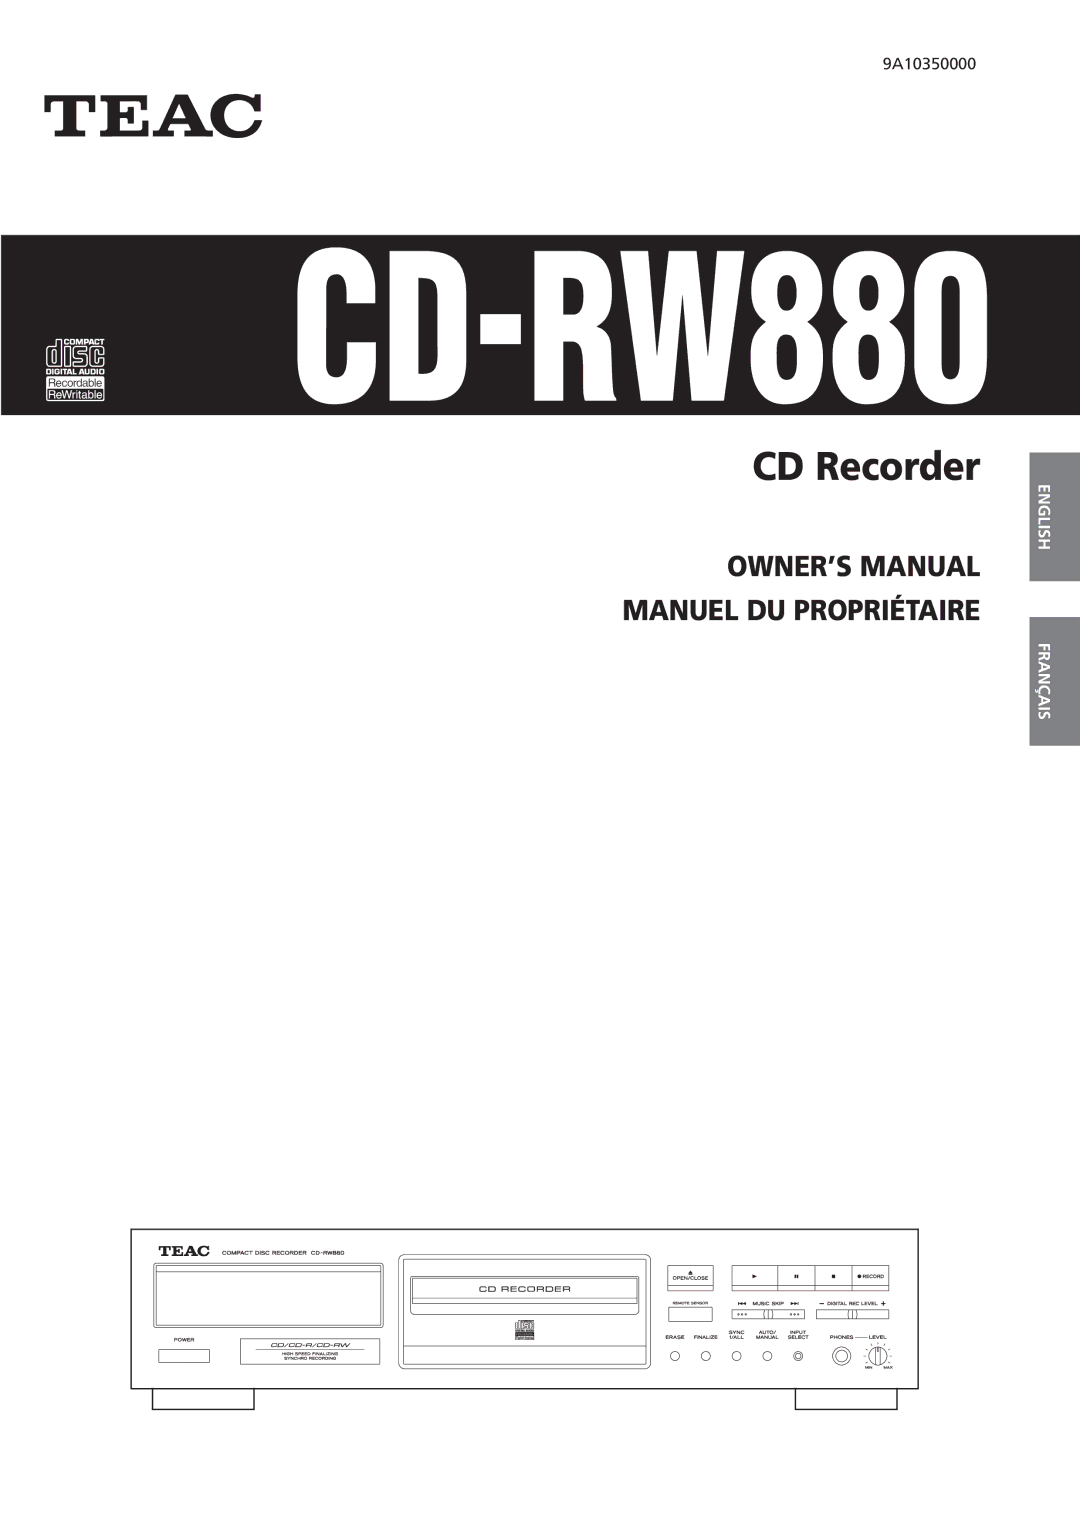
The Sanyo CD-RW880 is a well-regarded audio device that embodies the transition from analog to digital media. As a versatile CD recorder, it captures both the nostalgia of traditional CD playback and the conveniences of modern digital recording technology. Designed for music enthusiasts and professionals alike, the CD-RW880 features a range of specifications that enhance its performance and usability.One of the standout features of the Sanyo CD-RW880 is its ability to record onto CD-R and CD-RW discs. This flexibility allows users to create custom compilations and backup their favorite tracks with ease. The device supports a range of recording speeds, which includes options for both high-speed recording and standard speeds that ensure optimal quality. The capability to erase and re-record on CD-RW media further distinguishes it from standard CD players, providing a convenient and practical solution for digital music management.
The CD-RW880 employs advanced digital signal processing (DSP) technology, which plays a crucial role in maintaining audio fidelity during both playback and recording. It features a built-in A/D converter that ensures high-quality sound reproduction while minimizing noise and distortion. With a signal-to-noise ratio that meets professional standards, users can expect clear and accurate audio playback, whether they are recording live performances or transferring existing CDs.
Additionally, the Sanyo CD-RW880 is equipped with a user-friendly interface that makes navigation intuitive. The front panel includes dedicated buttons for recording, play, pause, and track selection, providing a seamless experience for users of all skill levels. The inclusion of a LCD display gives users quick access to important information such as track number, recording time, and remaining space on the disc.
Another noteworthy characteristic is the device's compatibility with both audio and data CDs, allowing it to function not just as an audio recorder but also as a versatile media player. This feature opens up possibilities for creating data backups and archiving important files onto CD format, which can be a useful addition for both personal and professional uses.
In summary, the Sanyo CD-RW880 is a multifunctional CD recorder that appeals to a broad audience from casual music lovers to professionals in the industry. With its solid recording capabilities, superior audio quality, and user-centric design, this device stands as a reliable choice for anyone looking to bridge the gap between analog sound and digital convenience. Whether for creating custom playlists, transferring music, or archiving precious audio content, the CD-RW880 continues to be a valuable tool in an increasingly digital world.