Setting
Lamp control
This function allows you to change the brightness of the screen.
Auto . . . . . Brightness according to the input signal.
Normal . . . Normal brightness.
Eco 1. . . . . Lower brightness and Fan control set to Normal. Lower brightness reduces the lamp power consumption and extends the lamp life.
Eco 2. . . . . Lower brightness and Fan control set to Max. Lower brightness reduces the lamp power consumption and extends the lamp life. It is recommended to use Eco 2 when using the projector continuously over a long period of time. The fan noise becomes louder in Eco 2 than in Eco 1. Select the suitable mode for the used environment.
Filter control
You can replace the filter with this function. Press the SELECT button at Filter control to display a confirmation box. To replace, press the SELECT button at “YES” and the electrically operated
filter starts to scroll.
You can also replace the filter by using the remote control (p. 33).
Fan control
Choose the running speed of cooling fans from the following options.
Normal....... Operate in this mode under normal conditions.
Max ........... Use this mode when you want to increase the
cooling effect when operating the projector in high ambient temperature environment. Fan noise is louder than “Normal”.
Remote control
This function allows you to change the Simple mode and RC code setting on the remote control.
Simple mode
This function decides whether to activate the simple mode.
Off . . . . | Simple mode function is off. |
On . . . . | Only the simple mode buttons are active. |
RC code
The eight different remote control codes (Code
The same code should set on both the projector and the remote control. For example, operating the projector in “Code 7”, the remote control code also must be switched to “Code 7”.
To change the code for the projector:
Select a remote control code in this Setting Menu.
To change the code for the remote control:
Press and hold the MENU button and a number button
✔Note:
•Filter replacement icon and “Please wait...” message appear on the screen when the filter is being scrolled.
•The filter cannot be rewound.
•When the filter is replaced, the total accumulated time of the filter use is automatically set to 0.
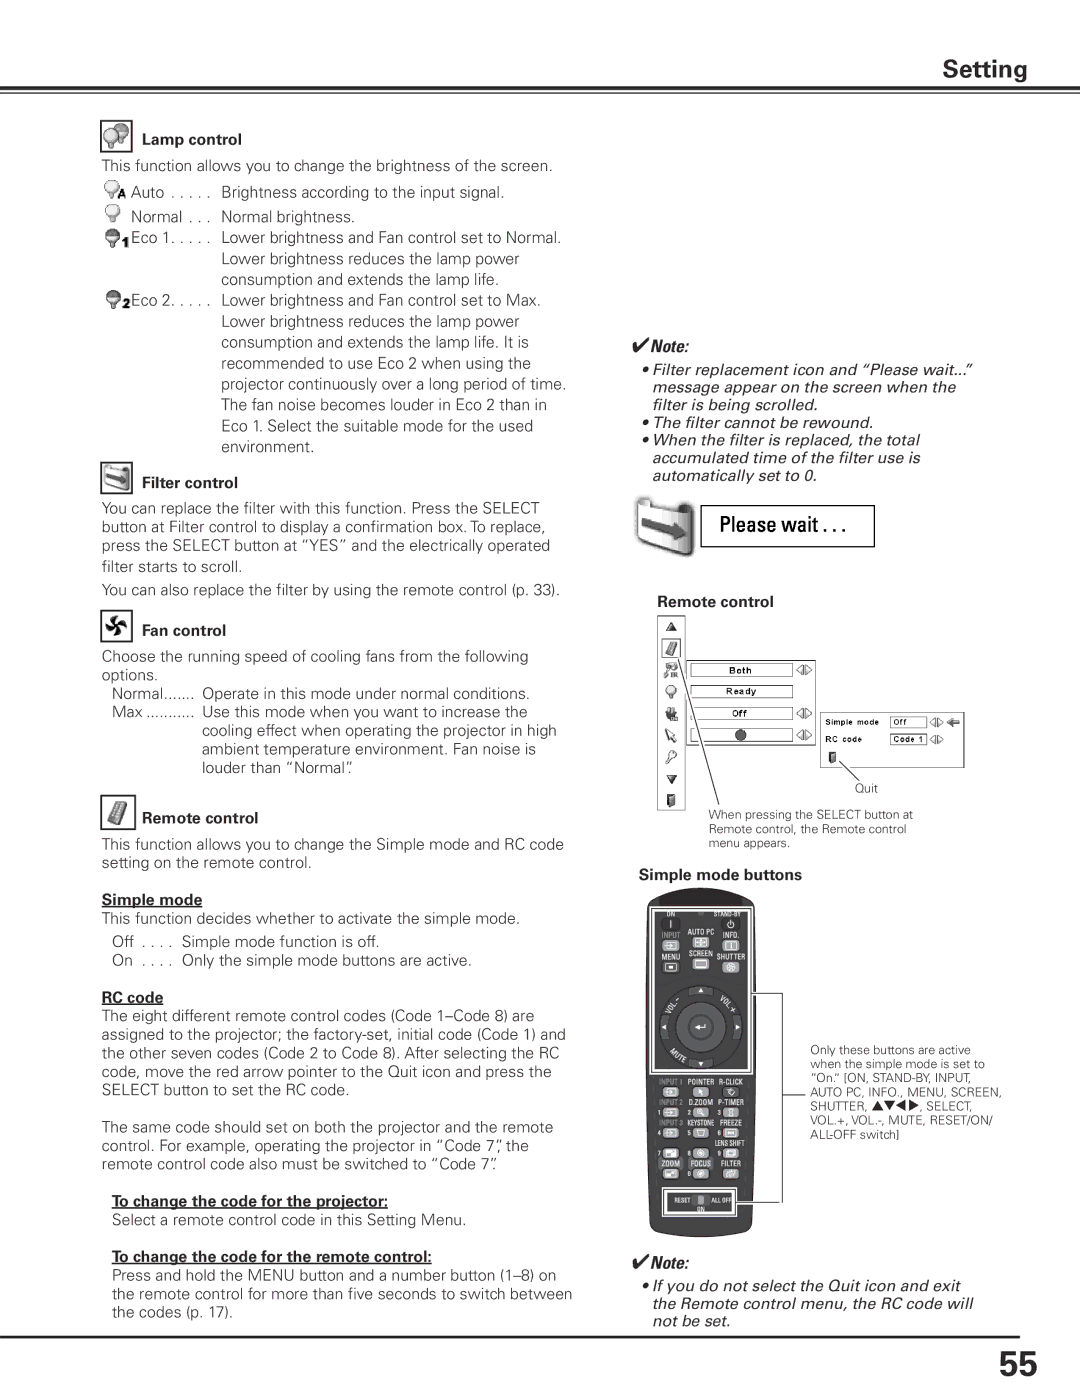
Remote control
Quit
When pressing the SELECT button at Remote control, the Remote control menu appears.
Simple mode buttons
Only these buttons are active when the simple mode is set to “On.“ [ON,
✔Note:
•If you do not select the Quit icon and exit the Remote control menu, the RC code will not be set.
55