Setting
Setting
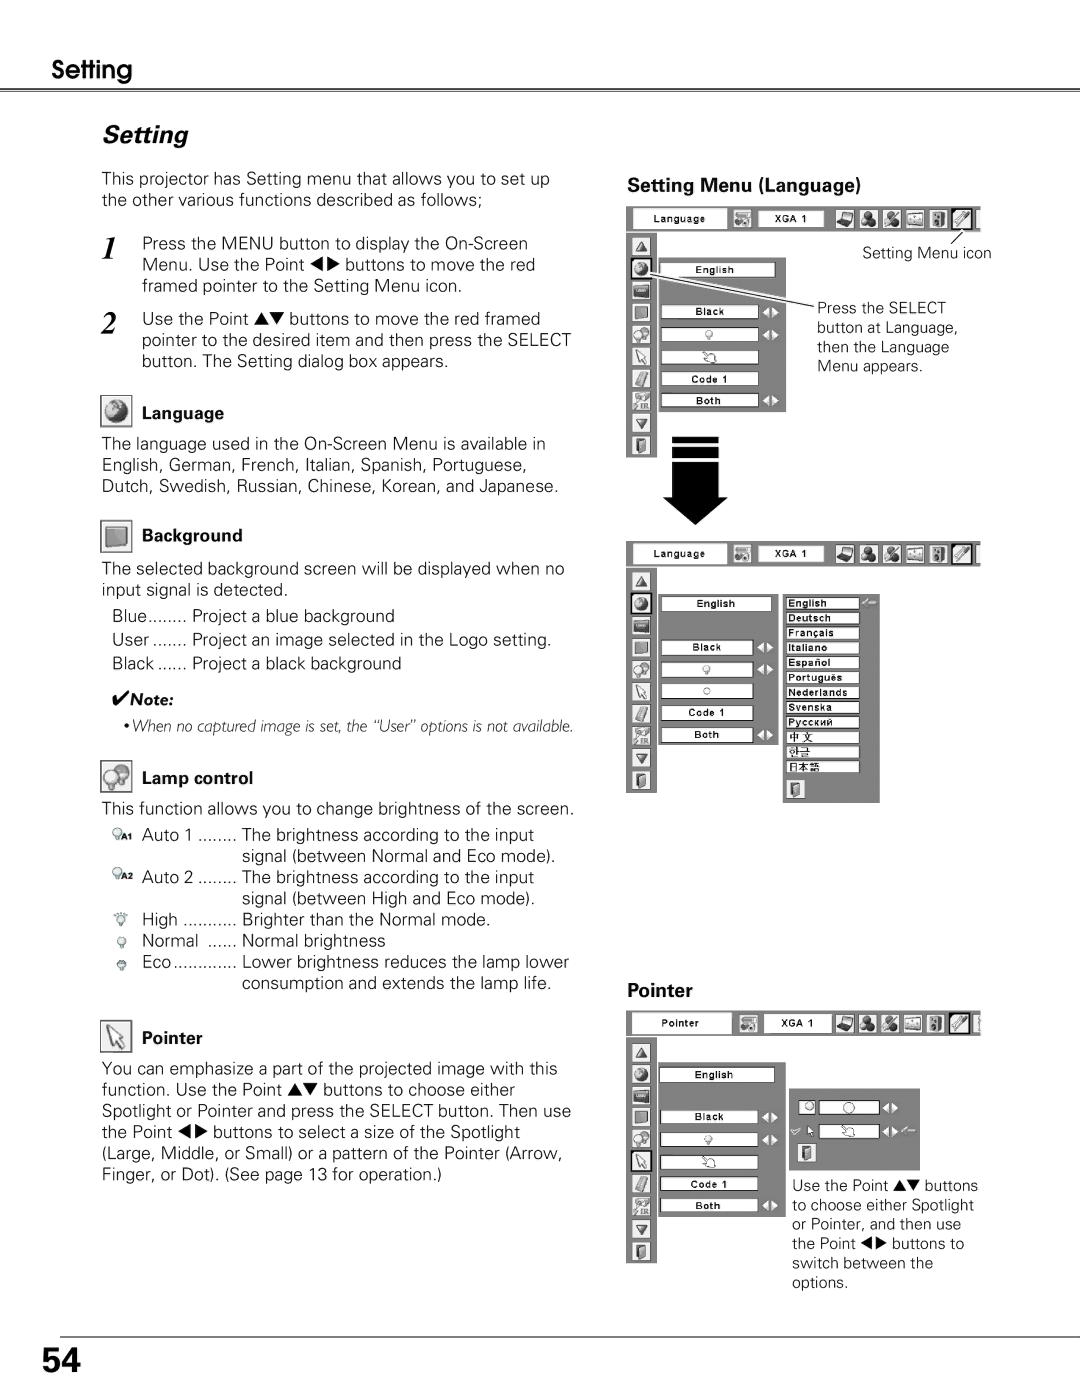
This projector has Setting menu that allows you to set up the other various functions described as follows;
1 | Press the MENU button to display the |
| Menu. Use the Point 78 buttons to move the red |
| framed pointer to the Setting Menu icon. |
2 | Use the Point ed buttons to move the red framed |
| pointer to the desired item and then press the SELECT |
button. The Setting dialog box appears.
 Language
The language used in the
 Background
The selected background screen will be displayed when no input signal is detected.
Blue | Project a blue background |
User | Project an image selected in the Logo setting. |
Black | Project a black background |
✔Note:
•When no captured image is set, the “User” options is not available.
 Lamp control
This function allows you to change brightness of the screen.
Auto 1 | The brightness according to the input |
| signal (between Normal and Eco mode). |
Auto 2 | The brightness according to the input |
| signal (between High and Eco mode). |
High | Brighter than the Normal mode. |
Normal | Normal brightness |
Eco | Lower brightness reduces the lamp lower |
| consumption and extends the lamp life. |
![]() Pointer
Pointer
You can emphasize a part of the projected image with this function. Use the Point ed buttons to choose either Spotlight or Pointer and press the SELECT button. Then use the Point 78 buttons to select a size of the Spotlight (Large, Middle, or Small) or a pattern of the Pointer (Arrow, Finger, or Dot). (See page 13 for operation.)
Setting Menu (Language)
Setting Menu icon
Press the SELECT button at Language, then the Language Menu appears.
Pointer
Use the Point ed buttons to choose either Spotlight or Pointer, and then use the Point 78 buttons to switch between the options.
54
