Recording from a CD
●When recording important selections, make a preliminary test to ensure that the desired material is properly recorded.
●SHARP is not liable for damage or loss of your recording arising from malfunction of this unit.
●The volume and sound controls can be adjusted with no effect on the recorded signal (Variable Sound Monitor).
●Do not use metal or CrO2 tapes for recording.
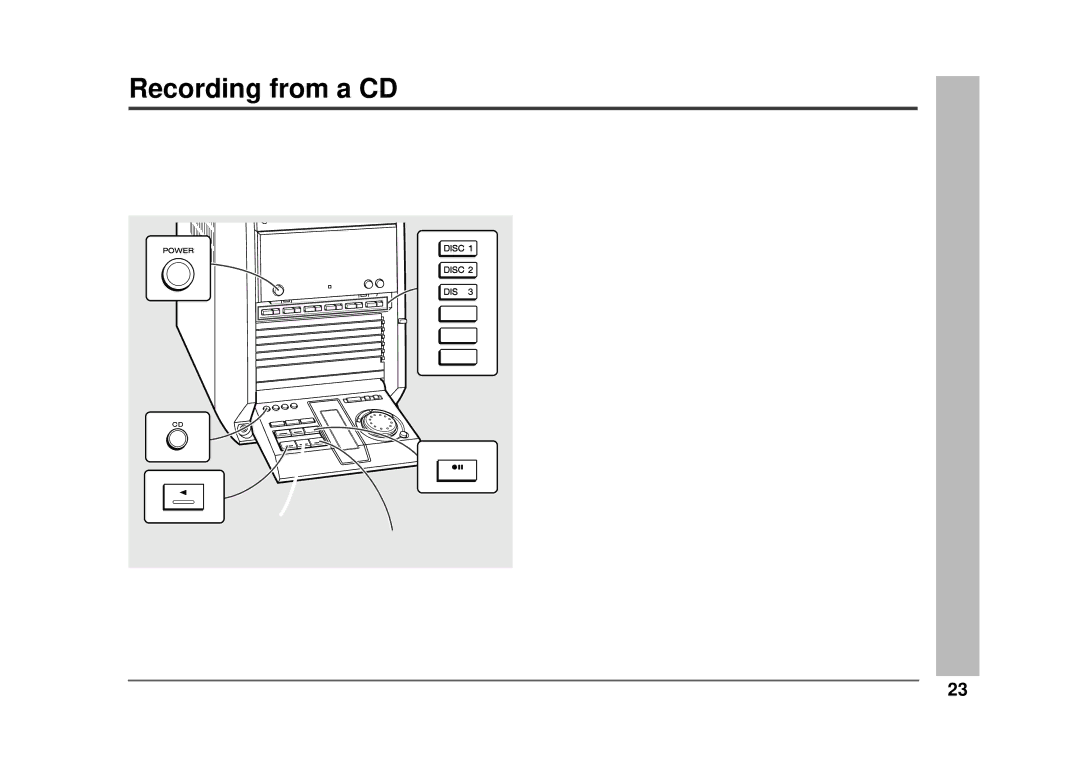
You can record the desired CD using the DISC 1 - DISC 6 buttons.
1 Press the POWER button to turn the power on.
2 Press the CD button and load the desired disc.
3 Load a cassette into the compartment with side A facing you.
4 Press the REVERSE MODE button to choose one side or both sides.

 .... To record on both sides.
.... To record on only one side.
5 Press the REC PAUSE I6 button repeatedly to switch to the side you record on.
●Recording will be paused.
●To record on both sides, begin on side A. (If recording is started from side B, the tape will not switch over to side A.)
6 Press one of the DISC 1 - DISC 6 buttons to start recording.
When the CD reaches the end, recording will stop.
Recording from several CDs continuously:
1.Follow the above steps 1 - 5.
2.Regardless of the setting in step 5, press the 06 button to record on side A, or the 1 button for side B.
Recording will start from the disc of the lowest number.
To perform programmed recording:
1.Program discs and tracks (page 19).
2.Press the REC PAUSE I6 button.
3.Regardless of the setting in step 5, press the 06 button to record on side A, or the 1 button for side B.
To stop recording:
Press the ■ button.
The CD and tape will stop.
Auto restart function:
If the recording side is switched from side A to B during recording, the system will record the interrupted track on side B from its beginning.
The recording will be made without cutting the beginning of the track on side B.
Recording
– Recording from a CD –
■ Programmed Play (See page 19.) | 23 |