Useful adjustment settings
Audio Only
When listening to music from a music programme, you can set the display off and enjoy audio only.
1 Press MENU and the MENU screen displays.
2 Press c/dto select “Option”.
3 Press a/bto select “Audio Only”, and then press ENTER.
4 Press c/d to select “On”, and then press
ENTER.
Selected item | Description |
|
|
On | Audio is output without screen image. |
|
|
Off | Both screen images and audio are output. |
|
|
![]() NOTE
NOTE
•When you make operations that change the picture on the TV such as by changing the input source, the Audio Only function is set to “Off”.
HDMI Setup
HDMI
1 To watch an HDMI equipment image, select “INPUT4” or “INPUT5” using TV/VIDEO on the remote control unit or on the TV.
2 Press MENU and the MENU screen displays.
3 Press c/dto select “Option”.
4 Press a/bto select “HDMI Setup”, and then press ENTER.
•The HDMI Setup can be selected only when “INPUT4” or “INPUT5” is selected.
MENU [Option ... HDMI Setup]
Option |
Audio Only |
|
DNR | [Off] |
|
|
|
|
HDMI Setup |
|
|
|
DNR (Digital Noise Reduction)
Produces a clearer video image.
1 Press MENU and the MENU screen displays.
2 Press c/dto select “Option”.
3 Press a/bto select “DNR”, and then press
ENTER.
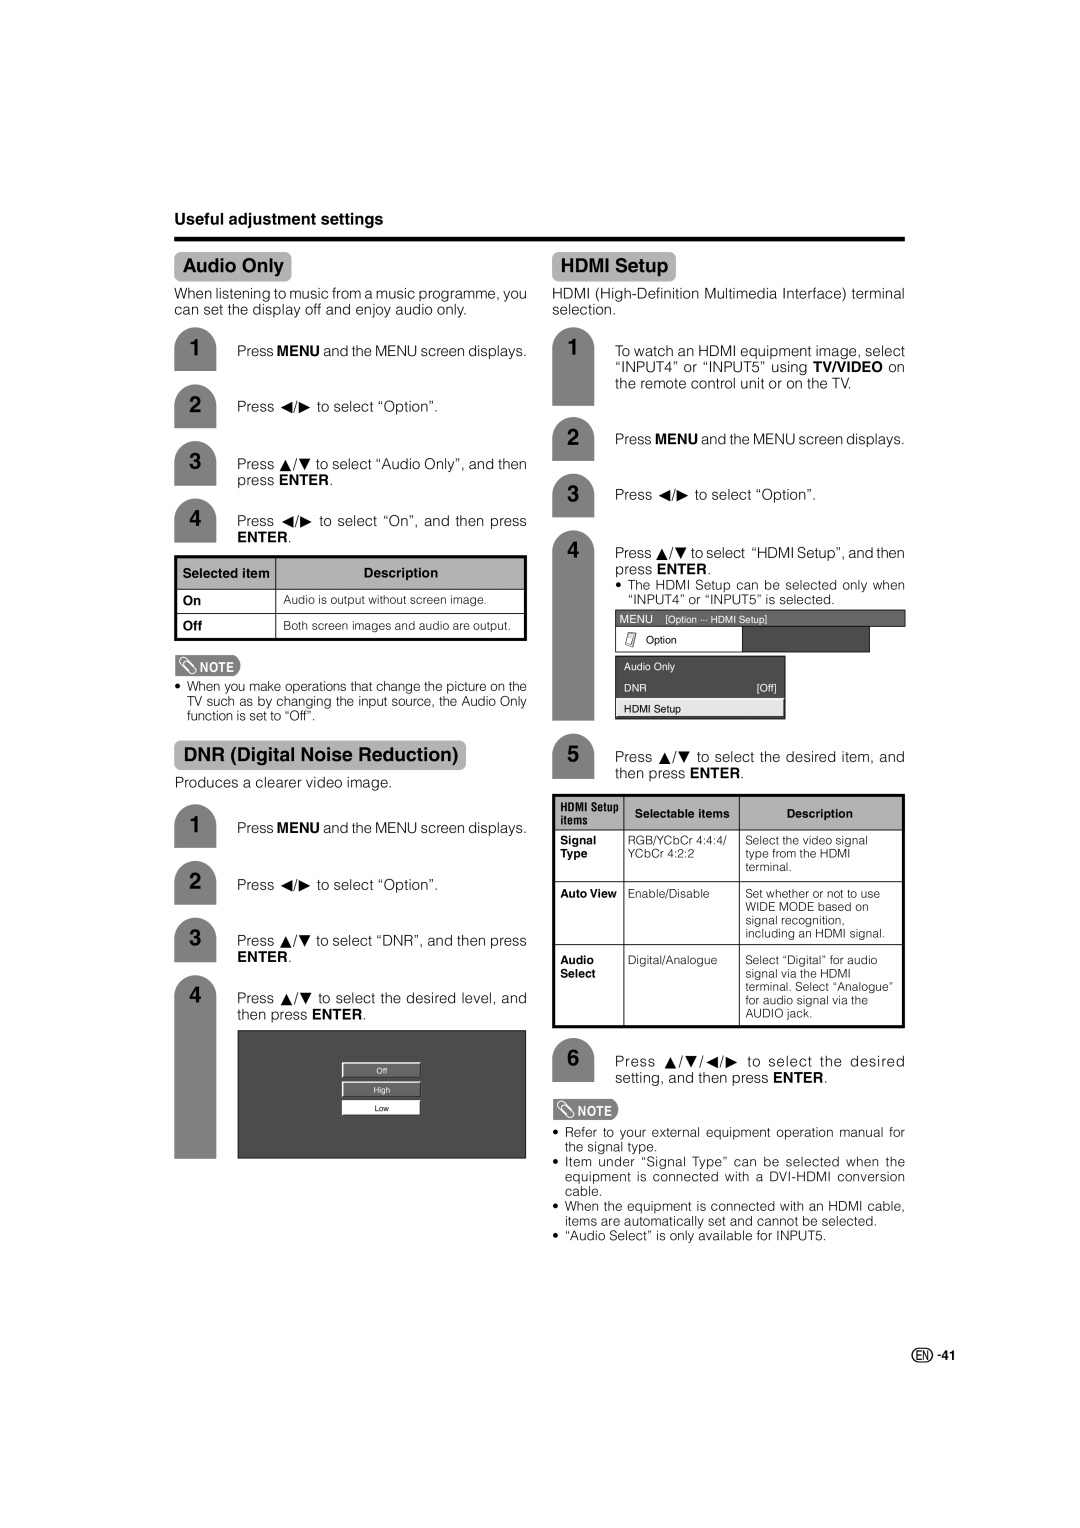
4 Press a/bto select the desired level, and then press ENTER.
Off
High
Low
5 Press a/bto select the desired item, and then press ENTER.
HDMI Setup | Selectable items | Description | |
items | |||
|
| ||
Signal | RGB/YCbCr 4:4:4/ | Select the video signal | |
Type | YCbCr 4:2:2 | type from the HDMI | |
|
| terminal. | |
|
|
| |
Auto View | Enable/Disable | Set whether or not to use | |
|
| WIDE MODE based on | |
|
| signal recognition, | |
|
| including an HDMI signal. | |
|
|
| |
Audio | Digital/Analogue | Select “Digital” for audio | |
Select |
| signal via the HDMI | |
|
| terminal. Select “Analogue” | |
|
| for audio signal via the | |
|
| AUDIO jack. | |
|
|
|
6 Press a/b/c/d to select the desired setting, and then press ENTER.
![]() NOTE
NOTE
•Refer to your external equipment operation manual for the signal type.
•Item under “Signal Type” can be selected when the equipment is connected with a
•When the equipment is connected with an HDMI cable, items are automatically set and cannot be selected.
•“Audio Select” is only available for INPUT5.
![]()
![]() 41
41