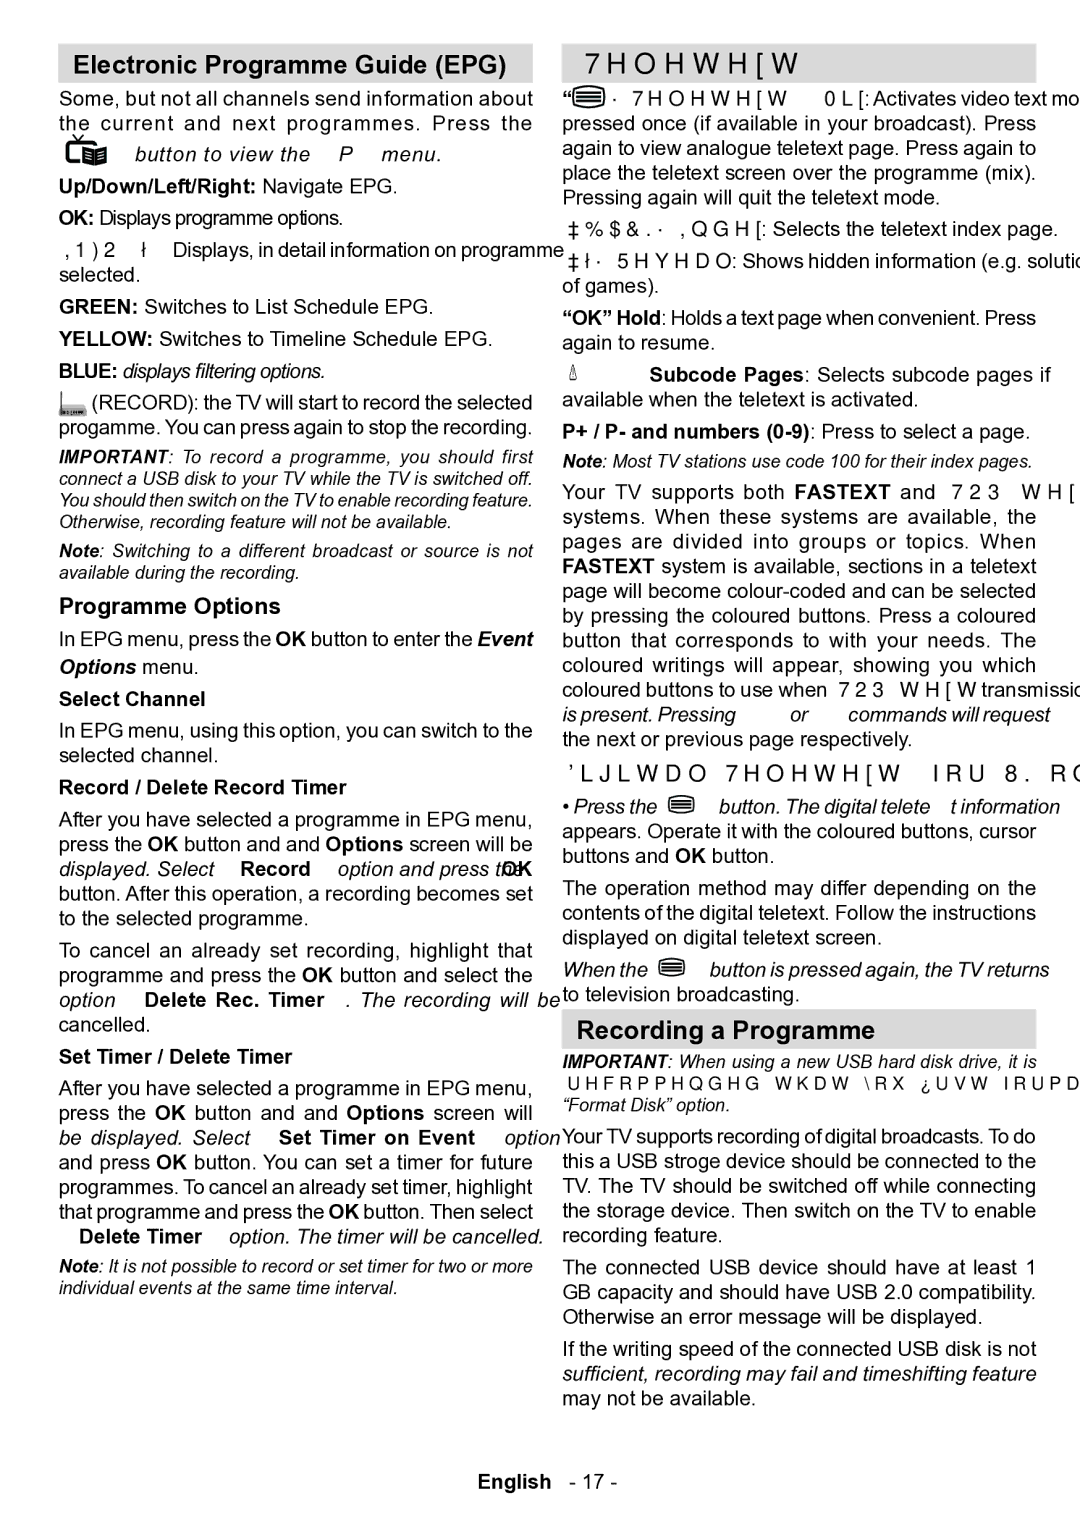
Electronic Programme Guide (EPG)
Some, but not all channels send information about the current and next programmes. Press the
“![]() ” button to view the EPG menu.
” button to view the EPG menu.
Up/Down/Left/Right: Navigate EPG.
OK: Displays programme options.
INFO (İ): Displays, in detail information on programme selected.
GREEN: Switches to List Schedule EPG.
YELLOW: Switches to Timeline Schedule EPG.
BLUE: displays filtering options.
(RECORD): the TV will start to record the selected progamme. You can press again to stop the recording.
IMPORTANT: To record a programme, you should first connect a USB disk to your TV while the TV is switched off. You should then switch on the TV to enable recording feature. Otherwise, recording feature will not be available.
Note: Switching to a different broadcast or source is not available during the recording.
Programme Options
In EPG menu, press the OK button to enter the Event
Options menu.
Select Channel
In EPG menu, using this option, you can switch to the selected channel.
Record / Delete Record Timer
After you have selected a programme in EPG menu, press the OK button and and Options screen will be displayed. Select “Record” option and press the OK button. After this operation, a recording becomes set to the selected programme.
To cancel an already set recording, highlight that programme and press the OK button and select the option “Delete Rec. Timer”. The recording will be cancelled.
Set Timer / Delete Timer
After you have selected a programme in EPG menu, press the OK button and and Options screen will be displayed. Select “Set Timer on Event” option and press OK button. You can set a timer for future programmes. To cancel an already set timer, highlight that programme and press the OK button. Then select “Delete Timer” option. The timer will be cancelled.
Note: It is not possible to record or set timer for two or more individual events at the same time interval.
English
Teletext
“![]() ” Teletext / Mix: Activates video text mode when pressed once (if available in your broadcast). Press again to view analogue teletext page. Press again to place the teletext screen over the programme (mix). Pressing again will quit the teletext mode.
” Teletext / Mix: Activates video text mode when pressed once (if available in your broadcast). Press again to view analogue teletext page. Press again to place the teletext screen over the programme (mix). Pressing again will quit the teletext mode.
“BACK” Index: Selects the teletext index page.
“İ” Reveal: Shows hidden information (e.g. solutions of games).
“OK” Hold: Holds a text page when convenient. Press again to resume.
“![]() ”/“
”/“![]() ” Subcode Pages: Selects subcode pages if available when the teletext is activated.
” Subcode Pages: Selects subcode pages if available when the teletext is activated.
P+ / P- and numbers (0-9): Press to select a page.
Note: Most TV stations use code 100 for their index pages.
Your TV supports both FASTEXT and TOP text systems. When these systems are available, the pages are divided into groups or topics. When FASTEXT system is available, sections in a teletext page will become ![]() ” or “
” or “![]() ” commands will request the next or previous page respectively.
” commands will request the next or previous page respectively.
Digital Teletext (for UK only)
•Press the “![]() ” button. The digital teletext information appears. Operate it with the coloured buttons, cursor buttons and OK button.
” button. The digital teletext information appears. Operate it with the coloured buttons, cursor buttons and OK button.
The operation method may differ depending on the contents of the digital teletext. Follow the instructions displayed on digital teletext screen.
When the “![]() ” button is pressed again, the TV returns to television broadcasting.
” button is pressed again, the TV returns to television broadcasting.
Recording a Programme
IMPORTANT: When using a new USB hard disk drive, it is recommended that you first format the disk using your TV’s “Format Disk” option.
Your TV supports recording of digital broadcasts. To do this a USB stroge device should be connected to the TV. The TV should be switched off while connecting the storage device. Then switch on the TV to enable recording feature.
The connected USB device should have at least 1 GB capacity and should have USB 2.0 compatibility. Otherwise an error message will be displayed.
If the writing speed of the connected USB disk is not sufficient, recording may fail and timeshifting feature may not be available.
- 17 -
