Telephone Mode
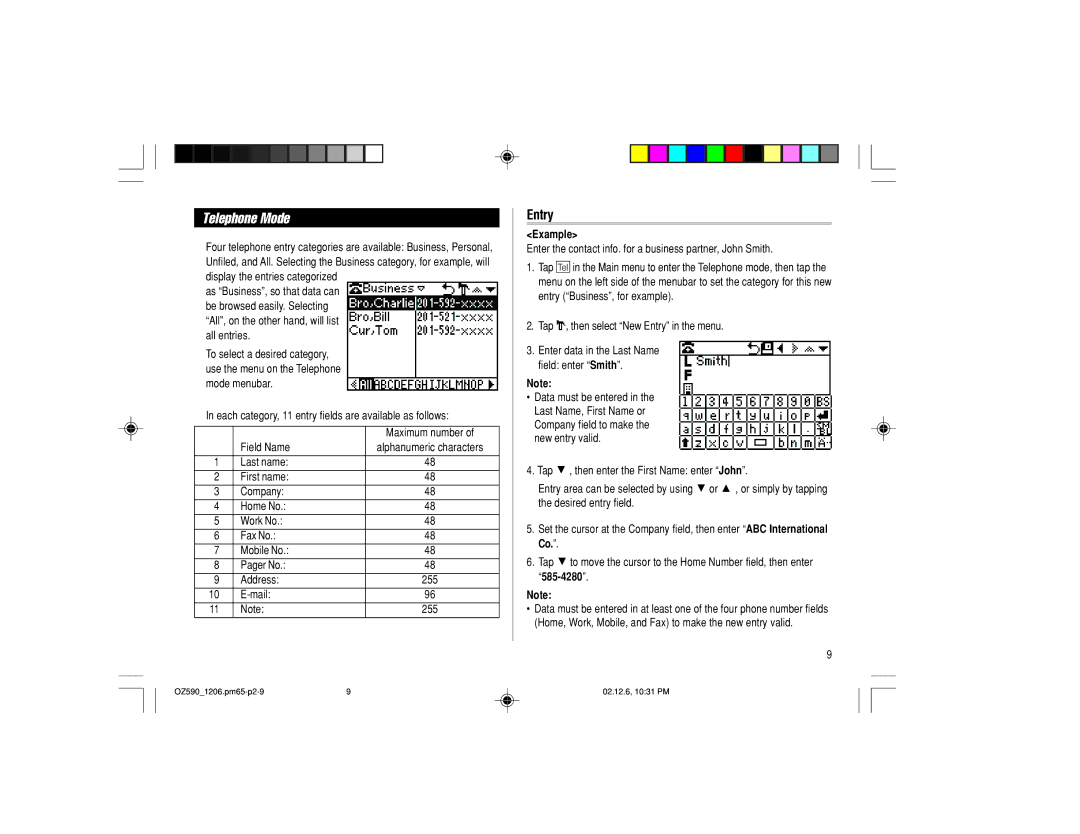
Four telephone entry categories are available: Business, Personal, Unfiled, and All. Selecting the Business category, for example, will display the entries categorized
as “Business”, so that data can be browsed easily. Selecting “All”, on the other hand, will list all entries.
To select a desired category, use the menu on the Telephone mode menubar.
In each category, 11 entry fields are available as follows:
|
| Maximum number of |
| Field Name | alphanumeric characters |
1 | Last name: | 48 |
2 | First name: | 48 |
3 | Company: | 48 |
4 | Home No.: | 48 |
5 | Work No.: | 48 |
6 | Fax No.: | 48 |
7 | Mobile No.: | 48 |
8 | Pager No.: | 48 |
9 | Address: | 255 |
10 | 96 | |
11 | Note: | 255 |
Entry
<Example>
Enter the contact info. for a business partner, John Smith.
1.Tap v in the Main menu to enter the Telephone mode, then tap the menu on the left side of the menubar to set the category for this new entry (“Business”, for example).
2.Tap “, then select “New Entry” in the menu.
3.Enter data in the Last Name field: enter “Smith”.
Note:
•Data must be entered in the Last Name, First Name or Company field to make the new entry valid.
4.Tap m , then enter the First Name: enter “John”.
Entry area can be selected by using m or k , or simply by tapping the desired entry field.
5.Set the cursor at the Company field, then enter “ABC International Co.”.
6.Tap m to move the cursor to the Home Number field, then enter
Note:
•Data must be entered in at least one of the four phone number fields (Home, Work, Mobile, and Fax) to make the new entry valid.
9
9 | 02.12.6, 10:31 PM |
