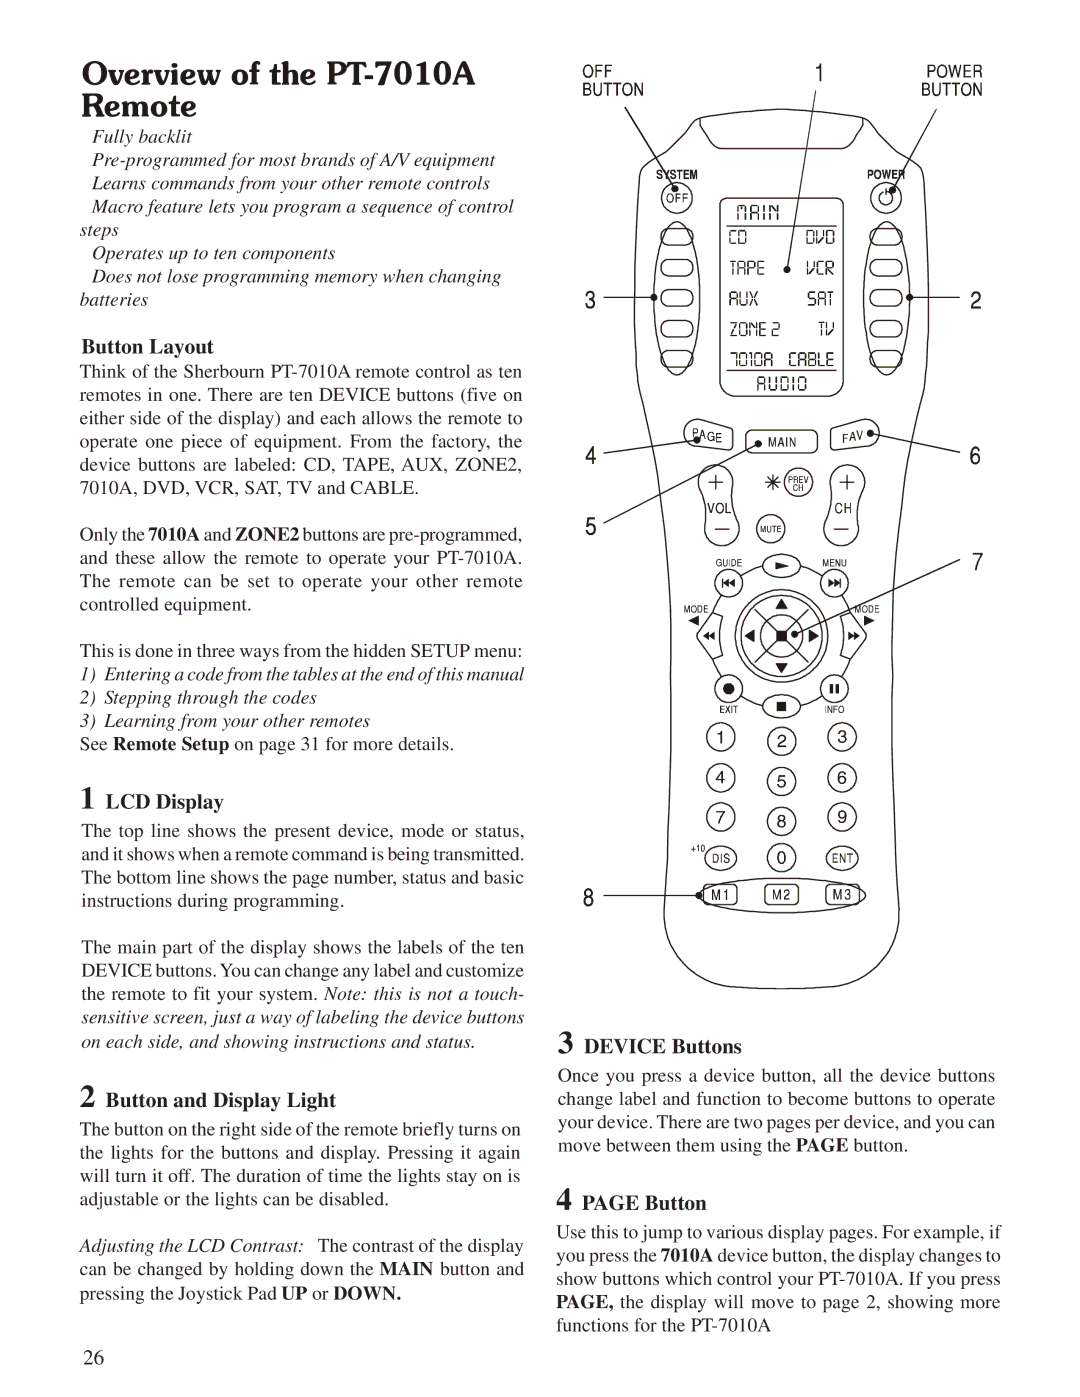
PT-7010A specifications
Sherbourn Technologies PT-7010A is an advanced multi-channel power amplifier that has made a significant mark in the audio engineering world. Renowned for its performance and versatility, the PT-7010A caters to both audiophiles and professionals seeking a high-quality audio solution.One of the standout features of the PT-7010A is its impressive power output. Delivering 100 watts per channel into an 8-ohm load, the amplifier guarantees robust sound reproduction across a variety of audio formats. With the ability to drive both low and high impedance loads efficiently, it handles demanding speaker systems with ease, making it a suitable choice for home theaters as well as professional audio environments.
Another key characteristic of the PT-7010A is its use of Class A/B amplification technology, which combines the efficiency of Class B with the linearity of Class A. This results in a rich, warm sound with minimal distortion, ensuring that the audio signal remains clear even at high volume levels. Additionally, the amplifier features extensive thermal management, allowing it to maintain optimal performance without overheating, thus enhancing its lifespan.
The build quality of the Sherbourn PT-7010A is equally impressive. Constructed with high-grade materials, the amplifier not only ensures durability but also minimizes vibrations that can adversely affect sound quality. Its sleek design makes it an aesthetically pleasing addition to any audio setup, whether in a living room or a commercial venue.
Connectivity is another highlight of the PT-7010A, featuring multiple input options, including balanced XLR and unbalanced RCA connections. This versatility allows for seamless integration with a wide array of audio sources, ranging from home theater systems to professional recording equipment.
The amplifier's user-friendly interface simplifies operation, with easy access to power settings and a front-panel indicator to monitor status. Furthermore, the PT-7010A is designed to be environmentally friendly, with energy-efficient components that reduce power consumption without compromising performance.
In conclusion, Sherbourn Technologies PT-7010A stands out as a powerful and versatile amplifier that combines high performance with advanced technology. Its quality construction, exceptional sound reproduction, and variety of connection options make it an excellent choice for anyone looking to elevate their audio experience, whether in home entertainment systems or professional settings.

