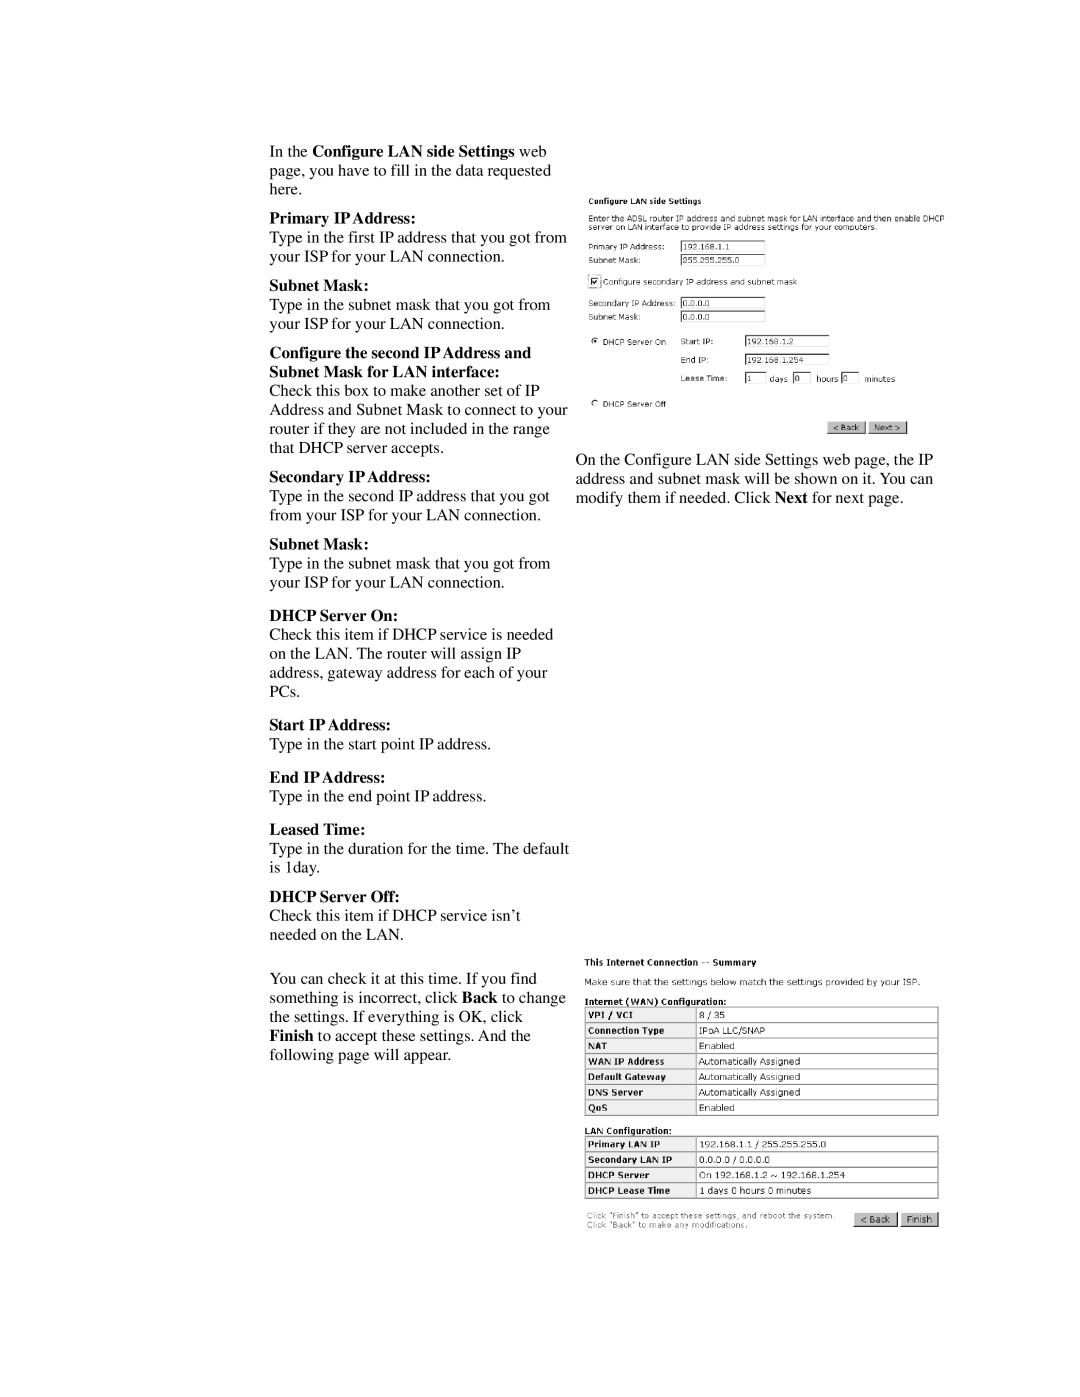
In the Configure LAN side Settings web page, you have to fill in the data requested here.
Primary IP Address:
Type in the first IP address that you got from your ISP for your LAN connection.
Subnet Mask:
Type in the subnet mask that you got from your ISP for your LAN connection.
Configure the second IP Address and Subnet Mask for LAN interface: Check this box to make another set of IP Address and Subnet Mask to connect to your router if they are not included in the range that DHCP server accepts.
Secondary IP Address:
Type in the second IP address that you got from your ISP for your LAN connection.
Subnet Mask:
Type in the subnet mask that you got from your ISP for your LAN connection.
DHCP Server On:
Check this item if DHCP service is needed on the LAN. The router will assign IP address, gateway address for each of your PCs.
Start IP Address:
Type in the start point IP address.
End IP Address:
Type in the end point IP address.
Leased Time:
Type in the duration for the time. The default is 1day.
DHCP Server Off:
Check this item if DHCP service isn’t needed on the LAN.
You can check it at this time. If you find something is incorrect, click Back to change the settings. If everything is OK, click Finish to accept these settings. And the following page will appear.
On the Configure LAN side Settings web page, the IP address and subnet mask will be shown on it. You can modify them if needed. Click Next for next page.
