6Getting started
Battery and charging
Insert battery | Slide the battery lid back into | |
position. | ||
|
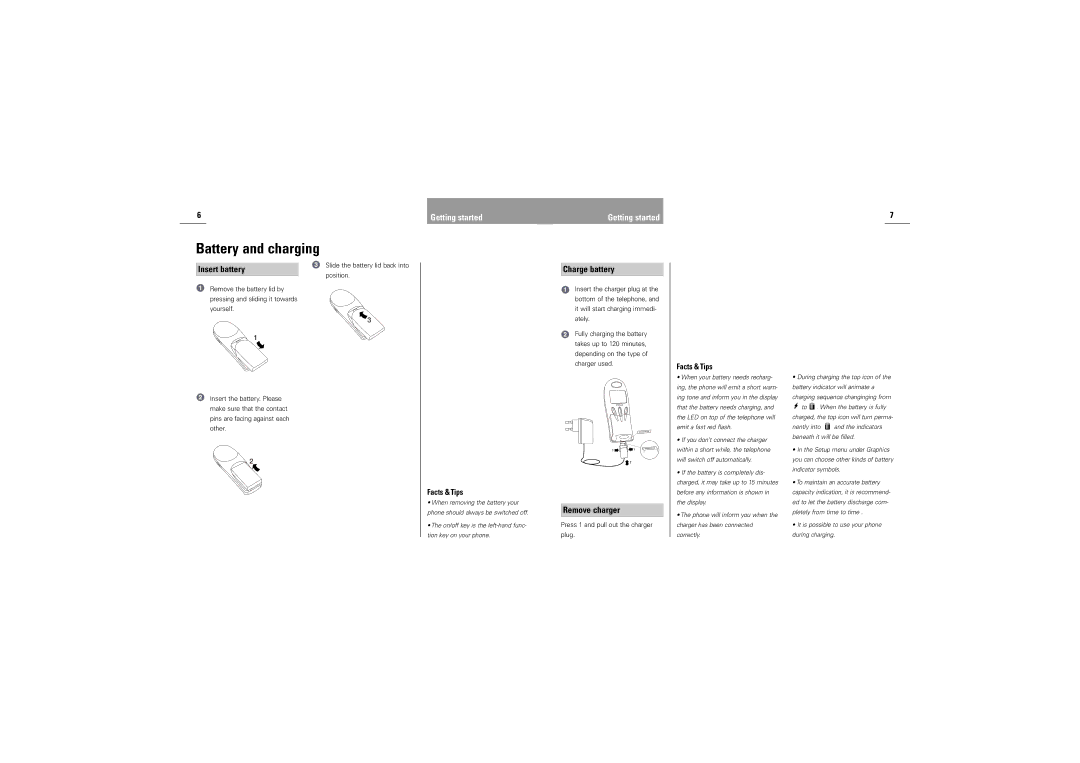
Remove the battery lid by pressing and sliding it towards yourself.
3
1
Insert the battery. Please make sure that the contact pins are facing against each other.
2
Facts & Tips
• When removing the battery your phone should always be switched off.
• The on/off key is the
Getting started
Charge battery
Insert the charger plug at the bottom of the telephone, and it will start charging immedi- ately.
Fully charging the battery takes up to 120 minutes, depending on the type of charger used.
1 | 1 |
Remove charger
Press 1 and pull out the charger
plug.
Facts & Tips
•When your battery needs recharg- ing, the phone will emit a short warn- ing tone and inform you in the display that the battery needs charging, and the LED on top of the telephone will emit a fast red flash.
•If you don’t connect the charger within a short while, the telephone will switch off automatically.
•If the battery is completely dis- charged, it may take up to 15 minutes before any information is shown in the display.
•The phone will inform you when the charger has been connected correctly.
7
•During charging the top icon of the battery indicator will animate a
charging sequence changinging from
![]() to
to ![]() . When the battery is fully charged, the top icon will turn perma-
. When the battery is fully charged, the top icon will turn perma-
nently into ![]() and the indicators beneath it will be filled.
and the indicators beneath it will be filled.
•In the Setup menu under Graphics you can choose other kinds of battery indicator symbols.
•To maintain an accurate battery capacity indication, it is recommend- ed to let the battery discharge com- pletely from time to time .
•It is possible to use your phone during charging.
