When used with M Mode
You can set the desired shutter speed and aperture value. You can set the shutter speed from top sync speed to bulb. If you adjust the exposure according to the exposure meter indication, the camera will work as for Daylight synchronization flash or slow, synchronization.
In the case of use with SD9, SD10, depending on the ISO setting, shutter speed will change to slow shutter speed side. For more detailed information, please refer to Exposure Mode selection.
LIMITS OF CONTINUOUS SHOOTING
To prevent overheating of the flash’s circuitry, please do not use your Flash unit for at least 10minutes after using the number of flash exposures, shown in the below table have been made in quick succession.
Mode | Number of Flash Exposures |
TTL, M(1/1,1/2) | 15 Continuous Flash Shots |
M(1/4, 1/8) | 20 Continuous Flash Shots |
40 Continuous Flash Shots | |
Multi | 10 Cycle |
MANUAL FLASH OPERATION
Manual flash provides adjustment of desired flash intensity (flash output level).
The shooting in Manual Mode requires a very advanced technique. We recommend you use the Auto mode. When using Manual Flash photography, first take some test shots. It will be beneficial to use a flash meter device for determining the exposure.
Flash intensity of left and right tubes can be set between 1/1~1/64. It is also possible to set without firing one of them.
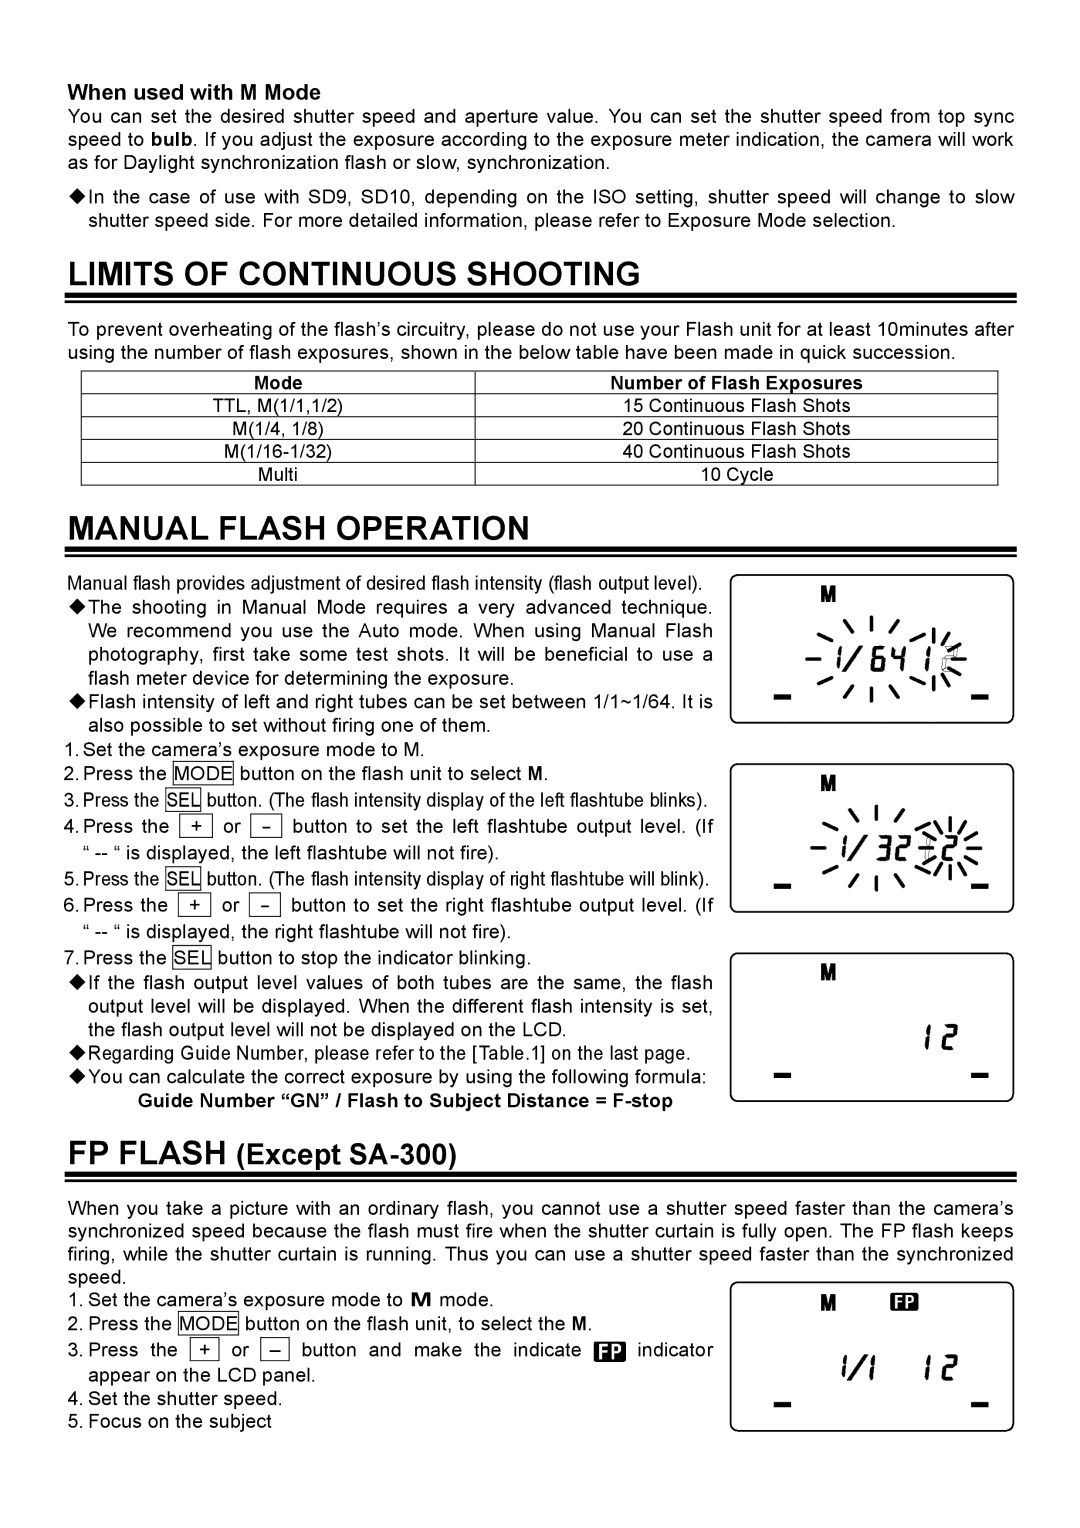
1.Set the camera’s exposure mode to M.
2.Press the MODE button on the flash unit to select M.
3.Press the SEL button. (The flash intensity display of the left flashtube blinks).
4. Press the + or - button to set the left flashtube output level. (If
“
5.Press the SEL button. (The flash intensity display of right flashtube will blink).
6. Press the + or - button to set the right flashtube output level. (If
“
7.Press the SEL button to stop the indicator blinking.
If the flash output level values of both tubes are the same, the flash output level will be displayed. When the different flash intensity is set, the flash output level will not be displayed on the LCD.
Regarding Guide Number, please refer to the [Table.1] on the last page.
You can calculate the correct exposure by using the following formula:
Guide Number “GN” / Flash to Subject Distance = F-stop
FP FLASH (Except SA-300)
When you take a picture with an ordinary flash, you cannot use a shutter speed faster than the camera’s synchronized speed because the flash must fire when the shutter curtain is fully open. The FP flash keeps firing, while the shutter curtain is running. Thus you can use a shutter speed faster than the synchronized speed.
1.Set the camera’s exposure mode to M mode.
2.Press the MODE button on the flash unit, to select the M.
3.Press the + or – button and make the indicate ![]() indicator appear on the LCD panel.
indicator appear on the LCD panel.
4.Set the shutter speed.
5.Focus on the subject