MULTI FLASH MODE
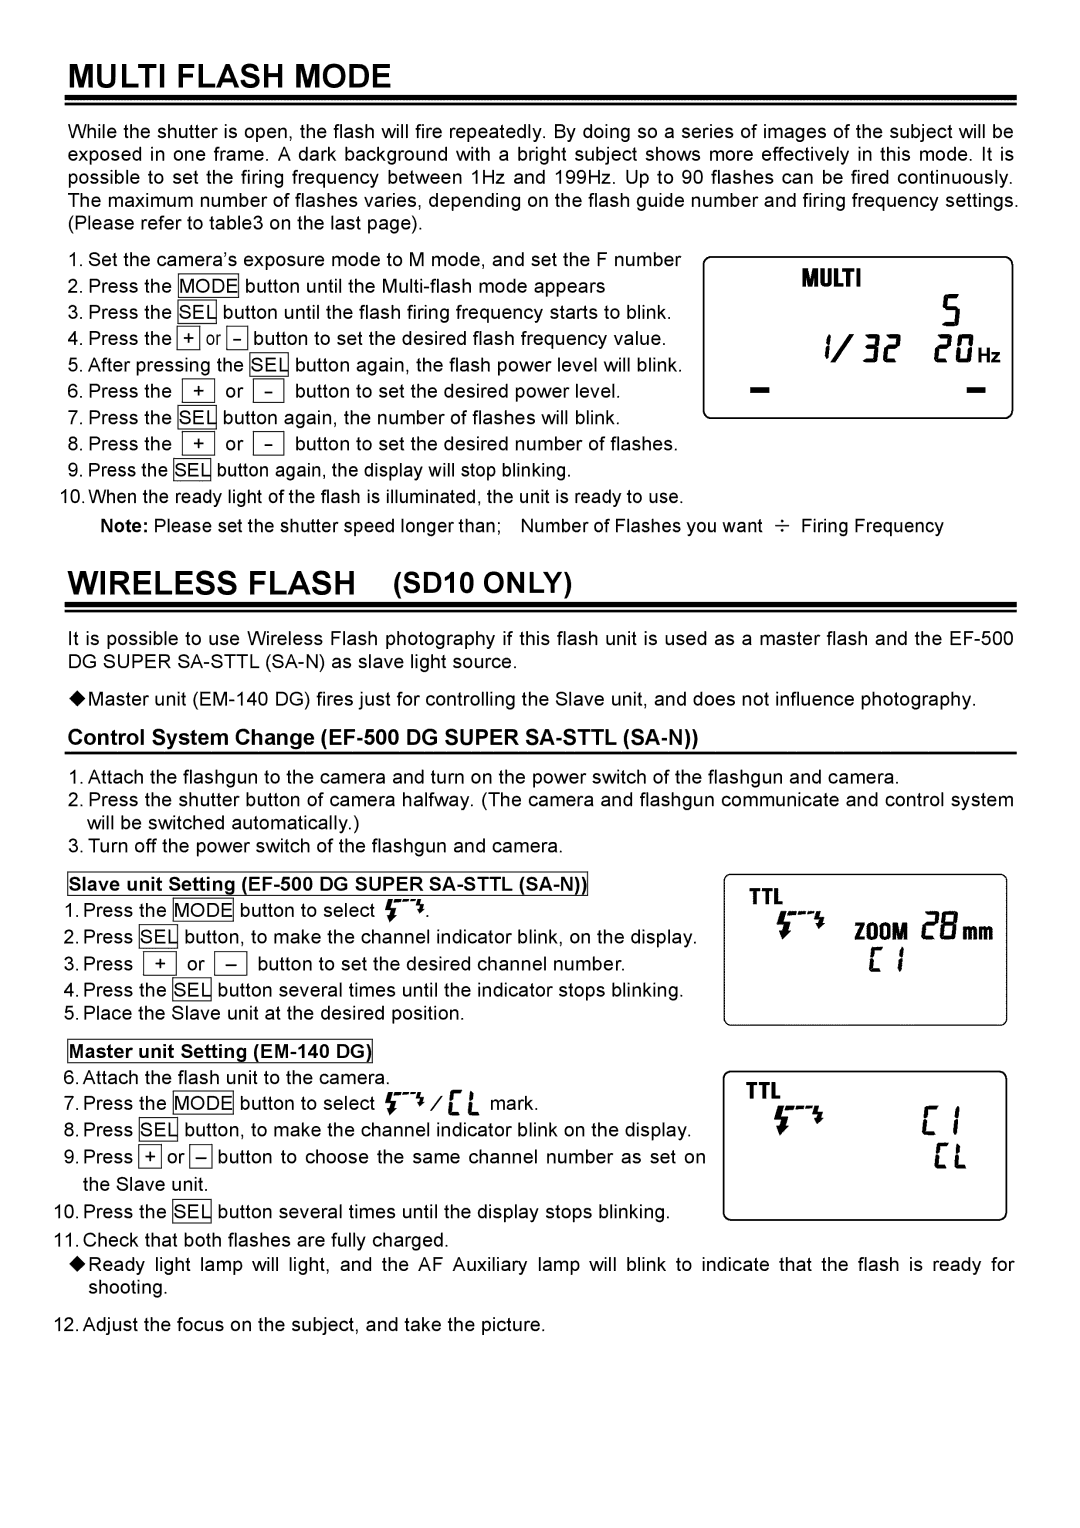
While the shutter is open, the flash will fire repeatedly. By doing so a series of images of the subject will be exposed in one frame. A dark background with a bright subject shows more effectively in this mode. It is possible to set the firing frequency between 1Hz and 199Hz. Up to 90 flashes can be fired continuously. The maximum number of flashes varies, depending on the flash guide number and firing frequency settings. (Please refer to table3 on the last page).
1.Set the camera’s exposure mode to M mode, and set the F number
2.Press the MODE button until the
3.Press the SEL button until the flash firing frequency starts to blink.
4.Press the + or - button to set the desired flash frequency value.
5.After pressing the SEL button again, the flash power level will blink.
6. Press the | + | or | - | button to set the desired power level. | |
7. Press the |
| button again, the number of flashes will blink. | |||
SEL | |||||
8. Press the |
| or |
| button to set the desired number of flashes. | |
+ | - | ||||
9.Press the SEL button again, the display will stop blinking.
10.When the ready light of the flash is illuminated, the unit is ready to use.
Note: Please set the shutter speed longer than; Number of Flashes you want ÷ Firing Frequency
WIRELESS FLASH (SD10 ONLY)
It is possible to use Wireless Flash photography if this flash unit is used as a master flash and the
Master unit
Control System Change (EF-500 DG SUPER SA-STTL (SA-N))
1.Attach the flashgun to the camera and turn on the power switch of the flashgun and camera.
2.Press the shutter button of camera halfway. (The camera and flashgun communicate and control system will be switched automatically.)
3.Turn off the power switch of the flashgun and camera.
Slave unit Setting (EF-500 DG SUPER SA-STTL (SA-N))
1.Press the MODE button to select ![]() .
.
2.Press SEL button, to make the channel indicator blink, on the display.
3. Press + or – button to set the desired channel number.
4.Press the SEL button several times until the indicator stops blinking.
5.Place the Slave unit at the desired position.
Master unit Setting (EM-140 DG)
6.Attach the flash unit to the camera.
7.Press the MODE button to select ![]() ⁄
⁄ ![]() mark.
mark.
8.Press SEL button, to make the channel indicator blink on the display.
9.Press + or – button to choose the same channel number as set on the Slave unit.
10.Press the SEL button several times until the display stops blinking.
11.Check that both flashes are fully charged.
Ready light lamp will light, and the AF Auxiliary lamp will blink to indicate that the flash is ready for shooting.
12. Adjust the focus on the subject, and take the picture.
