ANGLE MARK
If scenes are recorded on a DVD in different perspectives | |
| this will automatically be signified by a camera symbol |
| displayed on the television screen. Press the ANGLE button |
| on the remote control to display the various perspectives. |
Deactivate function. No symbol appears on the television | |
| screen. |
OSD LANGUAGE
Here you set the language, in which the OSD Menu will be shown on the display.
| a stereo or multi channel sound. |
Select this setting to activate the analogue 5.1 outputs. |
FRONT SPEAKER, CENTER SPEAKER, REAR SPEAKER and SUBWOOFER In these menu inputs you can activate/deactivate the individual speaker types and set the size.
CLOSED CAPTIONS | Note: |
| |
Select this setting if by every playback of a DVD the subtitle | The menu input FRONT SPEAKER can not be deactivated since the sound | ||
| (if present) is to be automatically displayed on the television | output for the front speakers always remains switched on. | |
| screen. |
|
|
Select this setting to manually activate the subtitle. | DIALOG | In this menu input you can set the dialogue volume | |
| The subtitles can also be set, during playback, with the |
|
|
| SUBTITLE button. | D.R.C. (Dynamic Range Control) | |
|
| This function sets the level of the dynamic range for motion picture soundtracks | |
SCREEN SAVER |
| which are optimised for Dolby Digital. The function is particularly useful when | |
Screen saver activated. The screen saver will now switch | listening to surround sound with a low volume level. | ||
| on when the playback is stopped and no input is made for | Function activated | |
| approx. 4 minutes. | Function deactivated. | |
Deactivate function. | Function (if available) is automatically activated | ||
LAST MEMORY
Select this setting to playback a disc from the previously | |
| halted position after removal and |
Deactivate function. The disc playback starts back at the | |
| begining after removing and then reinserting. |
Note:
If the DVD player is turned off with the POWER switch the saved position will not be preserved.
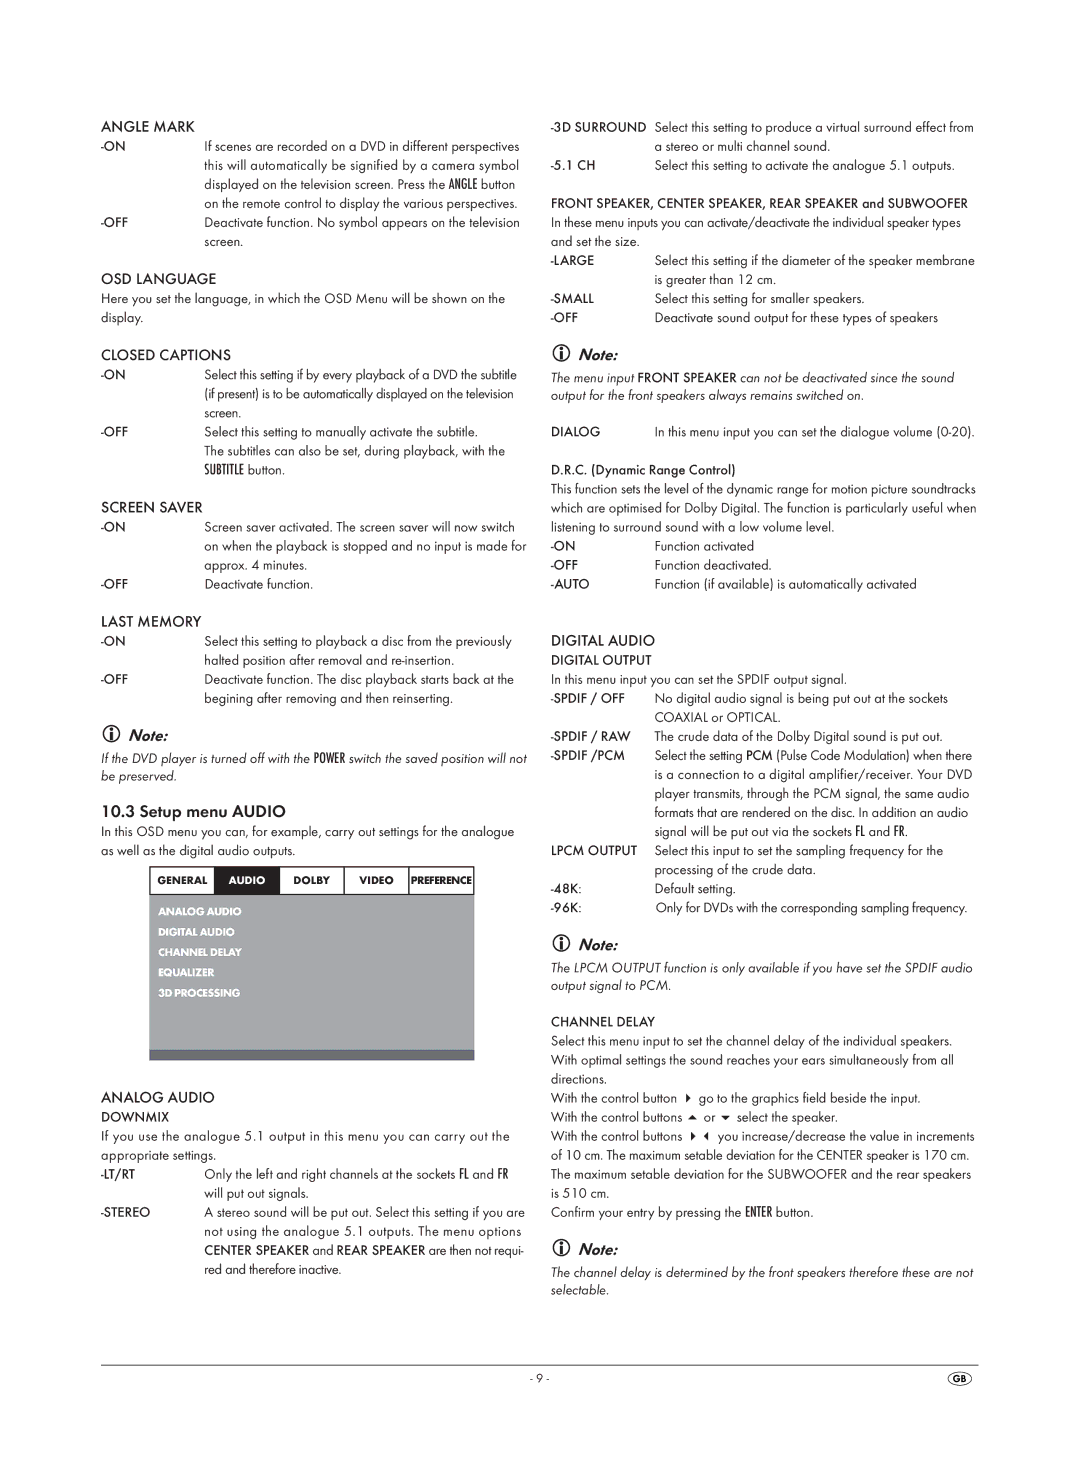
10.3 Setup menu AUDIO
In this OSD menu you can, for example, carry out settings for the analogue as well as the digital audio outputs.
GENERAL | AUDIO | DOLBY | VIDEO | PREFERENCE |
|
|
|
|
|
ANALOG AUDIO
DIGITAL AUDIO
CHANNEL DELAY
EQUALIZER
3D PROCESSING
ANALOG AUDIO
DOWNMIX
If you use the analogue 5.1 output in this menu you can carry out the appropriate settings.
Only the left and right channels at the sockets FL and FR | |
| will put out signals. |
| A stereo sound will be put out. Select this setting if you are |
| not using the analogue 5.1 outputs. The menu options |
| CENTER SPEAKER and REAR SPEAKER are then not requi- |
| red and therefore inactive. |
DIGITAL AUDIO
DIGITAL OUTPUT
In this menu input you can set the SPDIF output signal.
No digital audio signal is being put out at the sockets | |
| COAXIAL or OPTICAL. |
The crude data of the Dolby Digital sound is put out. | |
| Select the setting PCM (Pulse Code Modulation) when there |
| is a connection to a digital amplifier/receiver. Your DVD |
| player transmits, through the PCM signal, the same audio |
| formats that are rendered on the disc. In addition an audio |
| signal will be put out via the sockets FL and FR. |
LPCM OUTPUT | Select this input to set the sampling frequency for the |
| processing of the crude data. |
Default setting. | |
Only for DVDs with the corresponding sampling frequency. |
Note:
The LPCM OUTPUT function is only available if you have set the SPDIF audio output signal to PCM.
CHANNEL DELAY
Select this menu input to set the channel delay of the individual speakers. With optimal settings the sound reaches your ears simultaneously from all
directions. |
|
|
With the control button | go to the graphics field beside the input. | |
With the control buttons | or | select the speaker. |
With the control buttons |
| you increase/decrease the value in increments |
of 10 cm. The maximum setable deviation for the CENTER speaker is 170 cm. The maximum setable deviation for the SUBWOOFER and the rear speakers is 510 cm.
Confirm your entry by pressing the ENTER button.
Note:
The channel delay is determined by the front speakers therefore these are not selectable.
- 9 -