160 specifications
The Singer 160 is a remarkable sewing machine that pays homage to the rich legacy of Singer sewing as it celebrates its 160th anniversary. This versatile sewing machine combines traditional craftsmanship with modern technology, making it an ideal choice for both beginners and experienced sewers.One of the standout features of the Singer 160 is its robust metal frame, which ensures durability and stability during operation. This substantial construction minimizes vibrations, allowing for precise stitching even at high speeds. The machine boasts a powerful motor that delivers a maximum sewing speed of 750 stitches per minute, making it capable of handling various sewing projects efficiently.
The Singer 160 comes equipped with 23 built-in stitches, including essential utility stitches, decorative stitches, and an automatic 1-step buttonhole function. This wide array of stitch options provides sewers with the creative freedom to tackle projects ranging from simple repairs to intricate designs. The stitch selection is easy to navigate, thanks to a user-friendly dial positioned on the front of the machine.
Another notable characteristic of the Singer 160 is its adjustable stitch length and width, which allows users to customize their stitches based on project requirements. This feature is particularly useful for creating professional-looking hems or intricate appliqués. Additionally, the machine includes a drop-in bobbin system that simplifies threading and makes it easy to monitor thread supply.
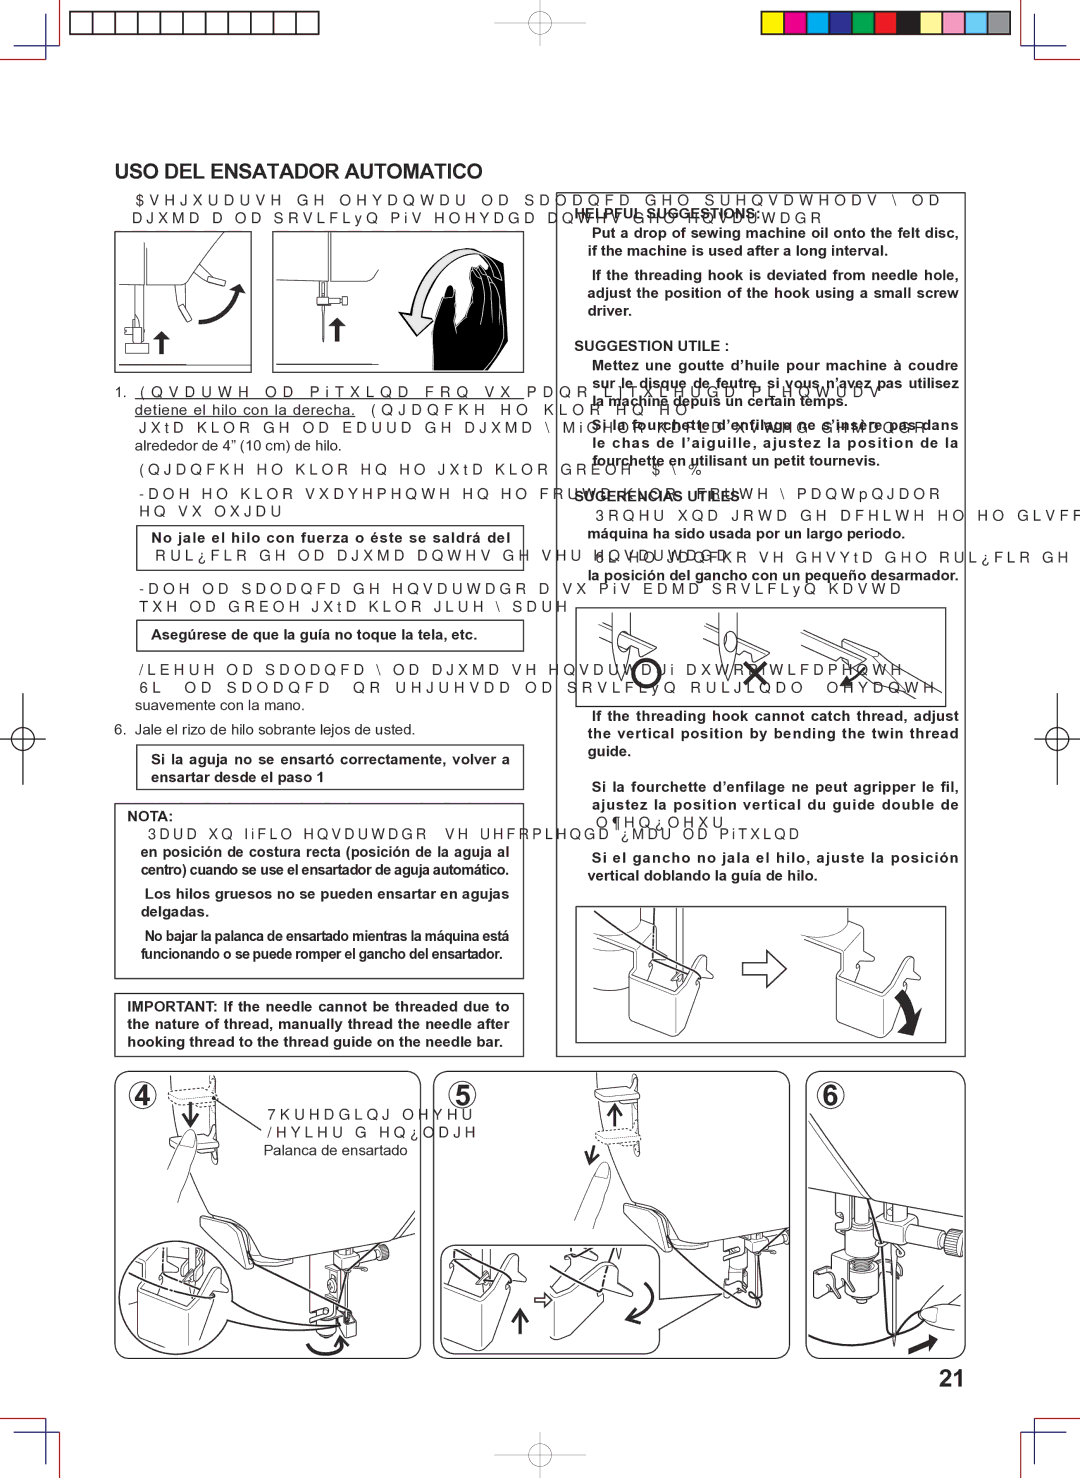
The Singer 160 also incorporates modern technological advancements that enhance user experience. One of these is the automatic needle threader, which saves considerable time and frustration, especially for those new to sewing. The machine is also equipped with an LED sewing light that illuminates the sewing area, providing better visibility for detailed projects.
For convenience, the Singer 160 comes with a variety of presser feet to facilitate different sewing tasks. These include the all-purpose foot, zipper foot, buttonhole foot, and more, allowing users to tackle an extensive range of sewing applications with ease. Moreover, the machine's compact and lightweight design makes it easily portable, ideal for quilters or sewers who attend classes or workshops.
In summary, the Singer 160 celebrates sewing tradition while integrating modern features that cater to today’s sewing enthusiasts. Its durability, range of built-in stitches, ease of use, and additional features make it a standout choice in the sewing machine market. Whether you are mending clothes, creating home décor, or embarking on more complex sewing projects, the Singer 160 provides the reliability and performance needed to bring your creative visions to life.

