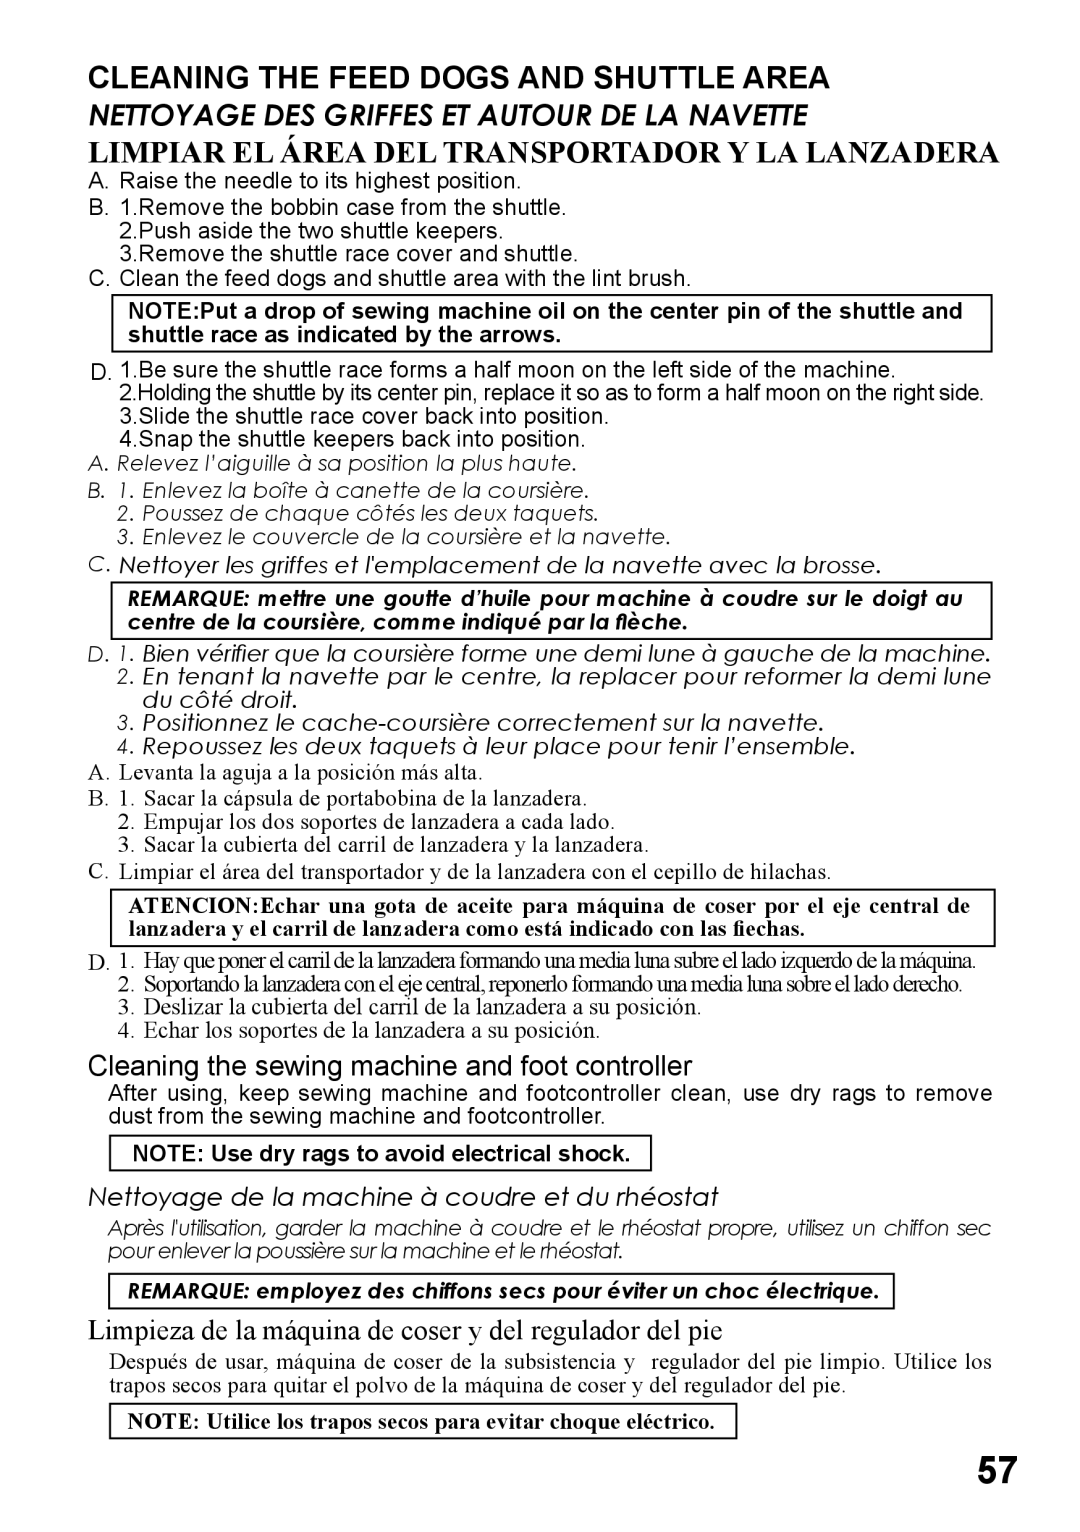
CLEANING THE FEED DOGS AND SHUTTLE AREA

NETTOYAGE DES GRIFFES ET AUTOUR DE LA NAVETTE

LIMPIAR EL ÁREA DEL TRANSPORTADOR Y LA LANZADERA

A.Raise the needle to its highest position.

B.1.Remove the bobbin case from the shuttle. 2.Push aside the two shuttle keepers. 3.Remove the shuttle race cover and shuttle.

C.Clean the feed dogs and shuttle area with the lint brush.

NOTE:Put a drop of sewing machine oil on the center pin of the shuttle and shuttle race as indicated by the arrows.

D. 1.Be sure the shuttle race forms a half moon on the left side of the machine. 2.Holding the shuttle by its center pin, replace it so as to form a half moon on the right side. 3.Slide the shuttle race cover back into position.

4.Snap the shuttle keepers back into position.

A. Relevez l’aiguille à sa position la plus haute.

B.1. Enlevez la boîte à canette de la coursière.

2.Poussez de chaque côtés les deux taquets.

3.Enlevez le couvercle de la coursière et la navette.

C.Nettoyer les griffes et l'emplacement de la navette avec la brosse.

REMARQUE: mettre une goutte d’huile pour machine à coudre sur le doigt au centre de la coursière, comme indiqué par la flèche.

D. 1. Bien vérifier que la coursière forme une demi lune à gauche de la machine. 2. En tenant la navette par le centre, la replacer pour reformer la demi lune

du côté droit.

3. Positionnez le cache-coursière correctement sur la navette.

4. Repoussez les deux taquets à leur place pour tenir l’ensemble.

A. Levanta la aguja a la posición más alta.

B. 1. Sacar la cápsula de portabobina de la lanzadera. 2. Empujar los dos soportes de lanzadera a cada lado.

3. Sacar la cubierta del carril de lanzadera y la lanzadera.

C. Limpiar el área del transportador y de la lanzadera con el cepillo de hilachas.

ATENCION:Echar una gota de aceite para máquina de coser por el eje central de lanzadera y el carril de lanzadera como está indicado con las fiechas.

D.1. Hay que poner el carril de la lanzadera formando una media luna subre el lado izquerdo de la máquina.

2.Soportando la lanzadera con el eje central, reponerlo formando una media luna sobre el lado derecho.

3.Deslizar la cubierta del carril de la lanzadera a su posición.

4.Echar los soportes de la lanzadera a su posición.

Cleaning the sewing machine and foot controller

After using, keep sewing machine and footcontroller clean, use dry rags to remove dust from the sewing machine and footcontroller.

NOTE: Use dry rags to avoid electrical shock.

Nettoyage de la machine à coudre et du rhéostat

Après l'utilisation, garder la machine à coudre et le rhéostat propre, utilisez un chiffon sec pour enlever la poussière sur la machine et le rhéostat.

REMARQUE: employez des chiffons secs pour éviter un choc électrique.

Limpieza de la máquina de coser y del regulador del pie

Después de usar, máquina de coser de la subsistencia y regulador del pie limpio. Utilice los trapos secos para quitar el polvo de la máquina de coser y del regulador del pie.

NOTE: Utilice los trapos secos para evitar choque eléctrico.

57

Page 59
Image 59
Singer 5400, 6180, 6160, 6199, 5500 Cleaning the Feed Dogs and Shuttle Area, Limpiar EL Área DEL Transportador Y LA Lanzadera

5500, 6199, 6160, 6180, 5400 specifications

Singer is a renowned name in the world of sewing machines, consistently pushing the envelope to deliver innovative products that cater to both novice and experienced sewists. Among their extensive range of machines, the Singer 6199, 5500, 6180, and 6160 models stand out due to their robust features, advanced technologies, and user-friendly characteristics.

The Singer 6199 is known for its versatility. This machine offers a wide variety of stitch options, including utility, decorative, and stretch stitches, making it suitable for various projects, from garment construction to home décor. Its automatic needle threader simplifies setup, allowing users to focus more on their creativity. The adjustable stitch length and width give the user complete control, enhancing the sewing experience.

Moving on to the Singer 5500, this model is designed with practicality in mind. Its heavy-duty construction ensures stability while sewing through thick fabrics, making it ideal for quilters and those working with denim. The one-step buttonhole feature simplifies the process of creating professional-looking buttonholes, while the built-in stitch guide allows beginners to easily choose the right stitch for their fabric. This machine also boasts a powerful motor, ensuring consistent performance even when working with challenging materials.

The Singer 6180 incorporates a wealth of advanced features that further enhance its usability. With a digital LCD screen, sewists can easily select and view stitch patterns, facilitating a seamless sewing experience. The included walk foot and quilting accessory pack make this machine a favorite among quilting enthusiasts. This model also supports sewing fonts, enabling users to personalize their creations with custom text—a valuable addition for creating unique gifts or home items.

Lastly, the Singer 6160 combines elegance with functionality. Its sleek design is complemented by a host of features, including an automatic tension adjustment system that guarantees consistent results regardless of fabric thickness. The high-speed sewing capability allows for efficient project completion, while the multiple needle positions cater to various stitching techniques. Additionally, the drop-in bobbin system simplifies threading and maintenance, making it user-friendly for those new to sewing.

In conclusion, the Singer 6199, 5500, 6180, and 6160 models exemplify the perfect blend of technology, versatility, and user-centric design. These machines are equipped to handle an array of sewing tasks, ensuring that both beginners and experienced sewists can achieve their creative visions with ease. As technology continues to evolve, Singer remains committed to providing solutions that inspire and empower crafters around the world.