5500, 6199, 6160, 6180, 5400 specifications
Singer is a renowned name in the world of sewing machines, consistently pushing the envelope to deliver innovative products that cater to both novice and experienced sewists. Among their extensive range of machines, the Singer 6199, 5500, 6180, and 6160 models stand out due to their robust features, advanced technologies, and user-friendly characteristics.The Singer 6199 is known for its versatility. This machine offers a wide variety of stitch options, including utility, decorative, and stretch stitches, making it suitable for various projects, from garment construction to home décor. Its automatic needle threader simplifies setup, allowing users to focus more on their creativity. The adjustable stitch length and width give the user complete control, enhancing the sewing experience.
Moving on to the Singer 5500, this model is designed with practicality in mind. Its heavy-duty construction ensures stability while sewing through thick fabrics, making it ideal for quilters and those working with denim. The one-step buttonhole feature simplifies the process of creating professional-looking buttonholes, while the built-in stitch guide allows beginners to easily choose the right stitch for their fabric. This machine also boasts a powerful motor, ensuring consistent performance even when working with challenging materials.
The Singer 6180 incorporates a wealth of advanced features that further enhance its usability. With a digital LCD screen, sewists can easily select and view stitch patterns, facilitating a seamless sewing experience. The included walk foot and quilting accessory pack make this machine a favorite among quilting enthusiasts. This model also supports sewing fonts, enabling users to personalize their creations with custom text—a valuable addition for creating unique gifts or home items.
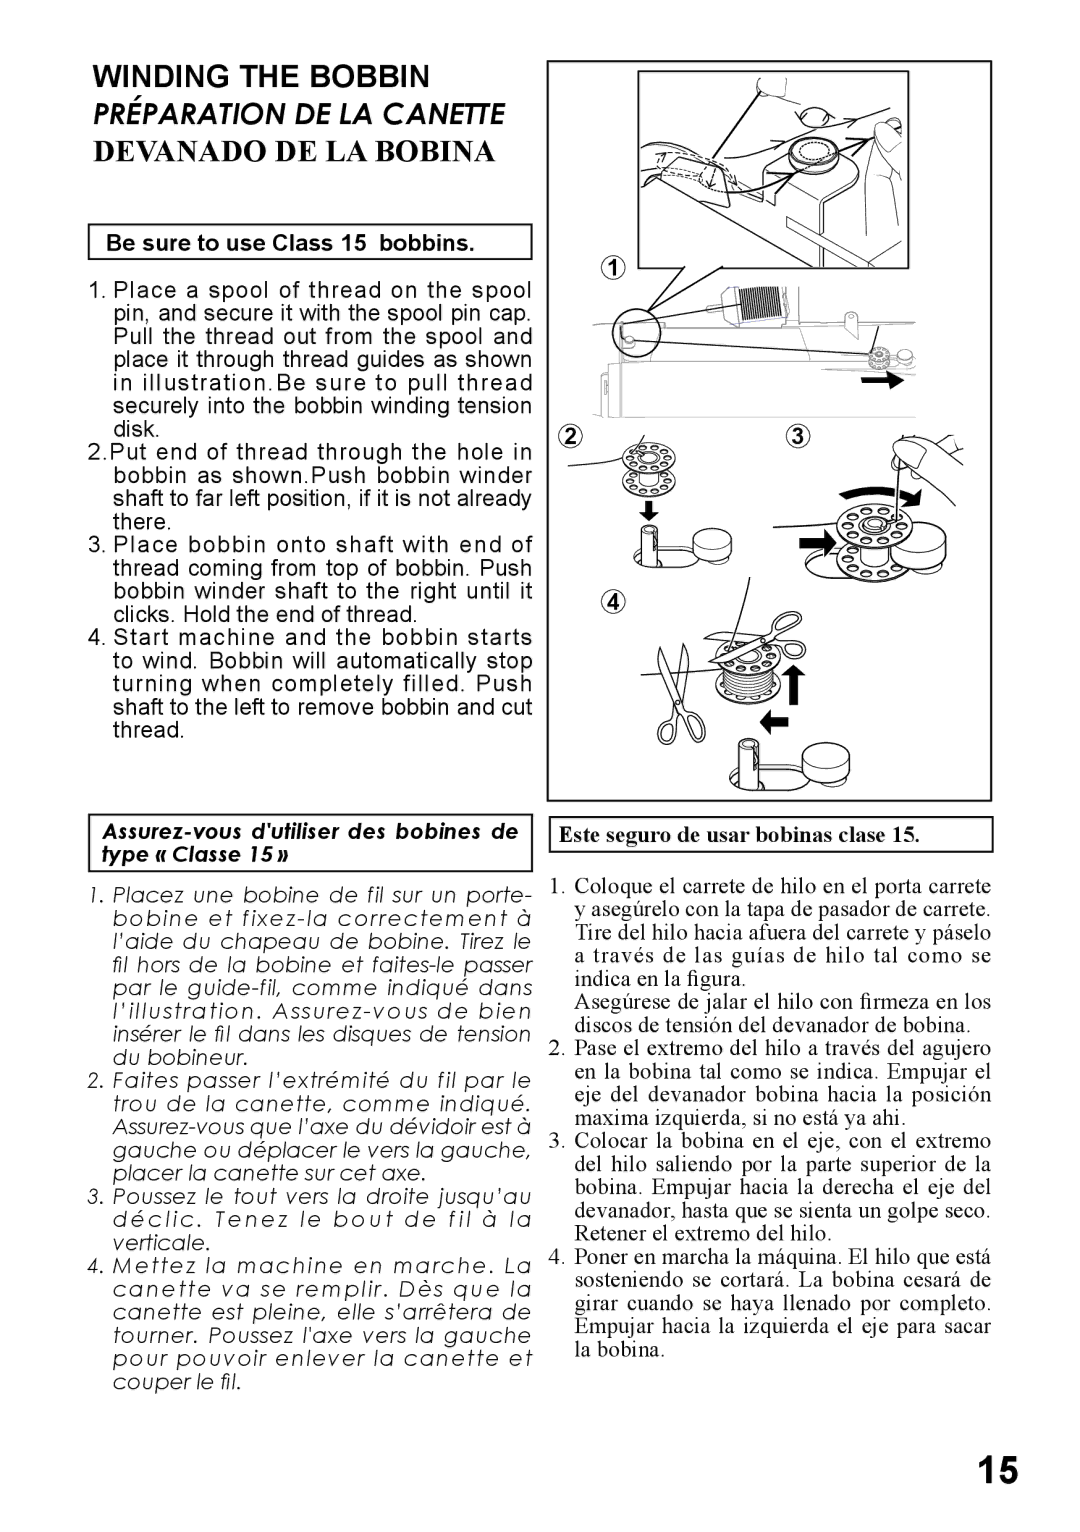
Lastly, the Singer 6160 combines elegance with functionality. Its sleek design is complemented by a host of features, including an automatic tension adjustment system that guarantees consistent results regardless of fabric thickness. The high-speed sewing capability allows for efficient project completion, while the multiple needle positions cater to various stitching techniques. Additionally, the drop-in bobbin system simplifies threading and maintenance, making it user-friendly for those new to sewing.
In conclusion, the Singer 6199, 5500, 6180, and 6160 models exemplify the perfect blend of technology, versatility, and user-centric design. These machines are equipped to handle an array of sewing tasks, ensuring that both beginners and experienced sewists can achieve their creative visions with ease. As technology continues to evolve, Singer remains committed to providing solutions that inspire and empower crafters around the world.

