Configuring Client TCP/IP
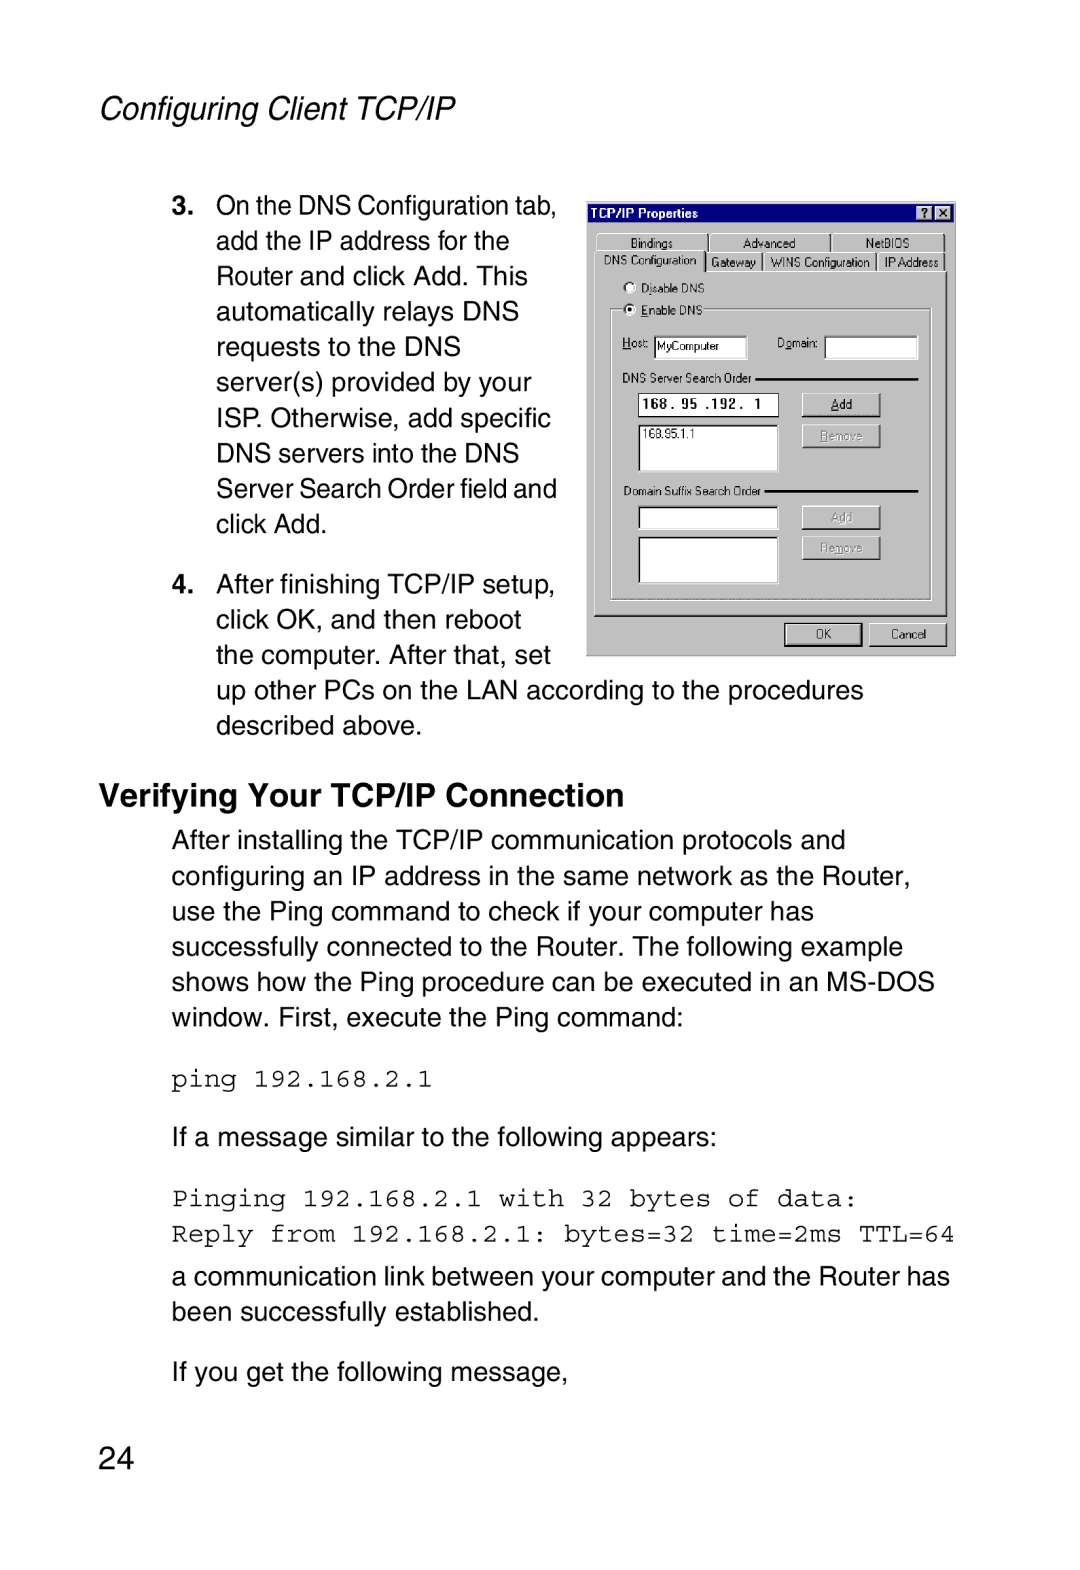
3.On the DNS Configuration tab, add the IP address for the Router and click Add. This automatically relays DNS requests to the DNS server(s) provided by your ISP. Otherwise, add specific DNS servers into the DNS Server Search Order field and click Add.
4.After finishing TCP/IP setup, click OK, and then reboot the computer. After that, set
up other PCs on the LAN according to the procedures described above.
Verifying Your TCP/IP Connection
After installing the TCP/IP communication protocols and configuring an IP address in the same network as the Router, use the Ping command to check if your computer has successfully connected to the Router. The following example shows how the Ping procedure can be executed in an
ping 192.168.2.1
If a message similar to the following appears:
Pinging 192.168.2.1 with 32 bytes of data:
Reply from 192.168.2.1: bytes=32 time=2ms TTL=64
a communication link between your computer and the Router has been successfully established.
If you get the following message,
24