PU106 Gas, PU64, PU75 specifications
The Smeg PU75, PU64, and PU106 gas hobs represent a harmonious blend of aesthetics, functionality, and cutting-edge technology, making them a popular choice for culinary enthusiasts and home chefs alike. These models are renowned for their sleek design, high-quality materials, and advanced features that cater to a range of cooking styles and preferences.One of the standout characteristics of Smeg gas hobs is their premium stainless steel finish, which not only adds a touch of elegance to any kitchen but also ensures durability and ease of cleaning. The PU75, PU64, and PU106 are equipped with durable cast iron pan supports that provide stability for pots and pans, ensuring even heat distribution and optimal cooking performance.
The hobs come with powerful gas burners with varying outputs to accommodate different cooking techniques. The PU106 model, in particular, boasts ultra-high heat capabilities, making it perfect for wok cooking or rapidly boiling water. Both the PU75 and PU64 feature a combination of high, medium, and low-heat burners, allowing for versatile cooking options from simmering sauces to sizzling stir-fries.
An innovative feature in the Smeg gas hob lineup is the inclusion of an automatic ignition system, which provides convenience and safety. This system allows users to light the burner with a simple turn of the control knob, minimizing the risk of accidental flame exposure. The control knobs are ergonomically designed for easy and precise adjustments of flame intensity.
In terms of safety, Smeg incorporates flame failure devices in these models. This technology automatically shuts off the gas supply if the flame is extinguished, thereby preventing gas leaks and enhancing safety during cooking.
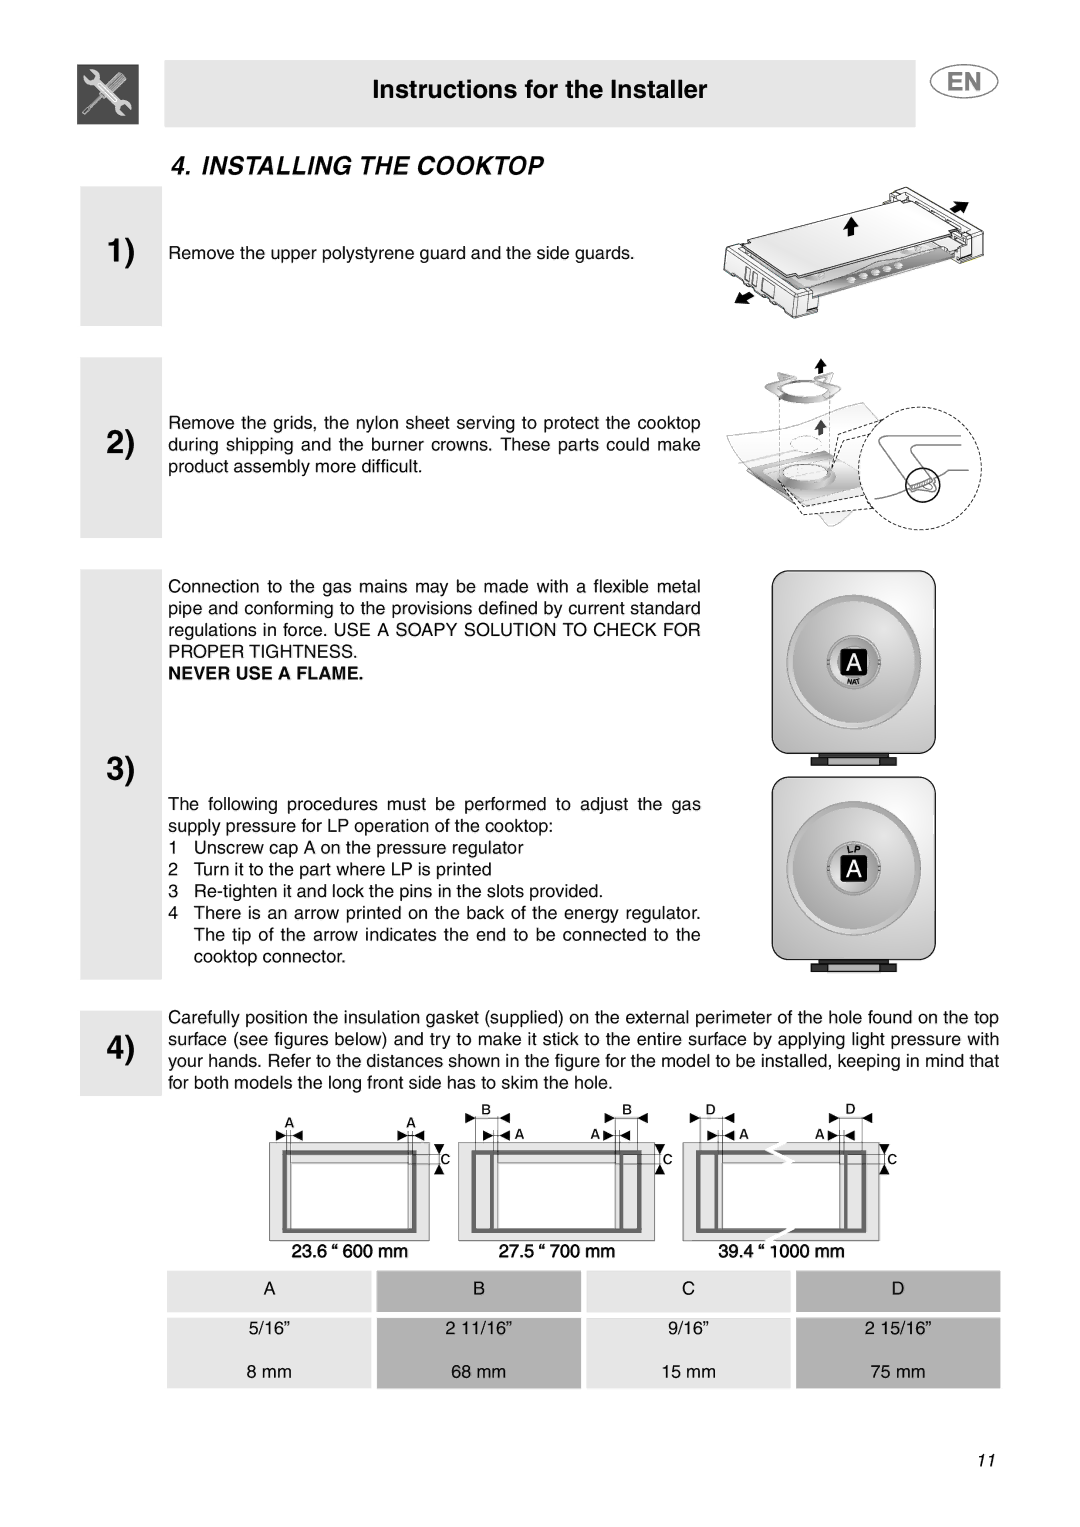
The Smeg PU75, PU64, and PU106 gas hobs are compatible with LPG, providing flexibility for users with different energy sources. Additionally, these hobs are designed for easy installation, making them a user-friendly choice for both renovations and new kitchens.
Overall, the Smeg PU75, PU64, and PU106 gas hobs are a testament to the brand's commitment to quality, style, and innovation. With their array of features designed to enhance the cooking experience, these models ensure that every meal is prepared with precision and flair, offering a perfect combination of traditional gas cooking with modern functionalities. Whether you are a gourmet chef or a casual cook, these hobs are designed to elevate your kitchen experience.

