Model No. DSC-P71/P51/P31 Serial No
Enjoying movies
For the Customers in the U.S.A
Declaration of Conformity
Equipment and receiver
For the Customers in the U.S.A. and Canada
For the Customers in Germany
Memory Stick N50 For the Customers in the U.S.A. and Canada
Trademarks
Before using your camera
Table of contents
Troubleshooting
Before advanced operations
Advanced still image Shooting
Advanced still image viewing
Identifying the parts DSC-P71
Finder window G Lens Tripod receptacle bottom surface
Qs qd qf
Finder
Identifying the parts DSC-P51
Power Save switch DISPLAY/LCD ON/OFF button Finder
Selection mode
Identifying the parts DSC-P31
Qs qd qf Qk ql
Preparing batteries
Charging the batteries
Acceptable batteries
Batteries that cannot be used
Precautions to be observed when charging the batteries
Charging time
Charging the Nickel-Metal Hydride batteries
Getting started
Battery remaining indicator
Power Save function
Charging the Nickel-Metal hydride batteries
DSC-P71
Open the Battery cover Insert the batteries
Close the Battery cover
Opens out Marks inside the battery case
Inserting the batteries
Inserting the batteries
Shooting* still images Model Image size
No. of images
Playing back** still images Model
Connect the cable with the v mark facing up
Using an external power source Using your camera abroad
Power sources
Turning on/off your camera How to use the control button
Auto Power Off function
Press the Power button
To turn off the power
Power lamp lights in green and the Clock SET screen appears
Setting the date and time
Set the mode dial to
Setting the date and time
Inserting and removing a Memory Stick
Open the Memory Stick cover
Insert the Memory Stick
Close the Memory Stick
Image size is set
Deciding the still image size and quality
Menu appears
Image size and quality
Number of images* that can be saved in a Memory Stick
Shooting still images
8MB
Basic still image shooting using auto adjustment mode
Set the mode dial to , and turn on your camera
Press and hold the shutter halfway down
Do not cover the lens or flash with your fingers
About Auto Focus
Press the shutter fully down
Checking the last shot image Quick Review
Press b 7 on the control button
Using the zoom feature
When the zoom is set all the way to
Minimum distance needed to focus on a subject
Digital zoom
Set the mode dial to , Press B on the control button
Using the self-timer
Center the subject in the frame, and shoot the image
Button
Selecting a flash mode
To cancel the self-timer during the operation
When Power Save is OFF
When Power Save is on
97. appears on the LCD screen
To reduce red-eye when shooting live subjects
Shooting with the AF illuminator
Set the mode dial to SET UP
SET UP menu is displayed
Shooting with the finder
Shooting with the date and time inserted
DATE/TIME
Twilight mode
Twilight portrait mode
Landscape mode
Set the mode dial to SCN, and press the Menu button
Select SCN using b/B on the control button
NR slow shutter
Way down
Then the screen turns black Finally, when
Viewing single images
Set the mode dial to , and turn on the power
Viewing images on the LCD screen of your camera
Select Still Image using b/Bon the control button
Viewing Index nine- or triple-image display
Press the Zoom W button once
Press the Zoom W button once more
Press b/B on the control button to select an image
Set the mode dial to and turn on the camera
Viewing images on a TV screen
Deleting images
Deleting still images
To delete all the images
To cancel the deletion
Deleting images Deleting on the Index nine-image screen
Deleting on the Index triple- image screen
At this point, the image has not yet been deleted
Still images
To cancel the formatting
Formatting a Memory Stick
USB mode
Copying still images to your computer
Steps required by your OS Operating System
Recommended computer environment
Installing the USB driver
Click USB Driver on Click Next. When Opening window
Copying still images to your computer
Click Next, and eject the CD
Preparing your camera
Adaptor, and plug the adaptor into a wall outlet mains
Connecting your camera to your computer
For Windows 2000, Me, or XP users
For Windows 98 or 98SE users
Carry out only above
Copying images
Double-click My Computer, then double-click Removable Disk
Double-click DCIM, then double-click 100MSDCF
Drag and drop the image files into the My Documents folder
Click Next
When a removable disk icon is not shown
Copying images
Picture Name and Destination window appears
Example when viewing folders on Windows Me
Click Finish
Image file storage destinations and file names
Wizard window closes
Folder File name File meaning
Viewing the images on your computer
My Documents folder opens Image file opens
For Macintosh users
How to setup and operate your camera
Changing menu settings
Changing items in the SET UP screen
Before advanced operations
Adjusting the exposure
EV adjustment Mode dial /SCN
Set the mode dial to , SCN, or Press the Menu button
Select EV using b/B
Adjusting color tones
White Balance Mode dial /SCN
Set the mode dial to , SCN, or Push the Menu button
Advanced still image shooting
Multi AF/CENTER AF Mode dial /SCN Multipoint AF
Choosing a focus method
Center AF
Multipoint AF
Shooting with the AF lock using Center AF
Setting the distance to the subject
Focus preset Mode dial /SCN
Picture Effect Mode dial /SCN
Subject using v/V
Mode dial /SCN
Select Spot Meter using b/B, then select on using v/V
Spot light-metering
For the DSC-P71
Shooting multiple frames
To cancel Spot light-metering
Clip Motion Mode dial
Set the mode dial to Press the Menu button
Before using Clip Motion
Shoot the next frame
Press the center z
Shooting in Multi Burst mode
Multi Burst Mode dial
Before using Multi Burst
Moving Image in SET UP, select Multi Burst
Set the mode dial to , or SCN Press the Menu button
To return to Normal mode
Shooting still images for e-mail
Deleting shot images
Mode dial
Enlarging a portion of a still image
Enlarging an image Playback
Press the center z
Playing back successive images
Recording an enlarged
Rotate Mode dial
Rotating still images
To stop the playback of the slide show
Press the B Forward, or the b Backward
Protecting images
For single images
For Index nine-image screen
Still image
For Index triple-image screen
Resize Mode dial
Changing image size
To remove protection from previously protected images
To stop the resizing process
Print Mode dial
Select Print using b/B, then press the center z
Choosing images to print
To delete the Print mark
Select OK using B, then press the center z
To cancel the Print mark
Select Print using v/V, then press the center z
Center using b/B, and repeat Step To delete a Print mark
Shooting movies
Viewing movies on the LCD screen
Enjoying movies
Deleting on the Index nine- image screen
Deleting movies
Deleting on the single screen
Select OK using b/B and press the center z
Set the mode dial to
Select Delete using V Press the center z
To delete all the images
File numbers assigned when movies are cut
Editing movies
Cutting movies
Playback of the movie starts
Deleting unnecessary portions of a movie
To cancel cutting
Decide on a cutting point
Copying movies to your computer
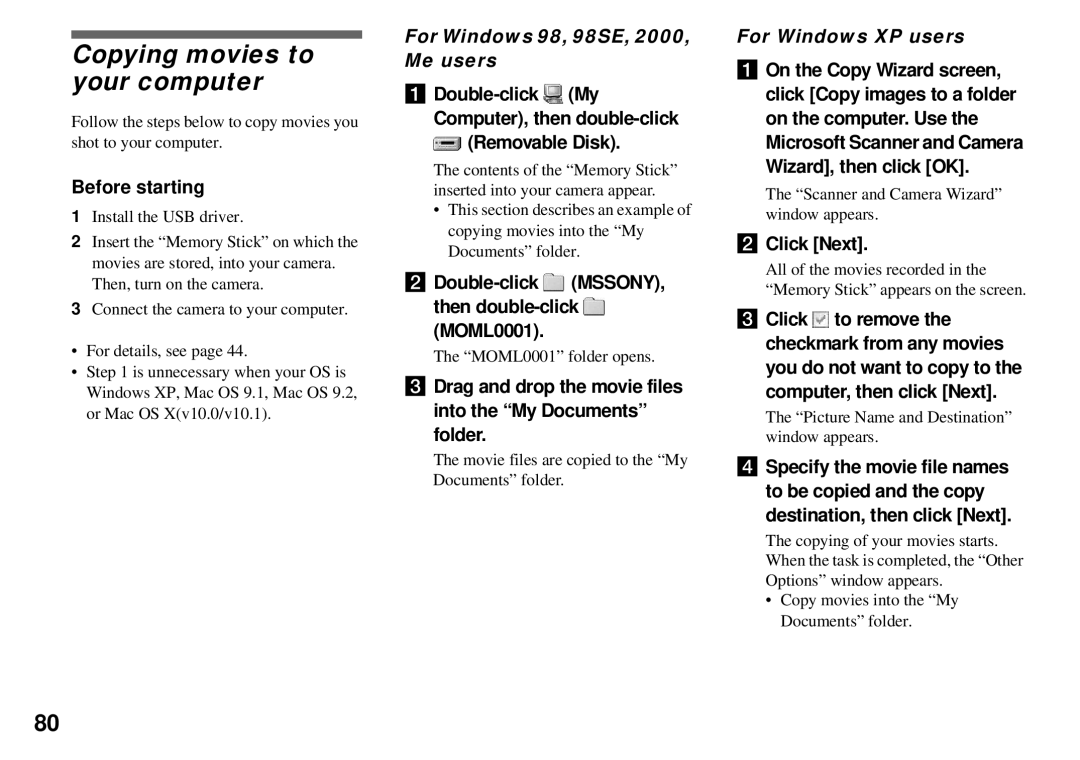
For Windows 98, 98SE, 2000, Me users
Double-click MSSONY, then double-click MOML0001
Drag and drop the movie files into the My Documents folder
To copy movie files using ImageMixer
For Macintosh users
Troubleshooting
Batteries and Power
Troubleshooting
Shooting Still images/Movies
Very bright subject
Cannot record images
With the flash
Come out red Date and time are
Viewing images
Deleting/Editing an image
Your computer You cannot install
Computers
USB driver
Camera
Memory Stick
Others
Indicator on the LCD Screen
When you turn off
Camera does not work
You cannot identify
System Error
Memory Stick Error
Format Error
File Error
Self-Diagnostics Display
Number of images that can be saved/ shooting time
Mail
16M 32M 64M
Clip Motion Multi Burst
When the mode dial is set to
Menu items
When the mode dial is set to , SCN
Moderec Mode
Additional information
PFX P.EFFECT
+2/ +1/ x0/ -1
XNORMAL/ Mobile Selects the Clip Motion image size
± Flash Level
Quality
Video OUT item in SET UP
Interval
When the mode dial is set to
SET UP items
Power Save
LCD
Brightness
LCD Backlight
Precautions
Cleaning
Internal rechargeable button battery
On moisture condensation
Nickel hydride batteries
Effective use of the battery
Memory Stick
Specifications
Battery life
Output connectors
System
Accessories
Power, etc
BC-CS1 Ni-MH battery charger
AC-LS1 AC power adaptor not supplied
For shooting still images
Picture effect indicator
LCD screen
104
For shooting movies
For still image playback For movie playback
320 qf
Battery
Index
107
7 4 3 5 1 1
Page
Page
Page
Page
 (MSSONY), then
  (MOML0001).