MDM-X4 specifications
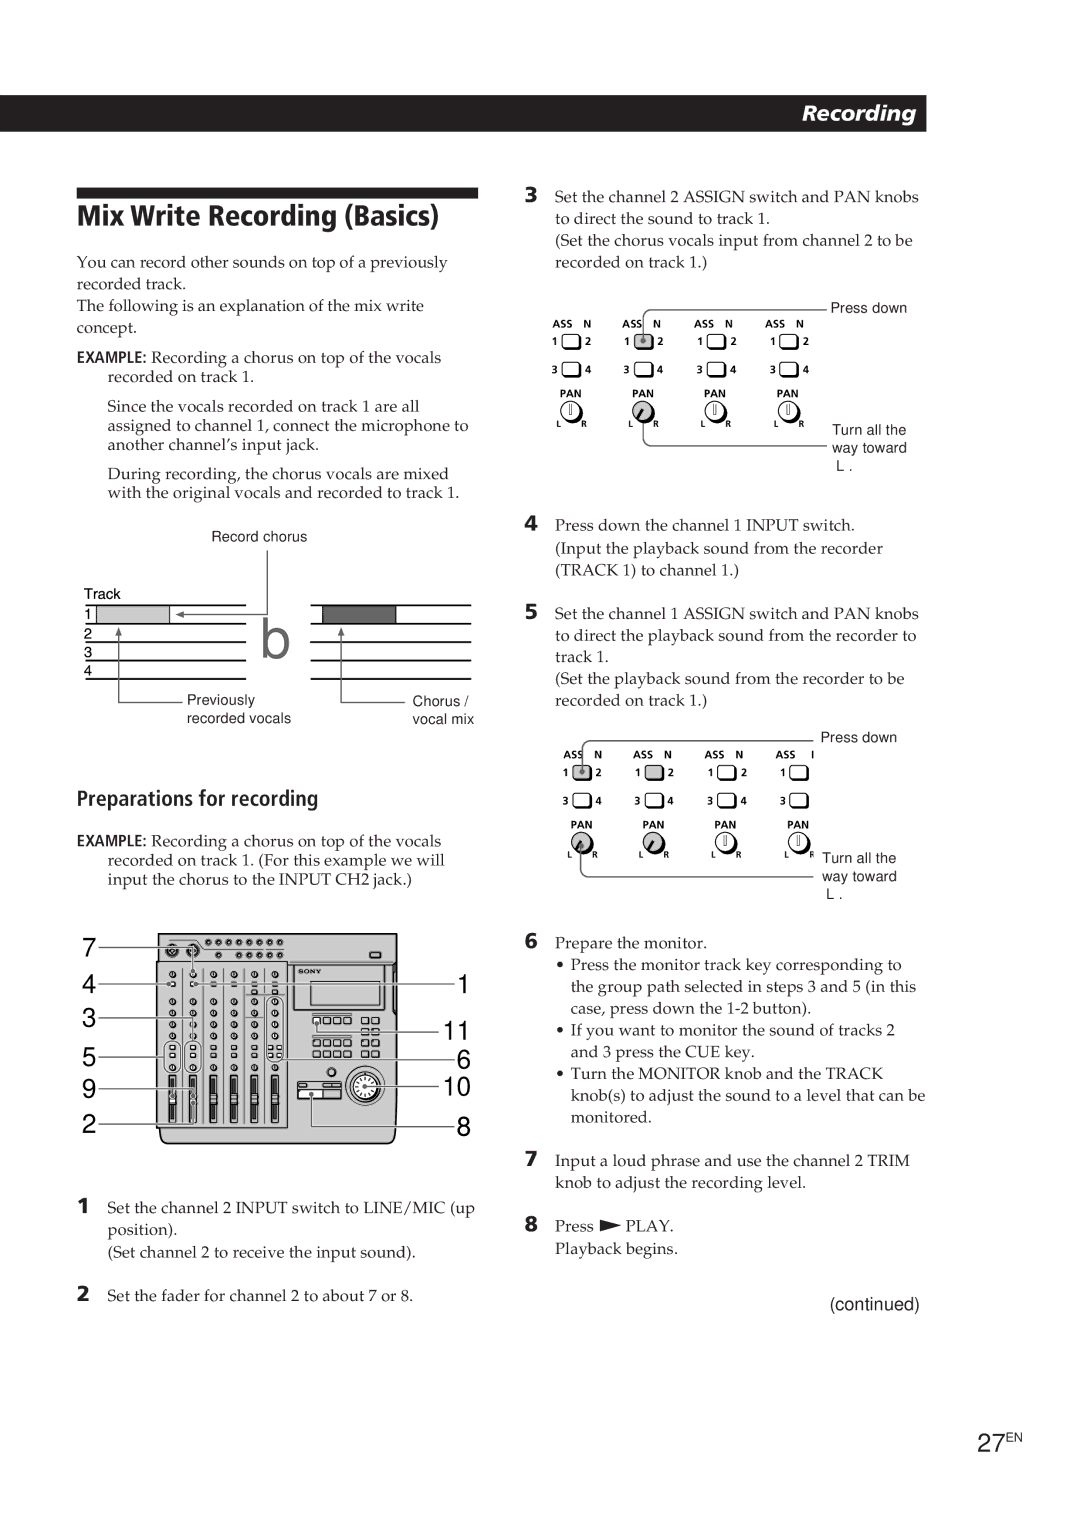
The Sony MDM-X4 is a cutting-edge digital multi-track recorder that combines professional quality with user-friendly features, making it an essential tool for musicians, sound engineers, and audio enthusiasts. This device provides an innovative solution for capturing and manipulating sound, enhancing both creativity and functionality in recording environments.One of the standout features of the MDM-X4 is its ability to record up to four tracks simultaneously. This capability makes it ideal for bands or projects that require multi-tracking, allowing for the simultaneous recording of vocals, instruments, and other audio sources. The device supports a variety of input formats, including analog and digital, ensuring compatibility with a wide range of equipment.
The MDM-X4 incorporates advanced audio processing technologies, including high-resolution A/D and D/A converters that deliver pristine sound quality. Users can expect a frequency response that captures the nuances of their recordings, providing clarity and depth. The device supports 24-bit audio resolution, ensuring professional-grade output suitable for both studio and live applications.
In terms of connectivity, the MDM-X4 boasts multiple I/O options, including USB ports for easy integration with computers and other digital audio workstations. This allows users to transfer their recordings directly to their preferred editing software, streamlining the post-production process.
Additionally, the MDM-X4 features intuitive controls that simplify navigation and operation. The built-in LCD screen displays essential information, such as track levels, playback time, and monitoring options. This user-centered design greatly enhances the recording experience, allowing users to focus on their creative output.
The device is also equipped with a range of built-in effects and processing options, including reverb, compression, and EQ adjustments, offering users the ability to shape their sound without needing additional external processing units. These effects can be applied in real time or during post-production, providing flexibility in sound design.
Overall, the Sony MDM-X4 is a versatile and powerful multi-track recorder that caters to the needs of both novice and experienced users. Its combination of high audio quality, multi-track capabilities, and user-friendly features make it a standout choice in the realm of digital recording technology, allowing users to capture their musical ideas with precision and ease.

